
The WordPress post editor keeps on getting better and better, giving you a growing amount of control over how your post content is formatted and presented. However, one area where WordPress is lacking is adding tables to your posts and pages.
While you can create a table using HTML and decorate it with CSS using the text view of the post editor, today we will be taking a look at a plugin which makes it very easy to create attractive and feature-rich tables in WordPress.
TablePress Plugin Review and Walkthrough
TablePress is a free and popular plugin for creating tables and adding them to your posts and pages in WordPress. While there are a few different table plugins available for WordPress, TablePress is the best choice thanks to its ease of use and great set of features.
TablePress allows you to create simple to advanced tables in WordPress,with a great set of features which include:
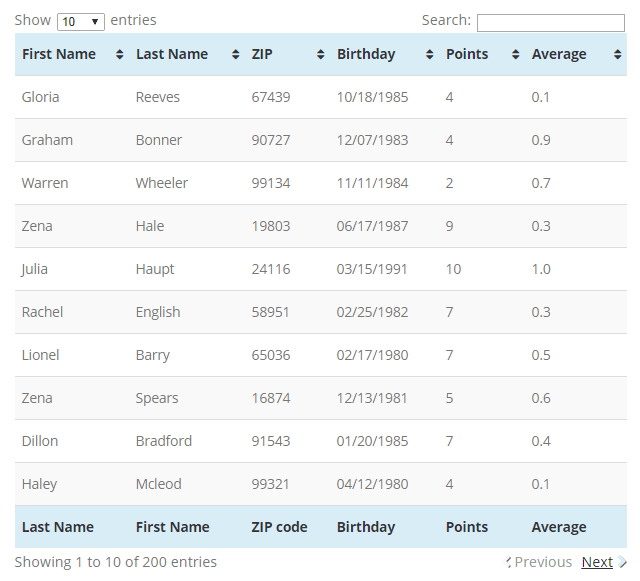
- Header and footer rows
- Filterable and sortable columns
- Row highlighting and coloring
- Row pagination
- Horizontal scrolling
- Add any content to cells including formulas
- Export table content
- Support for custom CSS
Whether you want to create a basic table for making it easier for your visitors to read your data, or you need to build more advanced tables your visitors can interact with, TablePress is a great choice.
Getting Started with TablePress
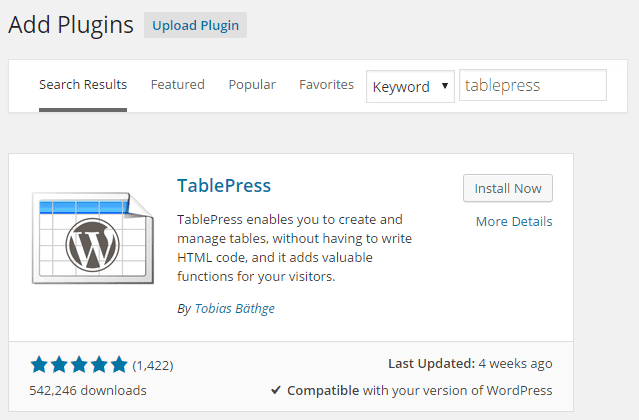
As this plugin is hosted in the WordPress.org plugin directory, it can be installed directly from within your website’s admin dashboard. Simply login to your WordPress website (http://yourdomain.com/wp-login.php), and then click on Plugins > Add New from the sidebar menu.
To locate the plugin, type ‘tablepress’ into the search field and then click on the Install Now button of the first plugin displayed.
On the next screen click on the Activate Plugin and you should now have a new menu item titled TablePress on your admin sidebar.
Creating a Table
With TablePress, the tables are created and populated with data in a separate area of WordPress, after which they are then inserted into your posts and pages using a shortcode.
This has a few advantages over creating them directly in the post editor. One is that you can use the same table multiple times, and if you ever need to update a table you can do it independently from the post editor, with the changes pushed out to each instance of that table.
So to get started and create your first table, click on the Add New Table menu item under the TablePress sub menu.
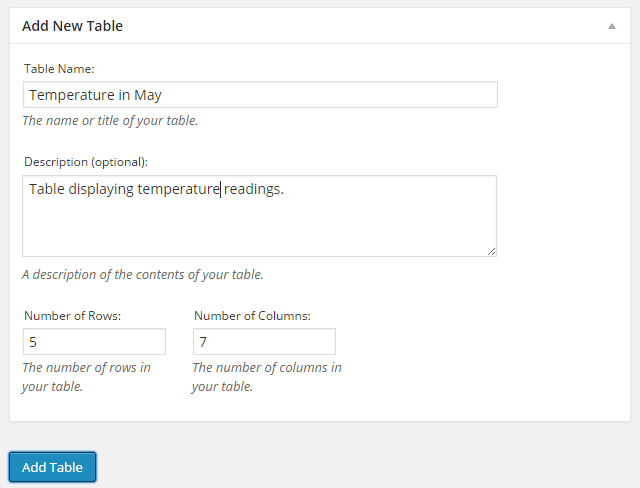
The first step is to name your table, add an optional description, and set the number of rows and columns. This can all be changed in the next step, allowing you to expand your table as necessary.
Adding Content to the Table
From the next screen you can begin entering the content into your table. If you need to rearrange the columns and rows at any point, clicking on the headers allows you to drag and drop them into place.
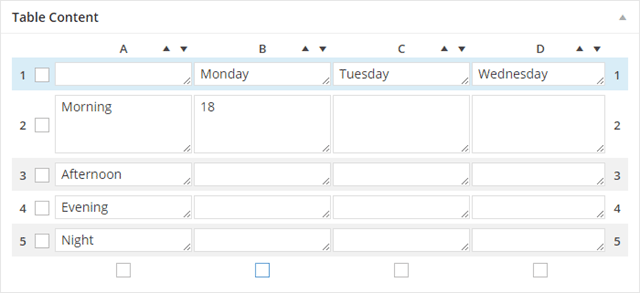
You can see how your table looks as you are working on it by clicking on the preview button at the bottom of the screen.
Table Manipulation
The next set of options allows you to do some more advanced work on your table. This includes combining or merging column and row cells, duplicating existing, and adding new columns and rows.
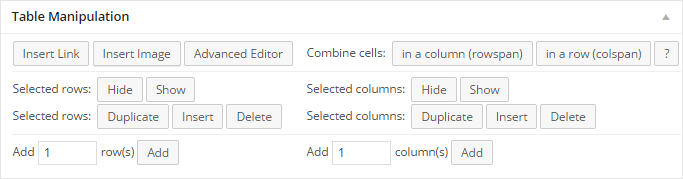
You can also insert images and links into the table cells by clicking on the appropriate button, and even use an advanced editor to add formatting to your table contents.
Table Options
Through the table options you can add a table header and footer row for sorting and decorative purposes, set an alternating background color for the rows, choose whether to display the table name or description, and add extra CSS classes.
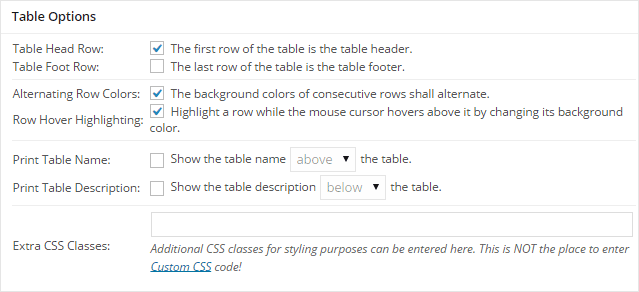
Finally you can set some more advanced options that govern how your visitors can interact with the table. This includes enabling table sorting, filtering and searching, and whether to paginate your table so that is only displays a set number of rows at a time for easier reading.
Publishing Your Table
Once you are happy with your table, or you’d like to see how it will look when added to a post on your site, click on the Save Changes button and then create a new WordPress post or open an existing post for editing.
On the post editor you should notice a new button has been added that will allow you to insert one of your tables into your post.

After pressing the button, it’s just a case of selecting the table you want to insert by clicking the Insert Shortcode button.
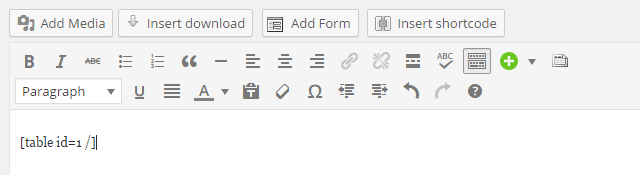
If you want to move the table into a different position in your content, simply cut and paste the shortcode into the desired location.
Now when you preview or publish that post, the table will be on display for all to see.
If you need to make any changes to that table, click on the All Tables item on the TablePress sub-menu and click on the edit link for the appropriate table. When you save your changes, that table will be automatically updated, with the new version visible on post it has been published on.
Conclusion
TablePress is a great plugin that makes it very easy to add tables to your WordPress posts and pages. There is also a selection of free and premium extensions available which can make this plugin even more useful.
If you have any questions about creating tables with TablePress, please leave a comment below.
How do I add gridlines to the table?