Generating SSH Key Pairs on Windows
In this article, we'll show you how to generate SSH key pairs on Windows by using PuTTYgen.
Downloading PuTTYgen
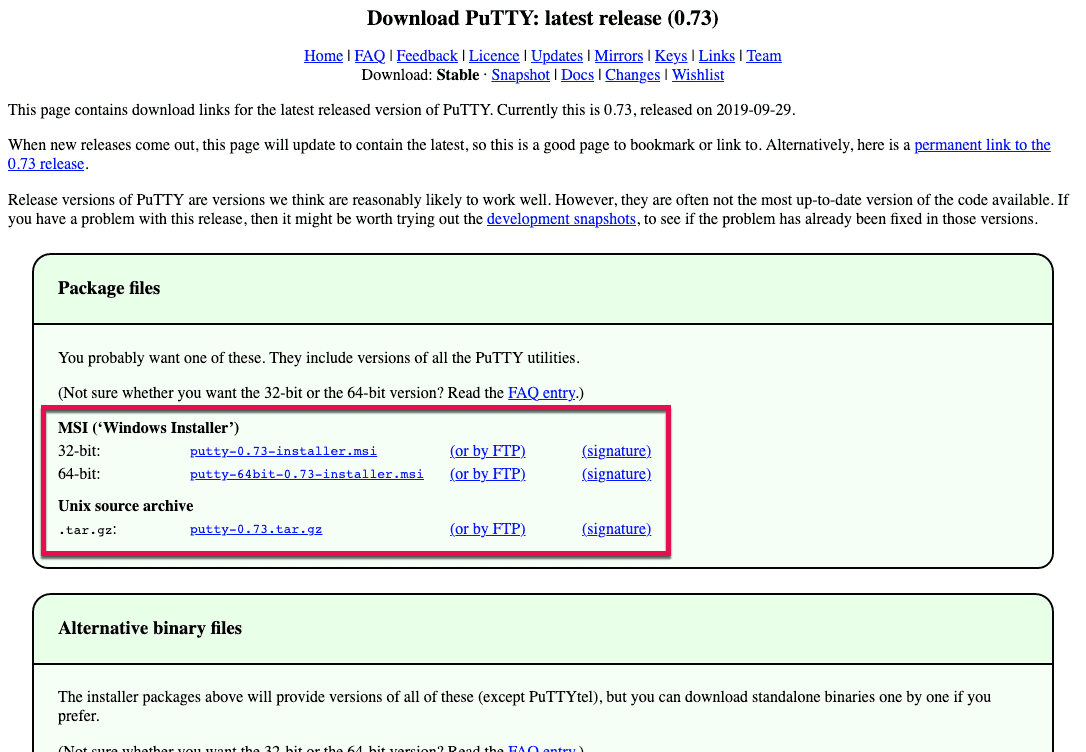
The easiest way to generate SSH keys on Windows is to use PuTTYgen. PuTTYgen is a free, open source GUI for generating SSH key pairs.
To get started with PuTTYgen, just head over to the PuTTY download page and grab the full installer for the PuTTY suite of applications.
Generating an SSH Key Pair with PuTTYgen
Once you have PuTTYgen installed and opened, you'll be ready to generate your new SSH key pair.
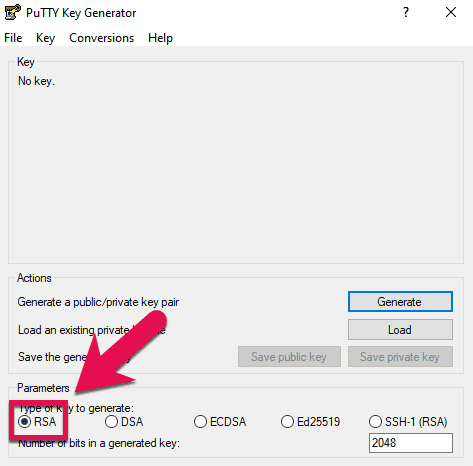
![PuTTYgen key type RSA]()
First, we'll want to take a quick look at the Parameters section at the bottom of the window. Before continuing, be sure that it's set to RSA.
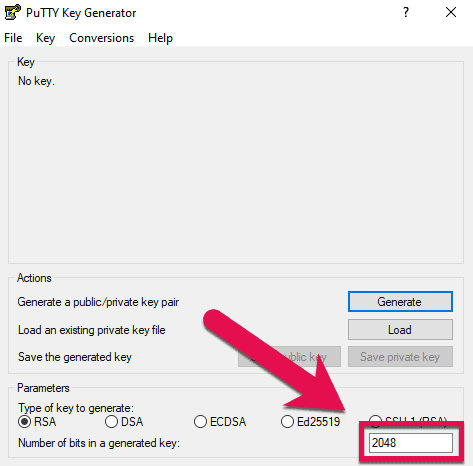
![PuTTYgen key number of bits]()
Next, ensure that the Number of bits in a generated key field is set to 2048.
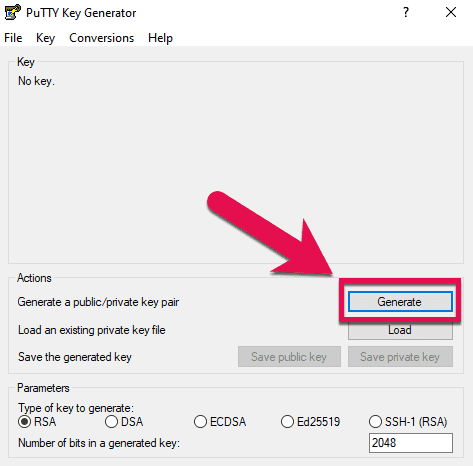
![PuTTYgen generate button]()
After you've double-checked your settings, click on the Generate button to begin the key generation process.
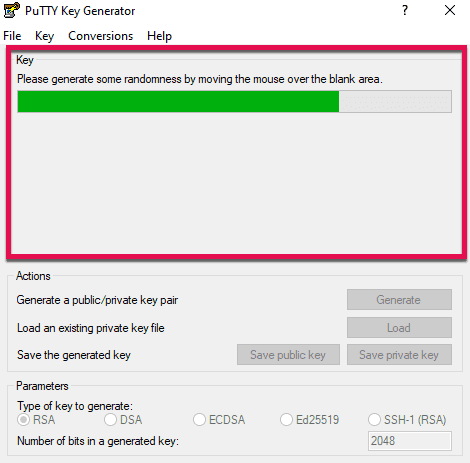
![PuTTYgen generate randomness box]()
PuTTYgen will now need a bit of randomness to securely generate your key and will ask you to move your mouse around inside the window.
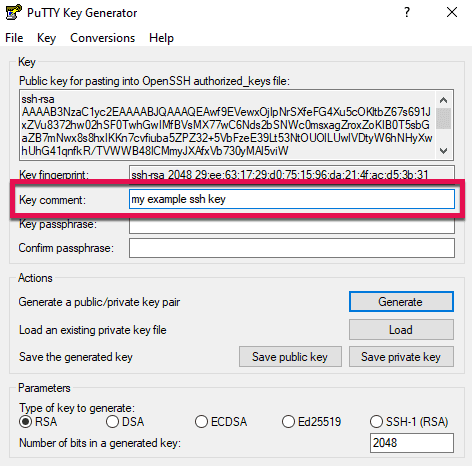
![PuTTYgen key comment]()
When PuTTYgen has finished generating your key, you'll still need to add a few extra details.
One of these details is the Key Comment field. While not required, it's generally a good idea to add some sort of comment here to help you identify the key if you ever need to.
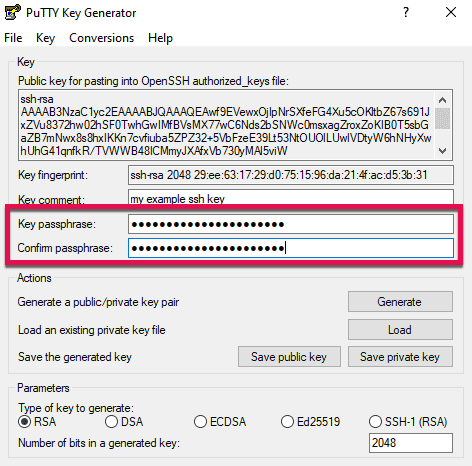
![PuTTYgen key passphrase]()
Another optional field is the Key Passphrase field. Although it's not a requirement, it's highly recommended that you add a passphrase to your key.
Note: Although having a passphrase on your key isn't a requirement, we recommend that you always set a passphrase on your SSH keys. Setting a passphrase ensures that someone cannot gain access to your key with just the private key file alone.
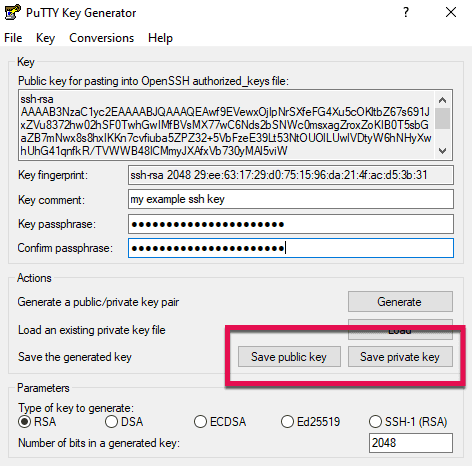
![PuTTYgen save keys buttons]()
After your optional settings are set, you're ready to save your key files.
To do so, click on the Save Public Key and Save Private Key buttons, then save your key files to a safe place. Just don't forget where you put them!
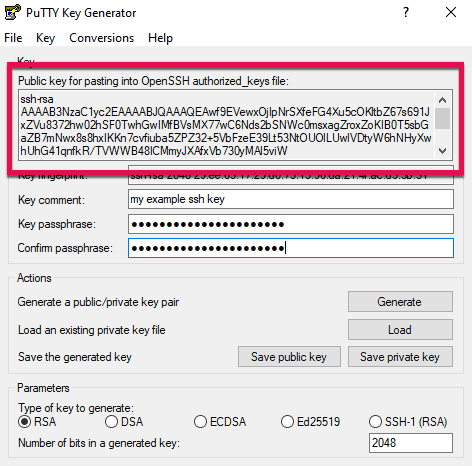
![PuTTYgen OpenSSH public key]()
Lastly, you'll need to grab your public key in OpenSSH format by copying it from the Public key for pasting into OpenSSH authorized_keys file area.
Don't forget to grab it! You'll need it again in the next lesson when you add the key to your account in the Atomic control panel.
Your SSH public and private keys have now been successfully generated and are ready to be used. In the next section, we'll show you how to add your public key to your account in the Atomic control panel.
