Adding Collaborators
Now that you have an understanding of what a collaborator is and the different roles that you can apply, you're ready to invite a new collaborator to your Pagely account.
If you don't currently have additional people who will need to access the account, feel free to skip through this section. Of course, if you think you might need to add a new collaborator at some point, it's a good idea to take a quick read through it.
To add a collaborator to your Pagely account, follow these steps:
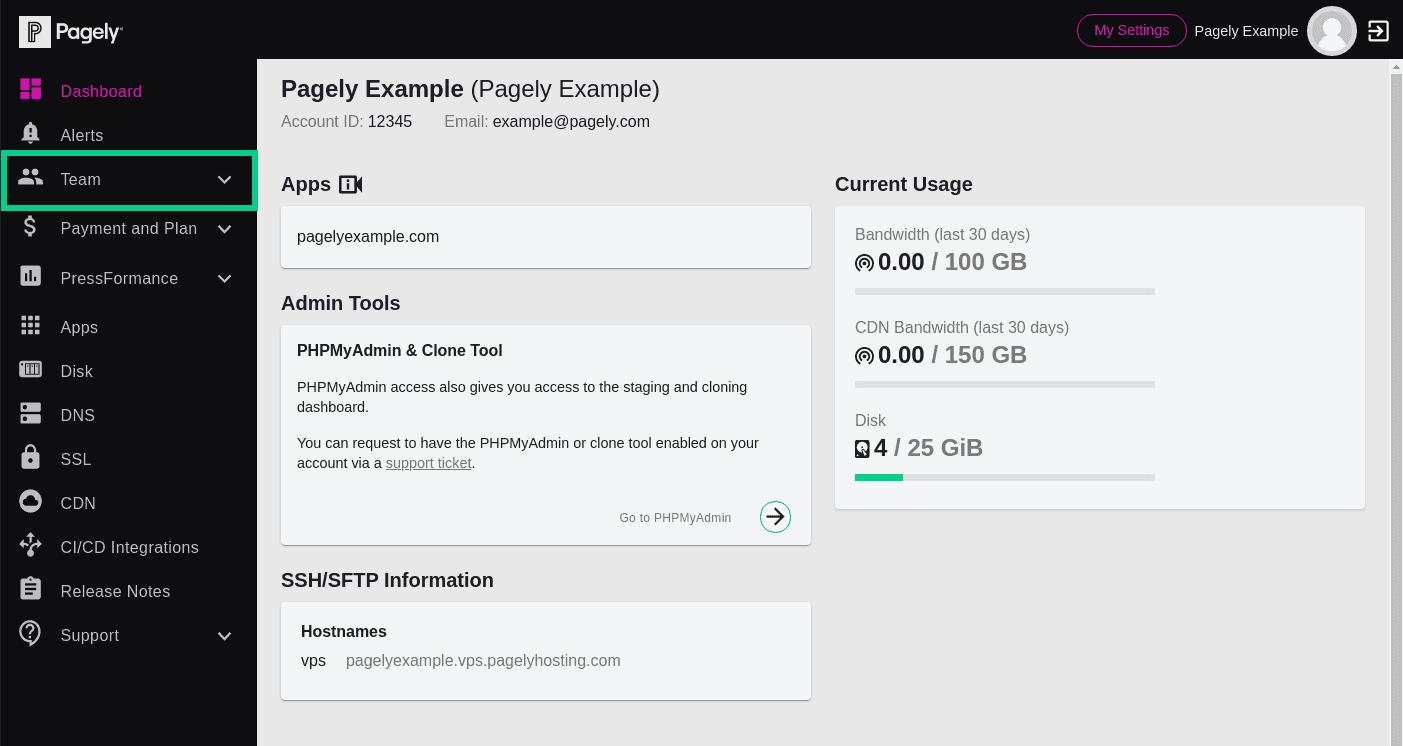
Begin by logging into the Atomic control panel.
![Atomic Dashboard page Team menu item]()
Next, click on Team from within the left side menu.
![Atomic add new collaborator name field]()
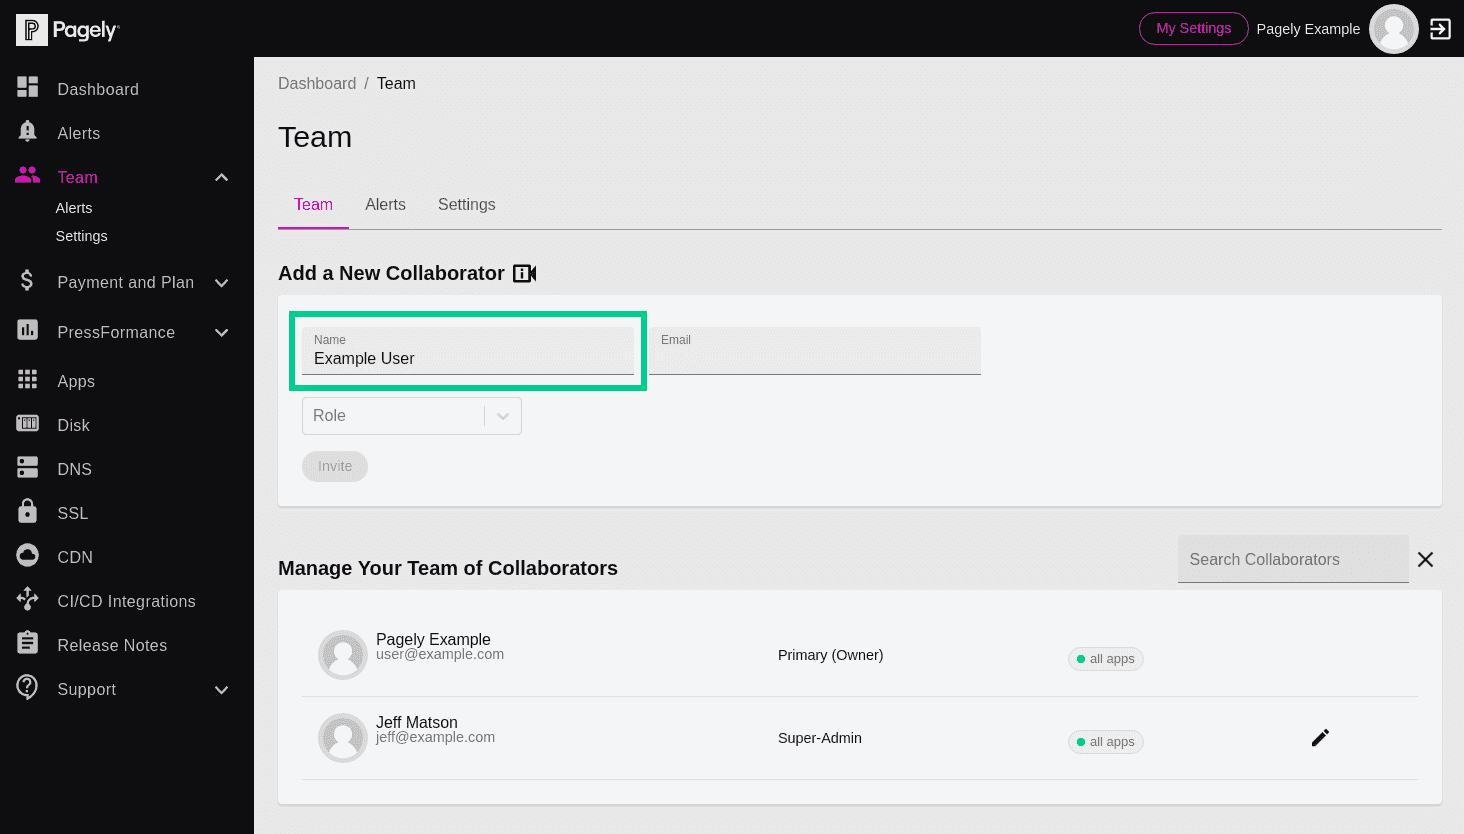
From here, you'll be able to see a list of any collaborators that currently exist on your Pagely account.
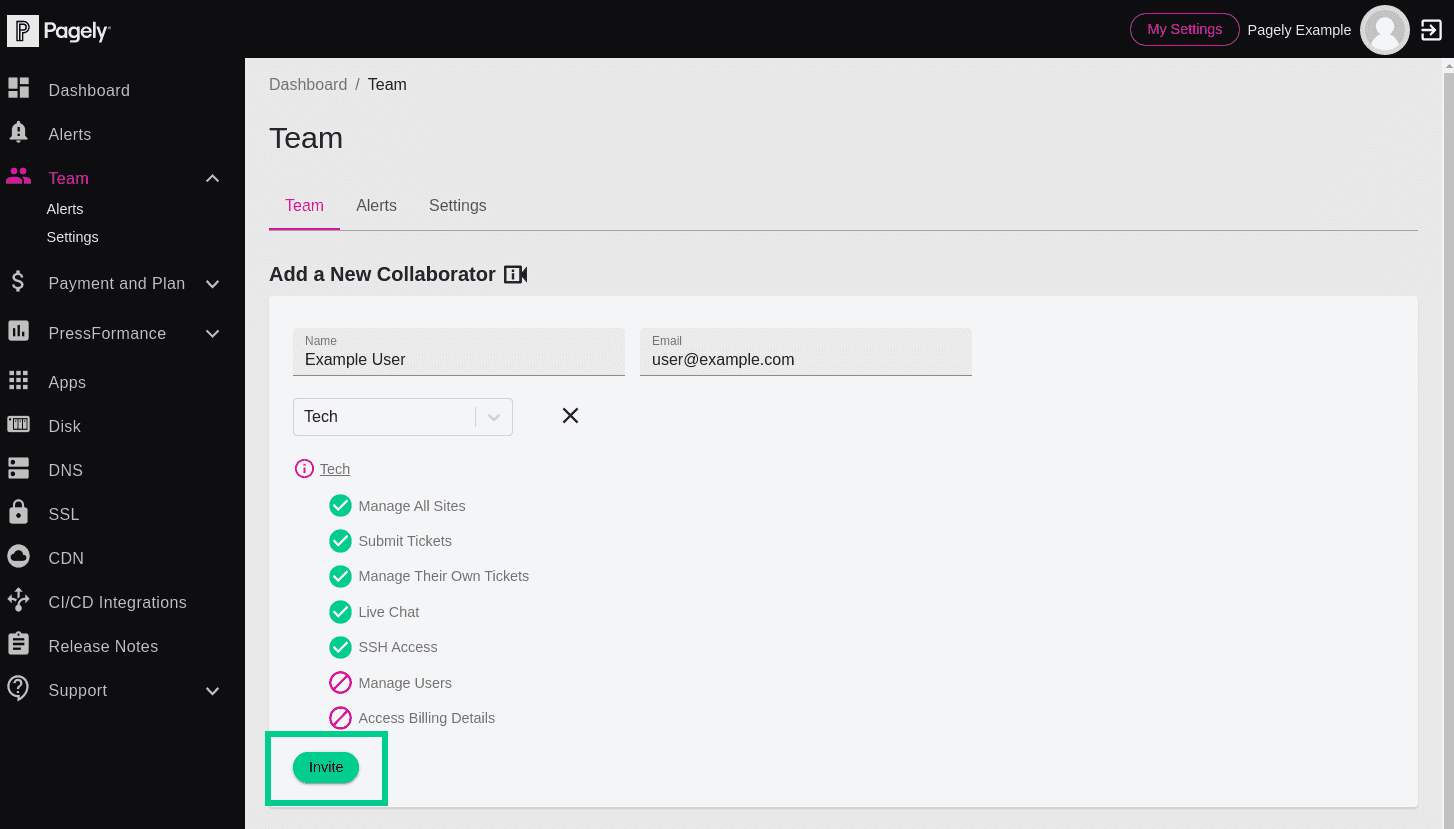
Inside the Add a New Collaborator section, let's start adding our new collaborator by filling in the Name field with the person's name.
![Atomic add new collaborator role selection field]()
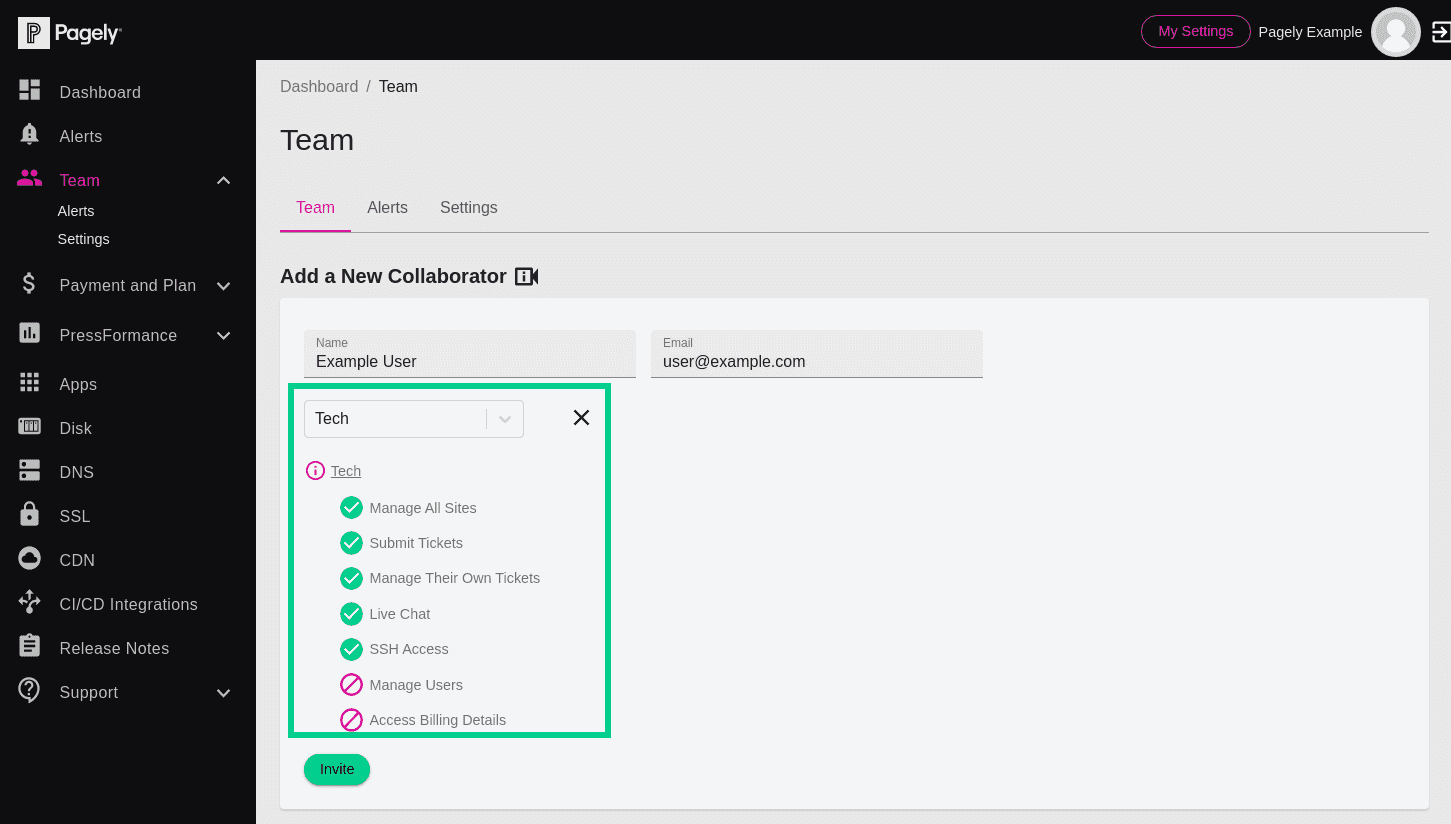
Remember the collaborator roles that we talked about in the last section? In this next field, select a role to associate with the new collaborator.
Tip: Don't remember all of the permissions available for each role? No problem. Once you select a role within the drop-down, a summary of what permissions apply to that role will appear.
![Atomic add new collaborator email field]()
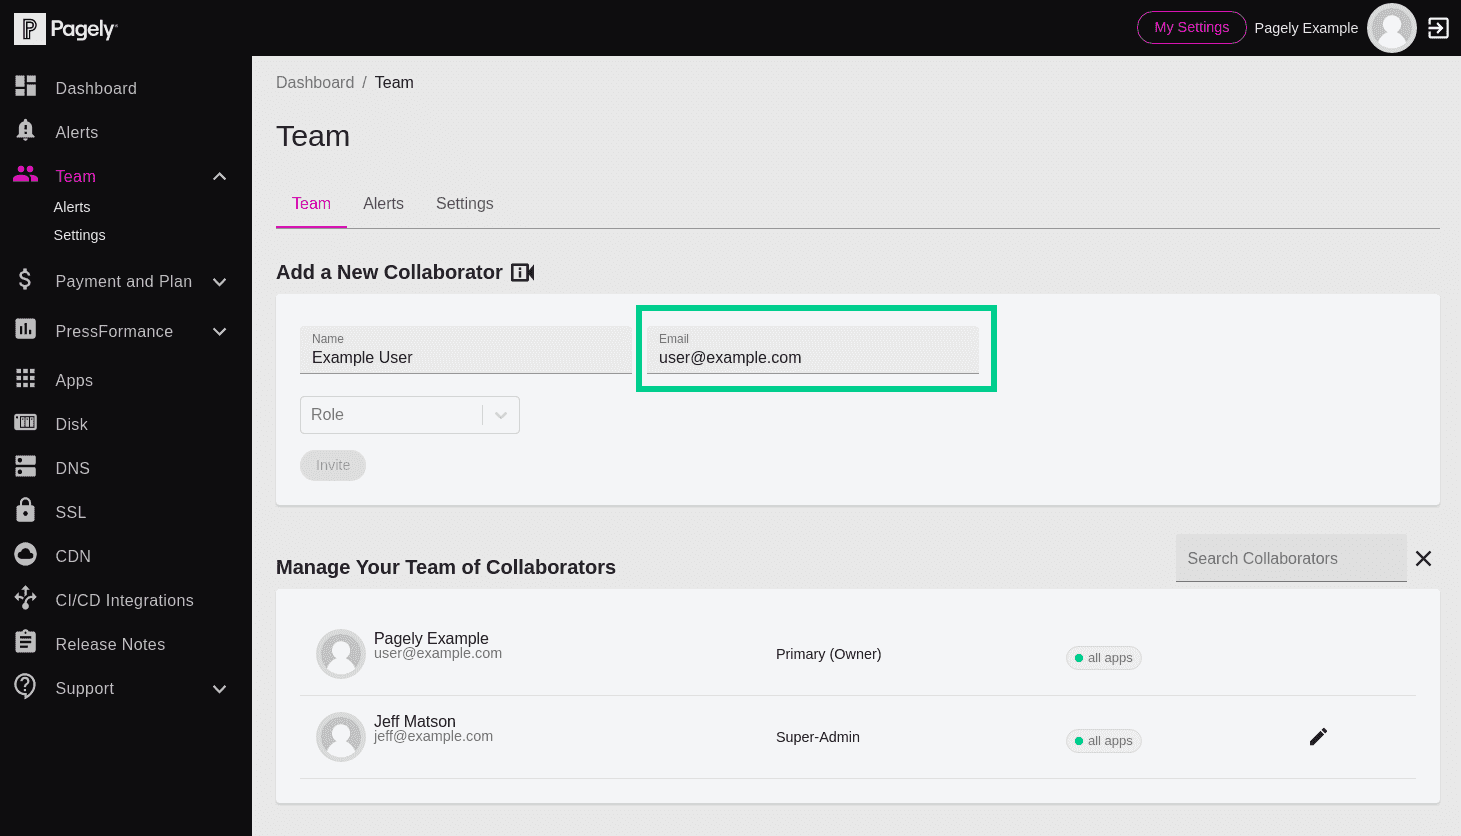
Next, you'll enter the collaborator's email address into the Email field.
![Atomic add new collaborator invite button]()
Now that all of the fields are filled out, send the invitation by clicking the Invite button.
Whenever you add a new collaborator, the user will be sent an email that contains a link to set their password. Since this is a time-sensitive link, you'll want to make sure they complete the signup as soon as possible. If they miss their time window, you may need to remove and re-invite the collaborator again.
