
By default, your newest articles are published at the top of your blog.
With every new article published, your existing articles are pushed down a spot — and eventually, off the front page completely.
It can be disheartening when your best article drops off the front page. There are two main problems with this:
- Articles lower down the order receive less traffic
- An article’s SEO ranking can suffer, further depleting traffic — this is because your homepage tends to have the most link juice, and articles that aren’t linked to from the homepage receive less ‘juice.’
- Of course, if your article is one of your main conversion drivers, you want to do everything you possibly can to drive traffic to it.
One of your options is to make a post ‘sticky’ — sticky posts are displayed at the top of the blog, meaning they get more visibility and a constant supply of the homepage’s link juice. Creating a sticky post is also a great way to ensure your website’s announcements are prominently featured.
How to Create a Sticky Post
Creating a sticky post is actually incredibly easy. Before we dive in, it’s worth noting that the exact process might vary slightly if you’re using a specific WordPress theme or a page builder like Elementor or Divi. However, the core idea remains the same, and you should be able to find a similar option in your chosen interface. If you’re having difficulty locating it, a quick search in your theme or page builder’s documentation should point you in the right direction.
To start, create your new post as you normally would — from the WordPress dashboard, head to Posts > Add New.
When you’ve finished writing your post, look at the Post summary box to the right of the WordPress visual editor.
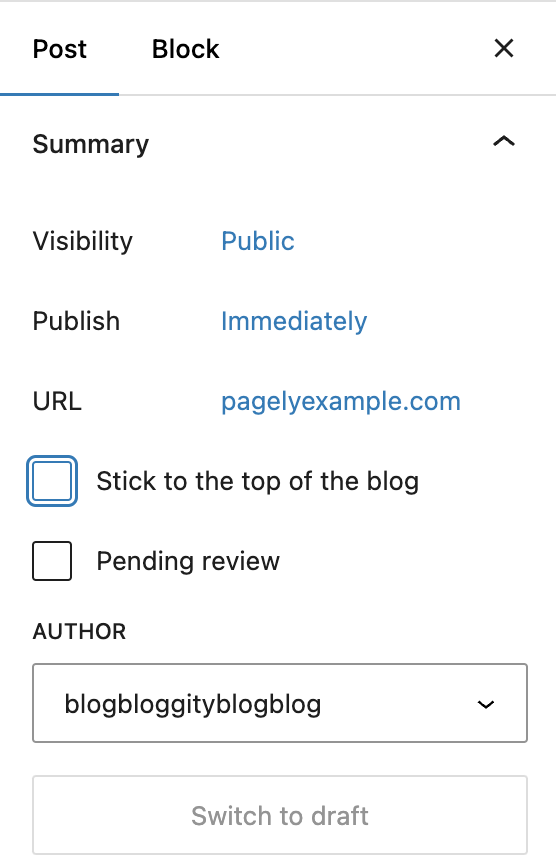
[Post Summary]
Visibility public
This will open a few more options for you, including the opportunity to password protect the post, make it private, and the option we’re looking for: Stick this post to the front page.
Tick the checkbox for Stick this post to the front page, then select Publish (or Update).
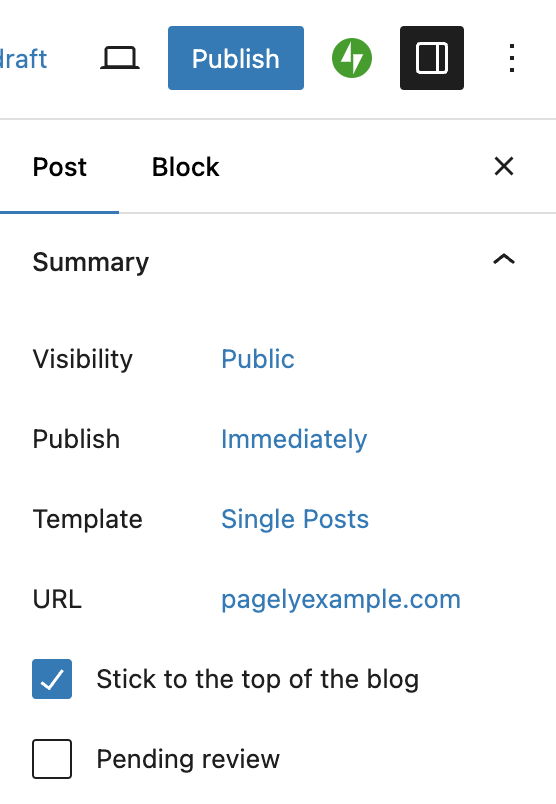
[Sticky post]
Now when you hit Publish, your post will remain at the top of your blog.
Yeah, that’s all there is to it! It’s really easy and should take no more than a few seconds for you to do.
It’s possible to go back and make an existing post sticky, too, which is done by following the exact same steps.
If you want to stop the post ‘sticking,’ just head back into the post and untick that same checkbox. Be aware that when you do this, your post will then be ordered by when it was published, not when you removed the sticky status. If your post was published a while ago, be prepared for it to fall a long way down.
Final Thoughts
All blog posts start life at the top of the blog roll. Over time they get displaced by newer content, though, and gradually slip down the order.
For some posts this is undesirable — perhaps your post provides important information or is by far your most profitable. In such scenarios, you can keep a post at the top of your blog by using WordPress’s sticky post feature. It’s really easy to implement, and can give your important posts the extra visibility they need.
If you’re more of a visual learner, check out this short video tutorial on how to make a sticky post in WordPress. It follows the updated interface and will walk you through the process step by step. So, you can geek out on your blog posts without worrying about missing any important details!
How To Make Sticky Posts In WordPress (Default and Custom Home Page)
Any questions about sticky posts? Ask away in the comments section below!