

Use WordPress logs to fix problems that arise on your WordPress instance — or, more accurately, to figure out why they’ve occurred. This feature tracks errors and records them in one easy-to-locate file, so you can get started on the troubleshooting process.
There are three basic steps to enable WordPress error logs:
- Access your website’s files using FTP.
- Edit your wp-config.php file.
- Locate your new WordPress logs.
In this article, we’ll talk a little more about why WordPress logs are so useful and go through step-by-step on how to activate and use them on your own site.
Why You Might Need to Enable Error Logs in WordPress
[The WordPress troubleshooting forums.]
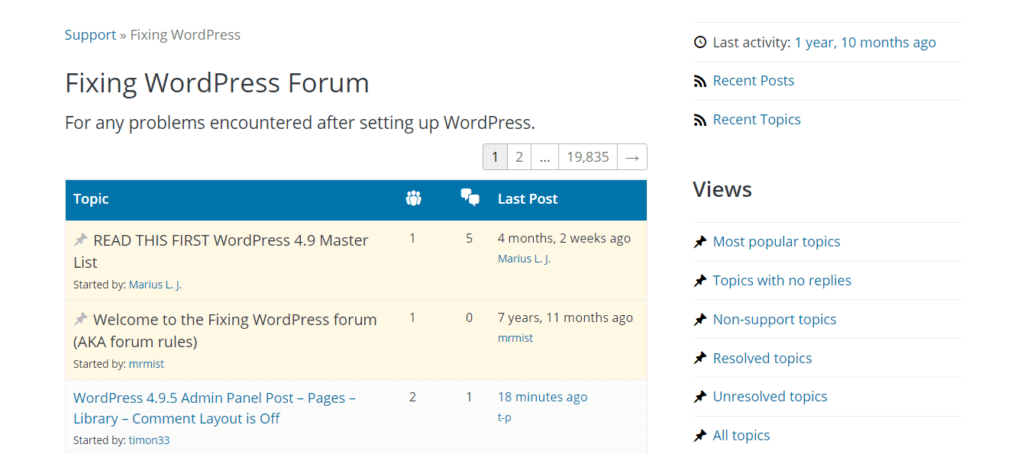
Using the information from your WordPress logs, you can easily get help in the official forums.
No software is perfect, after all, which means there might come a time when you run into problems or bugs with WordPress. Most users extend the platform with a variety of themes and plugins and while beneficial (and essential) for the most part, this can result in compatibility issues and other unforeseen problems.
There are many places online to seek help when you run into WordPress bugs or errors, but in order to get assistance, you’ll need to know what the problem actually is. As a result, it’s crucial to know how to perform some basic troubleshooting.
To carry out troubleshooting, you’ll often need to enable WordPress logs. This will help you find out what errors are causing the problems you’re experiencing, and track them to their source. Once you’re armed with that knowledge, actually solving the issue will be much simpler.
How to Enable WordPress Logs to Track Website Errors (In 3 Steps)
While WordPress has error log functionality — also known as the ‘debugging mode’ — it’s turned off by default. Fortunately, changing this is easy. Let’s walk through how to activate and use your WordPress logs.
However, before proceeding to the first step, you’ll want to have a recent backup of your website in place. You’ll be making an edit to a core WordPress file, which should be safe if you’re careful. However, there’s always the potential for something to go wrong, and a backup ensures you have a way to restore your site if the worst happens.
Finally, it’s also smart to perform troubleshooting on a staging site. Creating a staging site isn’t difficult, and it’s a very useful resource to have, so we recommend doing this before moving on.
Step 1: Access Your Website’s Files
To activate your WordPress logs, you’ll need direct access to your site’s files. This can be done in a few ways, but we recommend using File Transfer Protocol (FTP). Using an FTP client you can log directly into your site. Then you can add to, edit, or delete files whenever the need arises.
If you don’t have a favorite FTP tool already, the FileZilla client is a solid choice. It’s free and simple to use:
[The FileZilla website header.]

- After downloading and installing FileZilla, you’ll just need to enter your FTP credentials to access your site. These are provided by your web host, and can usually be found in your control panel.
- Once you have your credentials in hand, you can enter them into FileZilla. You’ll need a Host, Username, and Password (you can leave the Port field empty):
[Adding credentials in FileZilla.]

- Click on the Quickconnect button. When the client has connected successfully to your site, you’ll see a success message along with several new folders and files.
Step 2: Edit Your wp-config.php File
At this point, FileZilla should look something like this:
[The main FileZilla window.]
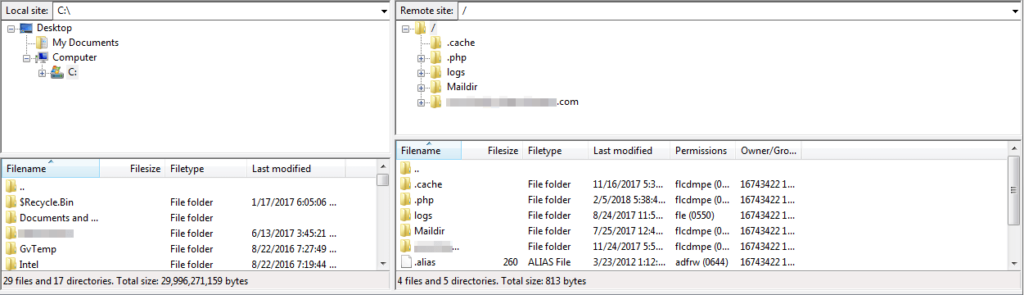
- There are four main quadrants here — check out the one in the top right corner. This window should contain a few folders, including the primary (or ‘root’) directory for your WordPress website. This folder might be called root or www, or it may have the same name as your site’s domain. Either way, open it up.
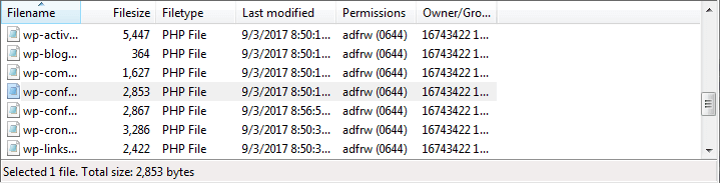
- In the bottom right quadrant, a long list of folders and files will appear:
[The wp-config.php file in FileZilla.]
Scroll down until you find the one called wp-config.php. This is an important file containing key information about your site’s configuration and database.
- Right-click on it, and select the View/Edit option. Doing this will open the file in your computer’s default text editor:
[The wp-config.php file in a text editor.]
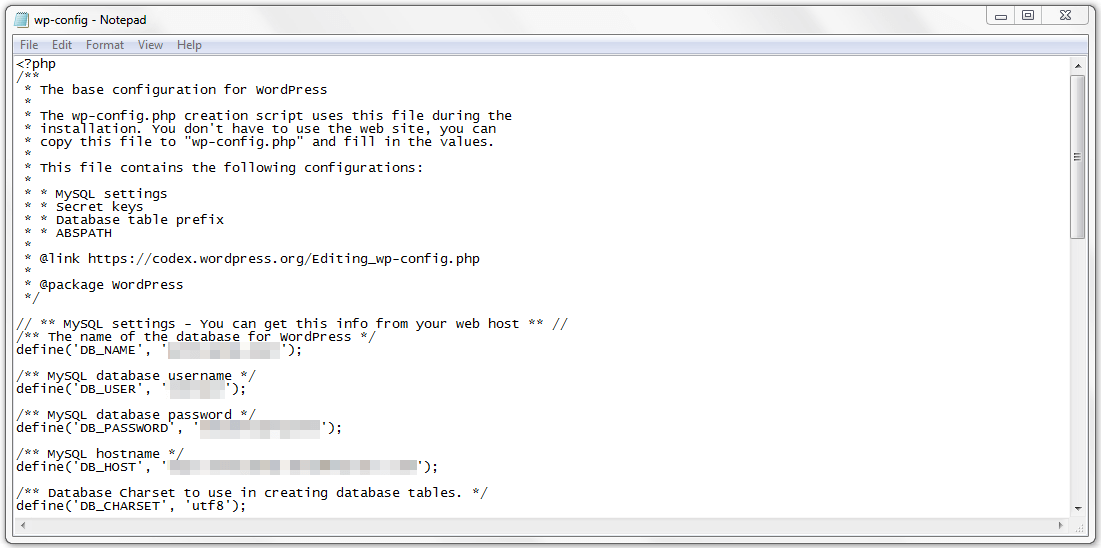
- Scroll down the file, looking for a line reading: /* That’s all, stop editing! Happy blogging. */. You’ll need to paste in the following line of code before this:
define( ‘WP_DEBUG’, true );
This snippet tells WordPress to activate the debug mode. It may actually be present in your wp-config.php file already, in which case you’ll simply need to change false to true.
- Right underneath that line, you should add one more snippet:
define( ‘WP_DEBUG_LOG’, true );
This is what tells WordPress to keep a log of any errors that occur on your site. Together, these two lines are what set up your WordPress logs. At this point, you can save the file and close it. FileZilla will ask if you want to replace the old version of wp-config.php on your server with the new version — you should answer “Yes”.
Step 3: Locate Your New WordPress Logs
Your WordPress logs are now ready to go. Before we wrap up, however, let’s talk about how to use them.
- Reproduce the issue: Your new error log isn’t going to track problems that have occurred in the past. Therefore, if you’re trying to troubleshoot a specific issue, you’ll need to trigger it again by interacting with the element or performing the action that caused it in the first place. This should prompt WordPress to log the error.
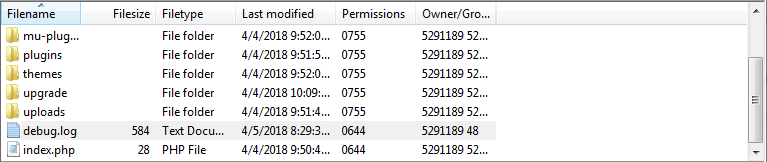
- Locate the error log: You can find the record of this error by logging into your site again using FTP. In your site’s root folder, navigate to the wp-content folder, and look for a new file called debug.log:
[The error log file in FileZilla.]
- Review the error: If you open it up, you’ll see a list of any errors, warnings, and other issues that have occurred on your site since activating your WordPress logs:
[An error log open in a text editor.]

- Find a solution: At this point, you have a couple of choices.
- DIY: If you’re reasonably tech-savvy, you can attempt to figure out what the problem is on your own and fix it. In some cases, your WordPress logs might help you understand what’s causing the error, such as by naming the element at fault. However, performing your own troubleshooting can still be challenging if you aren’t a developer (or don’t have one on hand).
- Ask the community: If you need help, visit the WordPress forums and create a post asking for assistance. Be sure to include the text from your WordPress logs, and you should be able to get the help you need quickly. It also helps to do a Google search on the error, to see if anyone has already inquired or put together a guide for how to solve it.
- Disable error logging: Finally, it’s a good idea to turn your WordPress logs off when you’ve finished your troubleshooting and found a solution. This is less important if you’re working with a staging site, but vital if you ever activate error logs on a live site. Leaving the log functionality on can slow down your otherwise fast WordPress site and expose sensitive information to potential hackers. To turn it off, you’ll simply need to open up wp-config.php once again, change true to false in both lines you added earlier, then save it.
Wrapping up the Overview of WordPress Logs
When errors occur, you may find yourself needing a little assistance. This is when WordPress logs come in very handy since they let you pinpoint the source of an error so you can search for a solution or ask for help.
Before enabling WordPress logs on your site, it’s smart to have a recent backup in place and set up a staging site. Then, you can follow these three steps to create and use an error log:
- Access your website’s files using FTP.
- Edit your wp-config.php file.
- Locate your new WordPress logs.
Questions about how to use WordPress logs to troubleshoot errors on your site? Ask in the comments section below. And for current Pagely clients needing help with logs, please review ‘Debugging Errors on WordPress & Viewing Logs.’