

Migrating your website to a new domain might sound like a daunting task, but sometimes it’s necessary.
You may intend to rebrand, switch to a better domain name, or plan to merge multiple sites. Switching to a new domain can be the key to identifying new opportunities and growing your online presence.
You may grapple with a number of challenges when migrating your website to a new domain name. Switching to a new domain can be a risky move for you. You can acknowledge a temporary dip in search engine performance and audience engagement.
In this guide, we’ll walk you through the entire domain migration process step by step. We will cover all essential processes so you are able to make the transition without having to compromise on your site’s functionality and search engine visibility.
Getting Started
Before you switch to a new domain name, you need to consider a few pre-migration steps to avoid hiccups in the middle of the process.
1. Create a Backup for Your Old Site
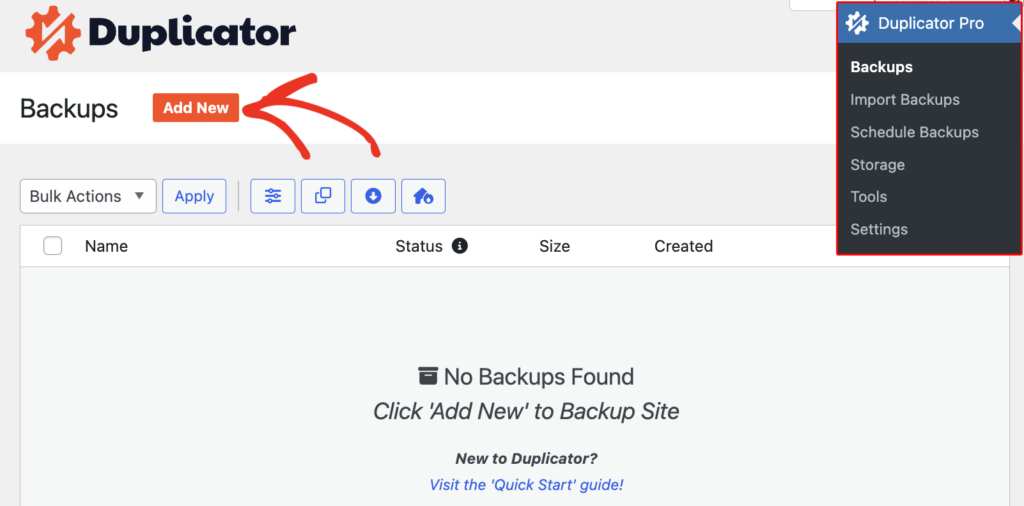
Before you start the migration process, you need to back up your existing WordPress site. You can use your hosting provider’s backup feature or leverage WordPress backup plugins like Duplicator to save your data.
Ensure that you backup all your files, such as themes, plugins, and uploaded media. Be mindful of the content directory, important database connection information, and key configuration settings.
We recommend creating different copies of your backup files and keeping them in various places. You might want to use local and cloud data storage solutions, such as Google Drive or Dropbox.
It may seem like an extra step, but you can never be too careful when it comes to securing your data during the migration process.
2. Secure Your Current Settings
Carefully documenting your existing WordPress configurations is a step that most website owners tend to skip. It can be a critical mistake on their end.
We highly recommend that you secure your current configurations by capturing screenshots of all your dashboard settings and personalized changes to integrated plugins and themes.
A few plugins may require reconfiguring after migration, so documentation of their present setup may save you a lot of time. You should note down custom code snippets, theme file modifications, or functions.php file specifics.
3. Fulfill Domain and Hosting Requirements
Prior to embarking on the domain migration journey, check all the prerequisites for your new domain and hosting. See that you have secured a fitting domain and have complete access to its DNS settings.
You may switch to a new domain for different reasons. The same goes for your hosting service provider. It’s possible that you may consider switching to a new hosting solution as well.
In that case, ensure that your hosting plan can support your operations and provide you with access to the necessary resources to manage your website’s traffic and information. Your hosting solution should meet all your technical and performance-based needs. You can also consider buying a new SSL certificate or simply transferring an existing one.
You must also come up with a DNS migration plan. Review the TTL (Time to Live) settings and how they can impact your migration schedule. You may want to pre-adjust these settings to reduce possible downtime during the transition. Document all existing DNS records since you will need to update or modify them for the new domain.
One of the reasons you may want to migrate to a new domain is to enter a new market. Therefore, you must go through any applicable domain-specific restrictions in the respective regions.
Also, ensure that your new domain doesn’t cause you to run into infringement issues and intellectual property violations to avoid the legal repercussions after migration.
How to Migrate to a New Domain
Now that you know about pre-migration considerations, let’s talk about the steps in the migration process.
1. Set Up a New Domain
To initiate the process of migrating your WordPress site to a new domain, access your domain registrar’s control panel.
Look for the DNS management option and change your Nameservers to reference your hosting provider. It may take some patience since DNS propagation usually takes 24-48 hours.
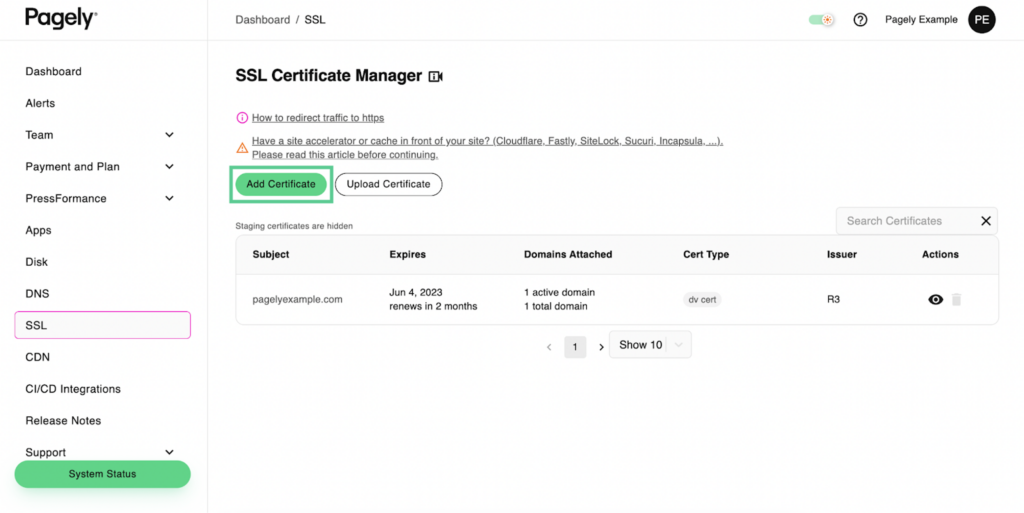
Suppose you haven’t added an SSL certificate. We recommend you do so while you are moving your site to a new domain. An SSL certificate secures your WordPress site from malicious attacks.
Simply access the control panel of your hosting solution, add the certificate, and proceed with the installation process. Make sure the SSL configuration is complete and that your new domain is recognized.
2. Proceed With Database Migration
After completing the first step, go to your existing site’s phpMyAdmin via your hosting provider’s control panel. Pick your WordPress database and go to the export feature.
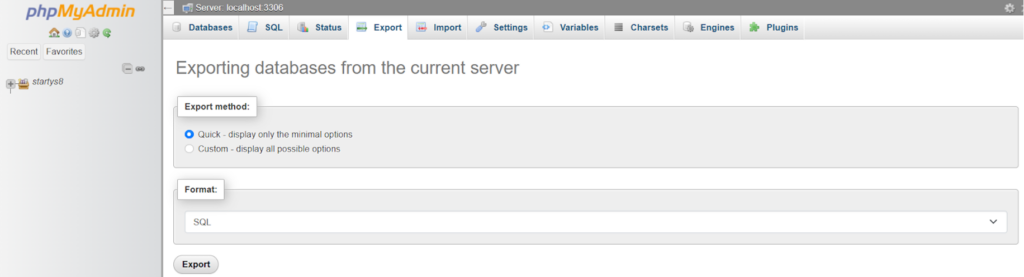
Select SQL as your export format for compatibility reasons. Save the file you just exported locally and check its integrity.
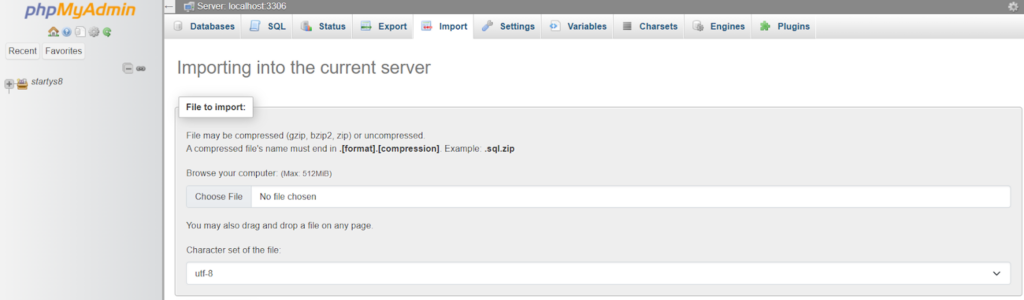
Now, access the database management system and create a new database. Create a new database user and assign complete privileges. Note down the credentials, as you will need them for WordPress configuration later.
Before importing the file, you must update all domain references. You should consider using a reliable search and replace tool, such as Search and Replace by WPCode, designed for WordPress databases. It will help you effortlessly carry out search-replace operations.
Choose your new database through phpMyAdmin and import the SQL file. Look for error messages as the import completes and take necessary measures accordingly.
3. File Transfer
The next step is to create secure connections to both your new and old servers, leveraging an FTP client.
Start by moving your WordPress core files in an appropriate sequence. First comes the wp-admin directory, then you proceed with wp-includes, and lastly, you go with the root directory files. Leave the wp-config.php file for now, as it needs a special handling and configuration process.
Proceed with the transfer of your content directory. It is the most daunting and time-consuming part of the process, as it houses all your plugins, themes, and media files.
Start with the theme directory, then go with the plugins, and lastly, transfer the uploads directory. Be mindful of the file permissions when doing this.
Once the transfer is complete, verify all file permissions. Set your directories to 755, which allows proper access without compromising security. Set regular files to 644. However, set wp-config.php to 600, allowing only the owner to read and modify it.
4. Update WordPress Configuration
To proceed with WordPress configuration, you need to either copy and paste or update the wp-config.php file using your new database. You should update your new database name, login credentials, and host. Plus, the file requires new unique authentication keys and salts.
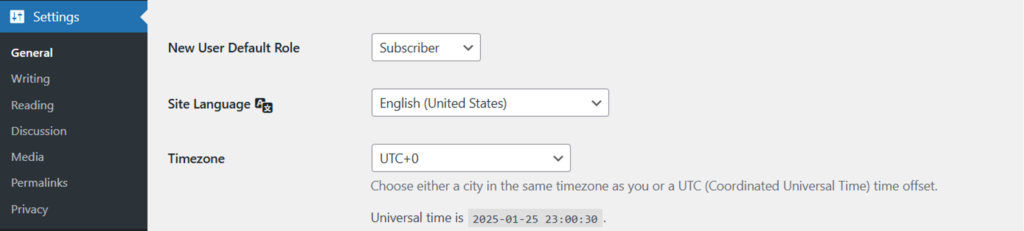
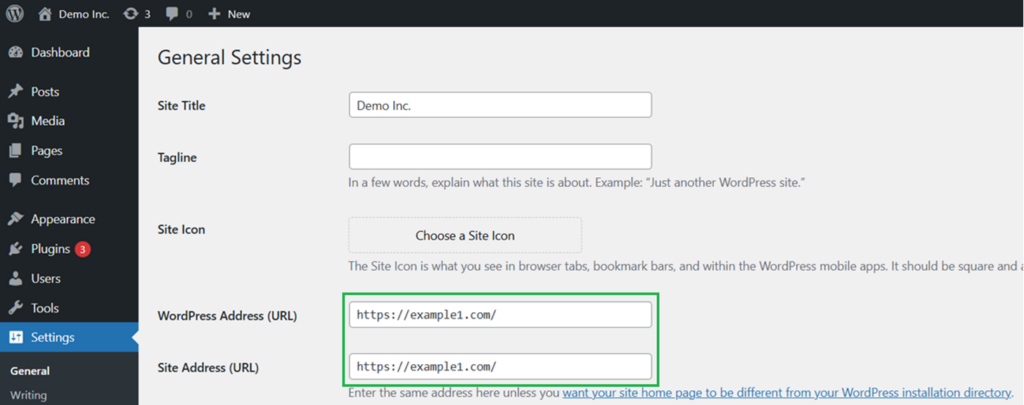
When you know that your WordPress configuration file is ready, log into your WordPress admin panel. Access the general settings section. Now, update both your WordPress address and site address for the new domain. Don’t forget to save the changes.
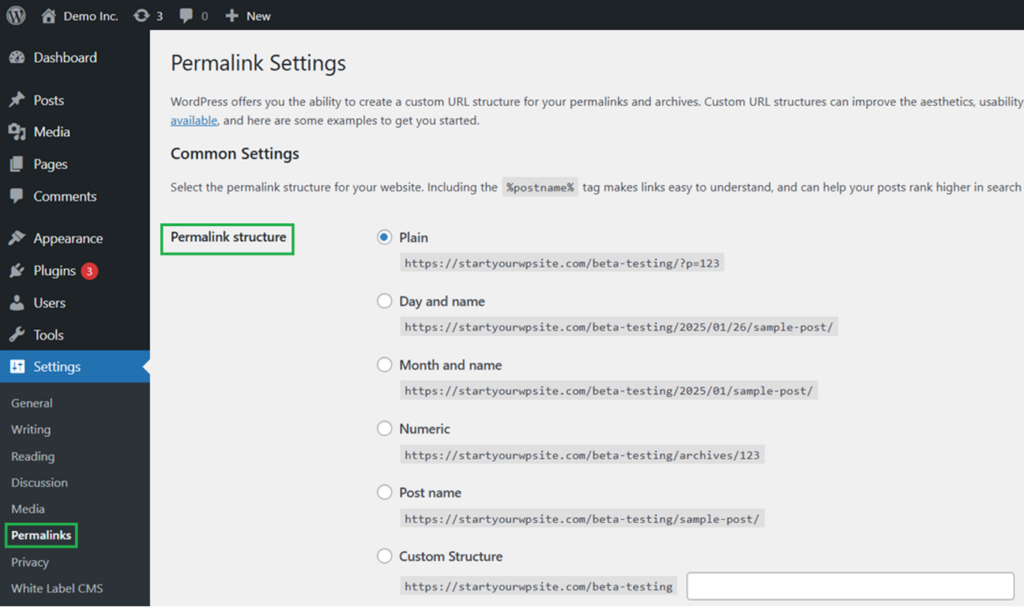
Access the permalink settings through the WordPress dashboard. Pick the same structure as your last website and save your new settings. It’s a critical step that you shouldn’t miss, as it helps improve your SEO and prevents 404 errors.
Lastly, you should scan and update any hardcoded URLs encompassing your plugins, widgets, and theme files. Some plugins and themes may contain absolute URLs, which you need to update for your new domain.
You are through with the migration process. All that’s left for you is to conduct a few important post-migration tasks to ensure that you don’t run into any issues and continue offering a seamless experience to your visitors.
Unless you are fully satisfied with the way your website performs after domain migration, you should maintain your old website. Think of it as your insurance plan. If something goes wrong, you will have an option to revert to the way things were.
Carry Out Post-Migration Tasks
You can’t just complete the domain migration process and call it a day. There are a few post-migration tasks you need to perform to make sure that everything is functioning properly.
1. Test the New Site
You should begin testing your new site with a visual inspection. Browse through all pages, verifying that there are no broken images and styles or layout problems. Check the experience of your essential pages and the published content on both desktop and mobile devices.
Test every interactive component on your site. It encompasses contact forms, buttons, search features, e-commerce functionalities, and so on. Perform different actions and see that the information is accurately processed and stored in your database.
Check your media library functionality. Make sure all images, videos, and documents are visible and displayed correctly. Test uploading media to ensure the process works smoothly on your new domain. You should also see that image thumbnails are generated correctly and that media permalinks are working.
Check all the points of integration with third-party solutions. Look into API integrations, payment gateways, and analytics tracking. Ensure that all external services identify and correctly interact with your new domain.
2. Set Redirects
The next thing you should do is to develop a 301 redirect plan. Set redirects on your old URLs, routing traffic to the new ones. It doesn’t just include your essential website pages but all the content published on your site.
The next thing you should do is check your server logs for 404 errors and see if you’ve missed any URLs. Set redirects on any overlooked URLs and ensure that every redirect is functioning correctly.
3. Inform Search Engines
You should notify search engines, especially Google, because it’s a market giant holding 93% of the search industry market share about domain migration.
Access the Search Console and create a property for your new domain. Submit your new sitemap and index it properly. You should then proceed with transferring your Search Console configurations and data from your old domain to the new one.
Google may take some time to index your new domain. So, you should keep an eye on your indexing status. You should leverage the URL Inspection Tool to ensure that the search engine has successfully crawled and indexed your new domain’s pages.
Upon confirmation of your new domain’s indexing, you should submit a request to remove your old domain URLs from search results.
Proceed with updating your structured data and meta information. You should check title tags, meta descriptions, and other essential search engine optimization elements for better online visibility.
4. Document the Changes
You may lose your current search engine rankings temporarily after domain migration. Hence, you may see a decrease in your organic traffic. The change may also affect other performance indicators. So, it’s important to keep an eye on essential metrics.
You must implement analytics tracking on your new domain. Proceed with updating your Google Analytics configuration and start tracking the KPIs for your new domain. It requires you to set up tracking codes and verify the accuracy of data collection.
You should assess the impact of shifting your site to a new domain on your performance using PageSpeed Insights. It helps you identify performance issues proactively during the transition process.
You need to keep a record of the modifications you made during the migration process and accompanying problems. Documenting the changes you made will help you fix potential bugs or glitches and improve the user experience.
Final Words
We know that migrating to a new domain is a daunting process for someone who hasn’t done it before. You need careful planning and execution to successfully make the transition without causing critical damage to your site’s functionality.
Therefore, we have come up with this detailed guide that will assist you throughout the process.
Remember, shifting to a new domain may affect your site’s performance for the time being. It will affect your search engine rankings, which may cause a decrease in your website traffic. You may also come across issues that may compromise the user experience.
Think of it as a small price to pay. Any change you see is not permanent if you have taken the necessary measures recommended.