
Links can be broken for a number of reasons. A 404 page error can be the result of:
- A typo that leads to the wrong page
- A page that doesn’t currently exist
- A page that was removed or transferred to another link
Though smart marketers and webmasters create fun and high-converting 404 pages, a “page not found” error is truly not the ideal spot for a visitor to land. Besides bad user experience, broken links can have negative implications from an SEO perspective.

When a search engine crawls your website and has trouble finding pages that are supposed to be there, it makes note of these negative results, and your search engine standing is affected. As a rule, broken links should be avoided whenever possible, with a compelling 404 page ready to go as a backup for a worst-case scenario.
One major tactic for avoiding the possibility of a broken link is by creating redirects for pages with URLs that have changed over time, and potentially also for common misspellings of your company’s most important landing pages. Here’s all you need to know about redirects, and how to implement them in WordPress.
As website owners, we all go through that phase where we’re kind of coasting…gradually moving along, allowing things to happen on their own, the way they will.
And that’s okay when there’s not much to worry about or supervise. Let the authors and editors work out formatting, let the social media guy test Facebook plugins, and so on.
However, when you’re moving your WordPress site to a new domain, it’s a whole different ballgame. You have web pages to move around and URLs of old blog posts to restructure. That’s where your knowledge of the CMS comes into play because you have to perform a WordPress redirect.
What Is a WordPress Redirect & How Does It Impact SEO?
In simple terms, a WordPress redirect enables you to transfer visitors from a URL they initially requested to an alternative one. Site owners usually set up redirects because of the following reasons:
- Some webpages are no longer active — Visitors who’ve bookmarked your web page for future reading can end up frustrated if it doesn’t open or displays an error. Redirecting it to your preferred URL is an ideal way to keep your best readers satisfied.
- A webpage needs immediate repairs/updates — Perhaps there’s a landing page on your website with broken imagery. If visitors continue seeing that page as it is, it could take a toll on your user experience. Luckily, WordPress redirect lets you send visitors to a different landing page — the one that’s updated — while you fix issues in the previous one.
- SEO rankings are crucial to maintain — If you’re moving the webpages of your current website to a new domain, redirecting helps ensure search engine spiders can index your new site’s URLs automatically and, at the same time, drop the previous ones from its index. If you have a good backlink profile, be sure that your link juice will be passed to your new domain.
In the scenario that no redirect is performed, your website visitors will see an error message while navigating your domain. It’s likely that they will leave, and possibly never return. Likewise, search engines will have no context of which web page to return for a search query. Hence, redirecting web pages is an essential part of maintaining SEO footprint and delivering the best user experience possible.
Different Types of Redirects
There are a number of different types of redirects. Here’s what each one refers to, According to Search Engine People:
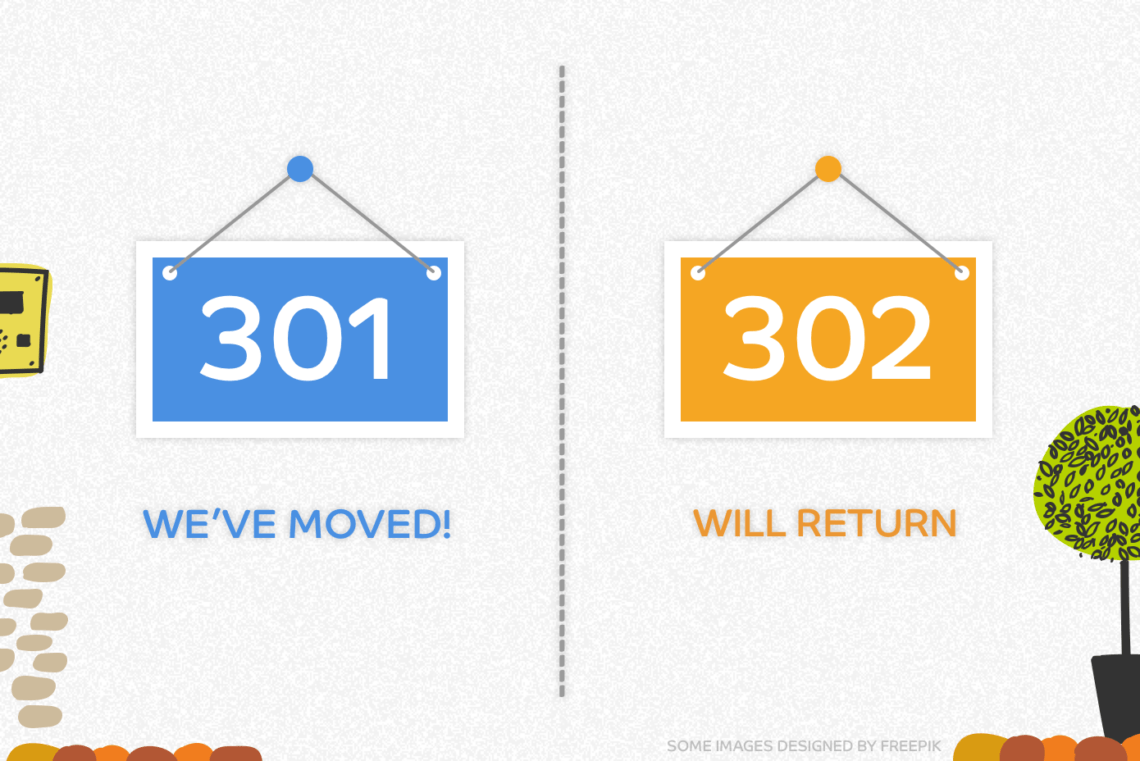
- 301 redirect: 301 redirects stand for permanent redirects that inform search engines that the location of the page they intend to send visitors has been altered. It passes almost 90 percent of ranking power (link juice) to the redirected web page.
- 302 redirect: 302 redirects are temporary redirects that inform search engines that a location of the page they intend to send visitors to is changed for the moment, but not forever.
- 303 redirect: A few webpages store one-time-only information (like landing pages that act as payment forms). You may want to prevent these pages from being refreshed or saved. By setting up 303 redirects, you can instruct the server to tell visitors that if they submitted the form, they should visit this URL and change the method of how they did that. It’s a temporary redirect that ensures the page storing data can’t be refreshed or bookmarked.
- 307 redirect: Very similar to the above.
- 308 redirect: A 307 with permanent status.
When it comes to WordPress, you’d be mostly dealing with 301 redirects. With the right set up, 301 WordPress redirect can improve user experience, address outdated content issues and clean up untidy site architecture — all while preserving your SEO ranking and link diversity. The remainder of this article will focus specifically on this type of redirect.
When to Use a 301 Redirect
The 301 redirect gets its name from the HTTP response status code 301, which informs search engines that a page has been permanently moved to a new URL. From an SEO perspective, it guarantees that you’ll still keep any built up PageRank, associated traffic, and other related search engine information, even after the link URL changes.
You’ll want to create a redirect when:
- Planning to delete a post or page. You can use a redirect to point the visitor to another (related) location or to a new post.
- Changing the permalinks of a post or page.
The following represent different ways to create a WordPress redirect.
Using .htaccess
One of the fastest working types of WordPress redirect is through a web server configuration file .htaccess. As far as WordPress redirects are concerned, this method is one of the more technical and complicated, and should, therefore, be handled with a lot of care.
For the inexperienced backend WordPress developer, messing with the .htaccess file and causing even one small mistake with your code could cause your website to be totally inaccessible. If you think you know what you’re doing, it’s still a good practice to create a backup of the file, or a WordPress staging site before attempting to make any changes.
Creating a 301 Redirect using the WordPress .htaccess file:
- Connect to your WordPress installation using an FTP client.
- Locate the .htaccess file, at the root directory of your WordPress site. Note that if you can’t locate the file, it’s hidden and you’ll need to force the FTP to show your hidden files.
- To edit the .htaccess file, use Notepad or any plain text editor.
- Specify the old location and the new location of a URL.
Sample redirect code:
Redirect 301 /old-page-here.html http://www.yournewwebsite.com/new-page-here.html
- If you need to redirect the whole website, use this sample code:
Redirect 301 / http://www.yournewwebsitehere.com
As a best practice, add the code at the end of the .htaccess file. You can check that the WordPress redirect is working by saving the file and reloading the page you are trying to redirect.
Using WordPress Redirect Plugins
A much simpler way of creating redirects is by using WordPress redirect plugins. These WordPress plugins make it easy to create redirects without needing to use an FTP to access the backend, and in most cases, no coding knowledge is necessary to be successful.
Redirection
With over 800,000 active users on WordPress, this plugin has been reviewed by users as the simplest way to add and manage redirects in WordPress. To use it, just install and activate the plugin, then go to Tools, then Redirection, and start setting up your redirects. As an added bonus, you can also use this WordPress redirects plugin to check your website for 404 page errors that need fixing.
Quick Page/Post Redirect Plugin
This particular WordPress redirects plugin has over 200,000 active users on WordPress. Besides 301 redirects, It also allows you to perform 302 and 307 (meta refresh) redirects.
The plugin has two redirect functionalities — “Quick Redirects” and “Individual Redirects”. Quick Redirects are quick and simple to add. When using this feature, there’s no need to have an existing page or post set up in order to add one. All you have to do is enter in the Request URL and the Destination URL, then the plugin will redirect it.
Individual Redirects are for pages/posts that already exist. The plugin adds an option meta box to the edit screen where you can specify the redirect location and type.
Simple 301 Redirects
To begin, install and activate the plugin. Once that’s done, go to Settings > 301 Redirects to start the process.
Now let’s assume you want to redirect:
Yourwebsite.com/old-url
To
Yourwebsite.com/new-url
All you have to do is grab the part of the URL that comes after .com (or whichever name extension your website ends with) and paste it into the plugin’s fields like this:
Request: /old-URL
Destination: /new-URL
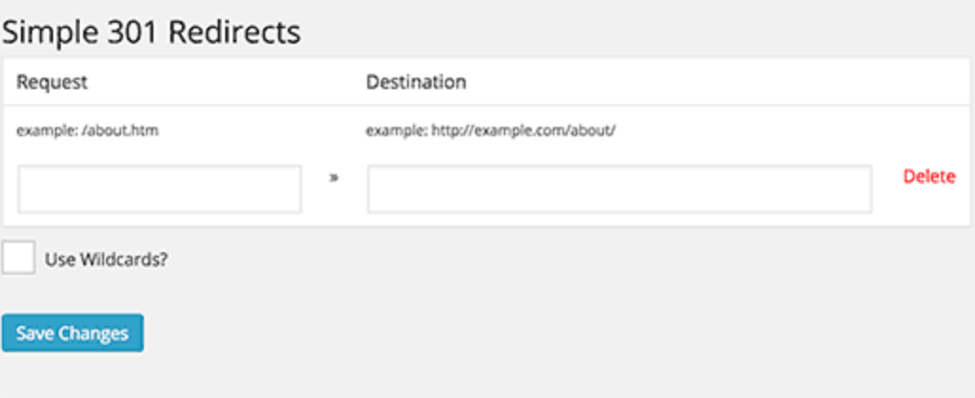
While you can copy and paste the entire URL, using the part relative to the root is a more straightforward way to execute a WordPress redirect.
There’s also an advanced feature named “Wildcards” that you can use to redirect a whole category of web pages to a newly created page category
Let’s say you have several posts (5-10 for instance) in the SEO category:
Yourwebsite.com/seo/post_slug
And you want to change the category name to “digital marketing.” At this point, you’d want to move all your posts from the old category to the new one with the following URL:
Yourwebsite.com/digitalmarketing/post_slug
Instead of redirecting each post manually, you can leverage the wildcards feature to manage the process on your behalf. * asterisks characterize wildcards in the 301 Redirects plugins.
You’ll then configure the plugin fields like this:
Request: /seo/*
Destination: /digitalmarketing/*
Also, check the “Use Wildcards?” box to activate the WordPress redirect for categories.
Once you click Save Changes, your 301 redirects will come into effect. Anyone who attempts to visit the old URL will be taken to the new one automatically.
Page Links To
This plugin allows you to link a post or page to a URL of your choosing, instead of the original WordPress post or page URL. This can be useful if you want to set up navigational links to non-WordPress sections of your website or off-site resources.
Create WordPress Redirects to Avoid Broken Links
It doesn’t matter which method is used to set up a WordPress redirect. The crucial thing is just that you redirect outdated/broken web pages when moving domains, changing your CMS or updating your site. If you don’t redirect those old URLs to new ones that now exist in search engines, all those hard-earned links to your site will vanish, and you’ll have to start over regarding search engine optimization.
Do you employ any other methods for handling WordPress redirects? If so, we’d love to hear what’s working for you! Tweet your thoughts at @Pagely, and we’ll share the best insights.