Did you know that adding a range of popular social media features to your WordPress website is as easy as installing a free plugin? Whether you want to add user profiles, private messaging, groups and more to your website, or you need to build your own fully functioning social media network, the free BuddyPress plugin for WordPress and its library of extensions can give you everything you need in one easy to use package.
This social networking solution in a box allows you to build your own online platform for your business, club, church, sports team, or any other online or offline community you are part off. This allows your visitors and members to get in touch and network with each other, while also staying up to date with the latest developments from your community.
What You Can Do with BuddyPress
As BuddyPress has been built the ‘WordPress way’, it will integrate seamlessly with your website, including a familiar and easy to use interface that makes getting started very simple.
While the core BuddyPress plugin includes lots of great features to help you build and manage your own social network, there are over 500 plugins available for it to help you add even more useful features as and when you need them.
Once activated on your website, BuddyPress allows your visitors to create detailed profiles, interact and form connections with each other, publish updates to their activity streams, and join user groups, plus a whole lot more.
If you want to build an online community around your brand or for a group that you are a part of, WordPress and BuddyPress is the perfect combination.
Getting Started with BuddyPress to Build Your Own Social Network
While it would be impossible to cover all of the features and capabilities of BuddyPress in one article, getting started with this feature-packed plugin is easier than you might think.
As the BuddyPress plugin is free to use, it can be installed on your site directly from the WordPress plugin directory.
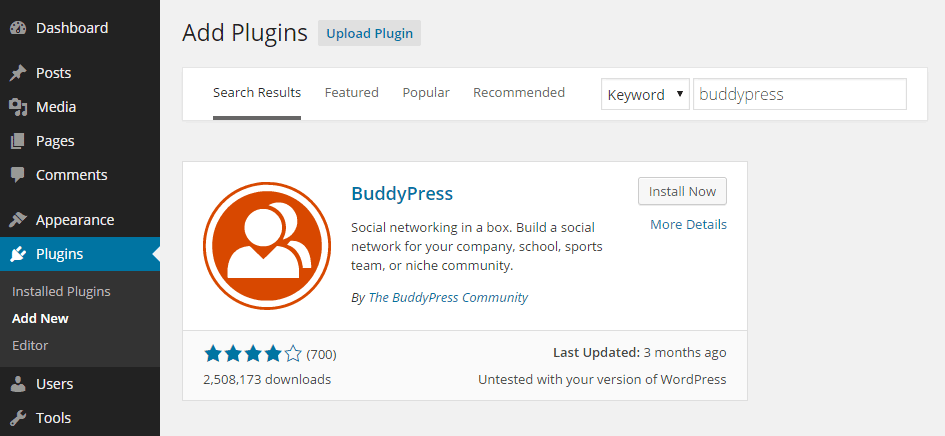
To do so, log into your site’s admin area (http://yoursite.com/wp-login.php) and then navigate to Plugins > Add New using the sidebar menu.
From the Add Plugins screen, enter ‘BuddyPress’ in the search field and then install the first item listed in the results.

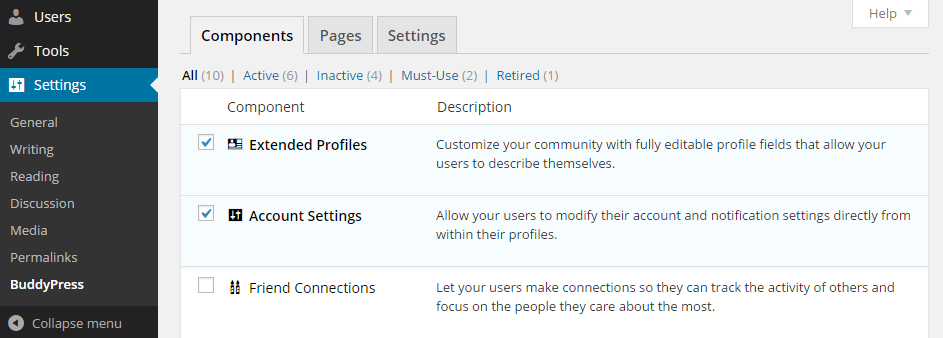
Once the plugin has been installed and activated the settings can be accessed from the newly added BuddyPress menu item located under the Settings sidebar menu.
Configuring Your BuddyPress-Powered Social Network
When it comes to configuring BuddyPress you get a lot of control of how your social network will function.
Each of the core components can be activated or disabled on an individual basis, making BuddyPress a great choice for both those who want to add a few social networking features to their existing website, as well as those attempting to build an entire social media platform with WordPress.

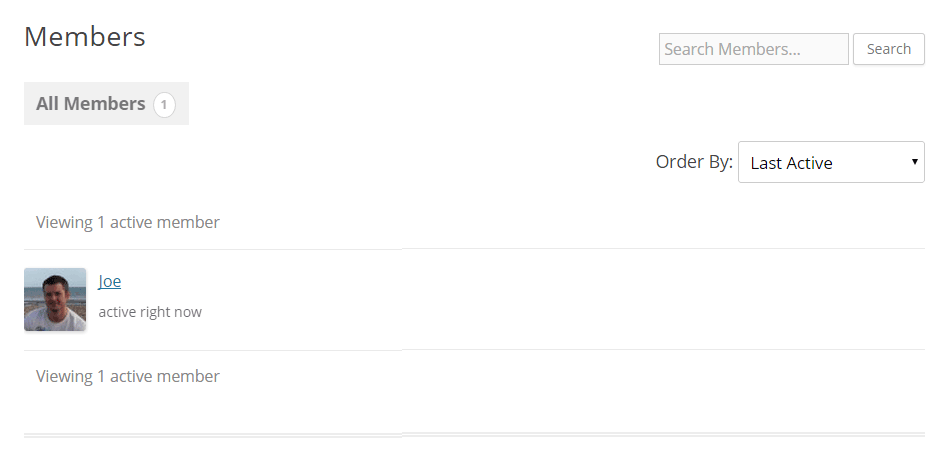
The Pages tab on the setting area of BuddyPress allows you to configure the pages that are used by the plugin to display the member information and their activity streams. You can also setup the registration and activation pages too.

Now the visitors to your website can register and become members of your social network and start accessing any protected content you’ve published and also begin interacting and networking with your community of users.
As mentioned earlier, the BuddyPress plugin has a wealth of plugins of its own available to add even more useful features and functionality to your website. These extensions can be installed just like any other regular WordPress plugin and will work alongside the core BuddyPress software to help you build the social media platform you need.
Conclusion
Hopefully this post has given you a glimpse of how you can use WordPress and BuddyPress to build a fully featured online community to create a place where your friends, family, associates, and other contacts can come together and interact and network with each other.
If you have any questions about BuddyPress, please leave a comment below.
