
A contact form is an essential part of any website. If your you don’t make it easy for your readers to get in touch with you, then there is a good chance you are turning away potential networking opportunities and even new clients and sales.
While publishing your email address on your website is one way to let your readers send you a message, a form makes their life a lot easier, while also ensuring you get the right information sent to you.
So unless you are already inundated with messages and opportunities from your readers, adding a custom form is a quick and easy way to make yourself available to your readers.
Benefits of Adding a Contact Form to Your Website
One of the key benefits of adding a contact form to your website, as opposed to simply listing your email address, is that you can increase the chances of getting more useful messages from your visitors, while also reducing the workload involved in replying to them.
By adding mandatory fields, where the user is required to enter specific information, you can reduce the need to send follow up messages to obtain this information. You can also add fields to the form which allow you to filter the messages based on their topic.
In this review we will take a look at a free plugin that allows you to build simple or advanced contact fields to ensure you get the information you need from your visitors, while also helping to reduce comment form spam.
Visual Form Builder
The Visual Form Builder plugin comes in both free and premium versions. However, the free version has more than enough features to be a useful addition to your website.
After you’ve installed the plugin by going to the Plugins > Add New page on your site and searching for ‘visual form builder’, a new menu item will be added to your site titled Visual Form Builder. From here you can create multiple contact forms to be published on your website.
Building a Custom Contact Form
One of the great features of this contact form plugin is it’s easy to use form builder. This allows you to create custom contact fields that contain any combination of different field types to capture just the right set of information from your visitors.
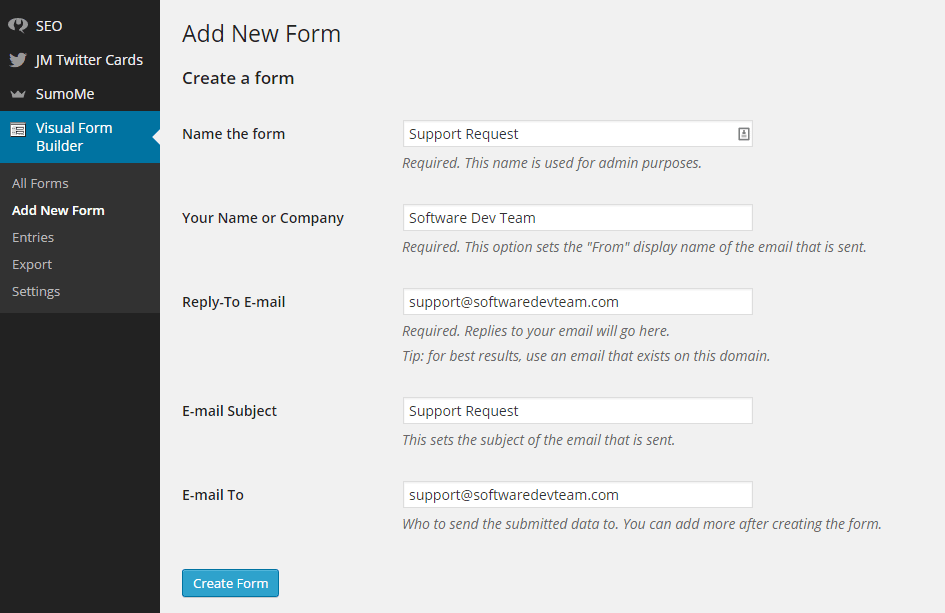
Clicking on the Add New button allows you to enter the basic form details, such as where to send the submissions, before starting work on your form.
Once the form builder loads it will already be populated with the basic template for your form.
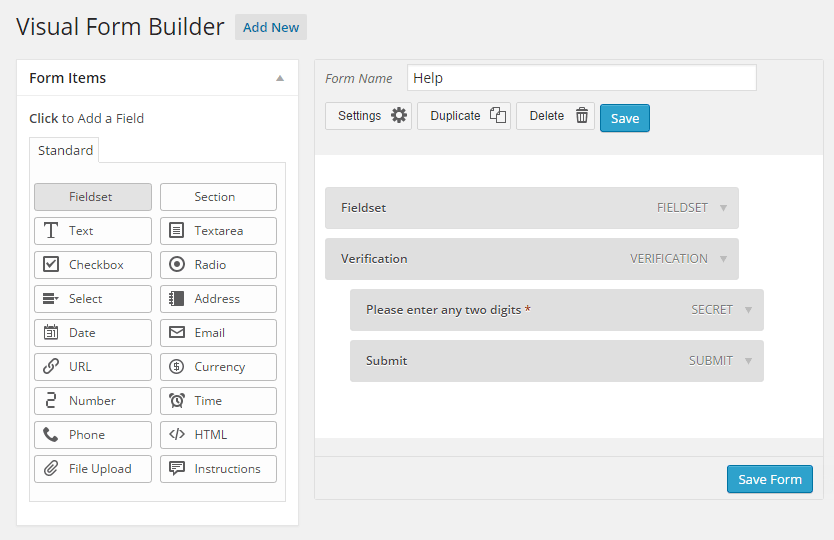
To start adding fields to your form it’s just a case of clicking on them from the Form Items section to add them to the form. Once the field has been added to your form, clicking on it opens that field for editing.
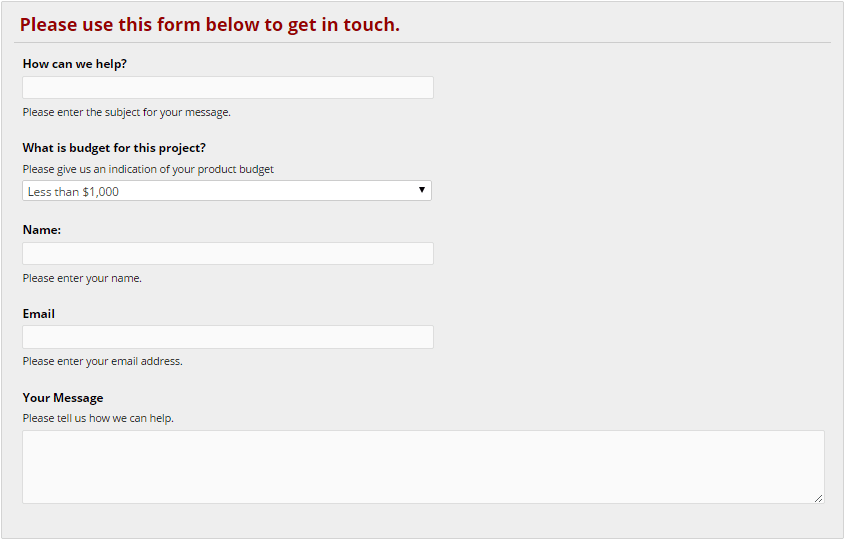
When it comes to choosing from the available fields, there is a good selection of different types on offer. If you are a freelancer you could use the select field to add a drop down list to ask users to submit their project budget from a range of options.

For those offering multiple services or support on a number of topics, adding a radio button field makes it easy to quickly see what the messages received relates to. Adding a mandatory date field helps those offering date based services, such as appointments or bookings get the information they require; while adding a file upload field allows your visitors to submit vital information such as screenshots or other documents.
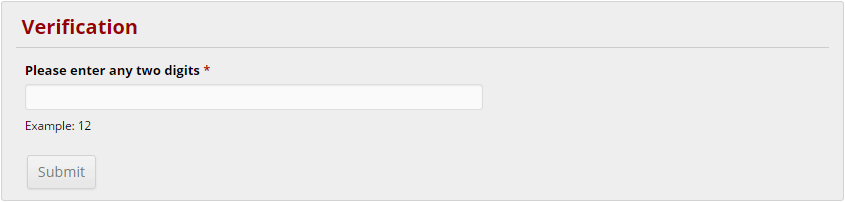
Another nice feature of Visual Form Builder is that it adds a simple verification field to the form to reduce the amount of spam you receive through your form.
Publishing the Form
Once you’ve created the form and saved it, all that is left is to publish it on your site. To do so, either open an existing post or page on your site for editing, or create a new one. Then from the editor formatting buttons, click on the newly added Add Form button.
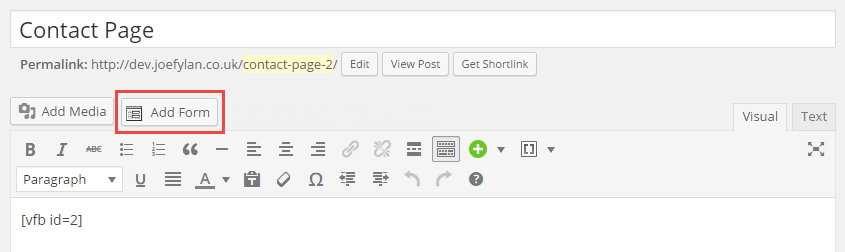
Then simply select the form from the list of options and click on the Insert Form button to add the shortcode to your page.
Now preview your post or page to see how the form looks and if its ready, publish the post or page, and if not, go back to the Visual Form Builder page and continue to work on it.
Submissions to the form will be delivered to the email address you specified when setting up the form. They will also be stored in your website under the Entries section of the Visual Form Builder plugin menu.
Conclusion
While there are more basic contact form plugins for WordPress available, Visual Form Builder is still very easy to use, while giving you the ability to build advanced forms which contain the all-important spam prevention verification field.
If you have any questions about adding contact forms to your WordPress website, please leave a comment below.