If your blog has a regular posting scheduling, or you’d like to implement one, then the plugin we are looking at today will be of interest to you.
By installing the free Publish to Schedule plugin on your website, you can specify the days you’d like new content to be published on your blog. From then on, each time you submit a new post, it will be auto-scheduled to go live on those set publication days and times.
If this sounds like something you could make use of, then read on for our guide to using the Publish to Schedule plugin for WordPress.
How to Use Publish to Schedule on Your Website
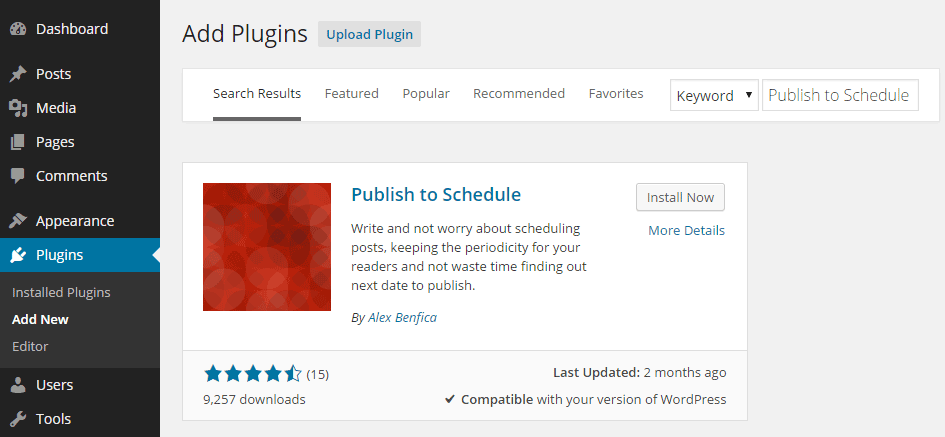
As the Publish to Schedule plugin is free to use, it can be installed on your site directly from the WordPress plugin directory
To do so, log into your site’s admin area (http://yoursite.com/wp-login.php) and then navigate to Plugins > Add New using the sidebar menu.
From the Add Plugins screen, enter ‘Publish to Schedule’ in the search field and then install the first item listed in the results.

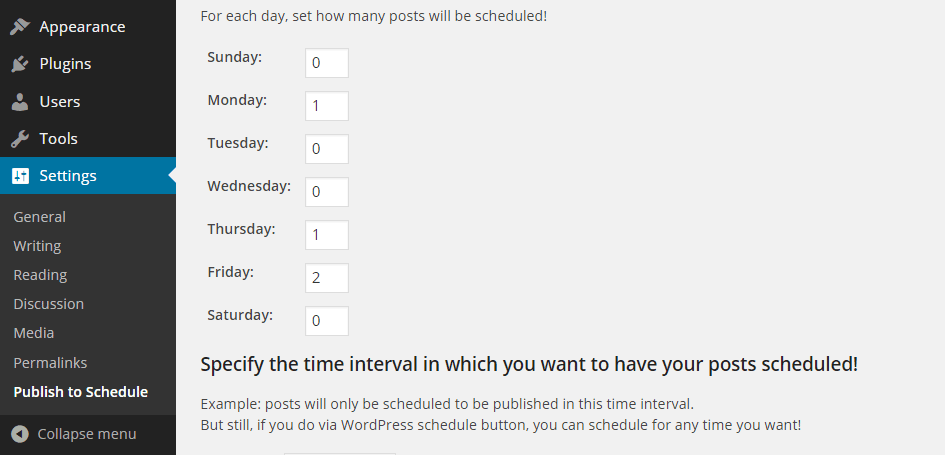
Once the plugin has been installed and activated the settings can be accessed from the newly added sidebar menu item, located under the Settings menu.
Configuring the Publish to Schedule Plugin for WordPress
Through the settings page of the plugin you can set which days posts will be auto-scheduled for. To do so, it’s simply a case of entering a number that signals how many posts you’d like published on each day.

After setting the auto-publication days, you can then enter the time interval of when you’d like the posts to be published.

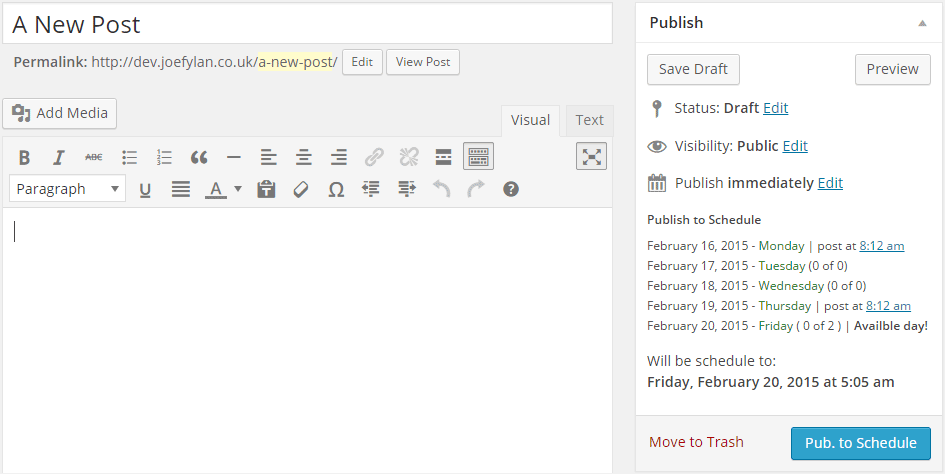
As this plugin updates the Publish button on the post edit screen, through the settings you opt to display all the information about your schedule, or just keep things simple and display the basic information.
Once you’ve chosen your publication days and time interval, you can then start using the plugin to publish your posts according to the new schedule.
Using the Publish to Schedule Plugin
Now, whenever you are ready to publish a new post on your blog, you can press the Publish to Schedule button which replaces the default Publish button to add the post to the next available slot in the schedule.

You can overwrite the schedule for any post, simply by clicking on the Edit button after the Publish Immediately text and choosing a date and time of your choice.
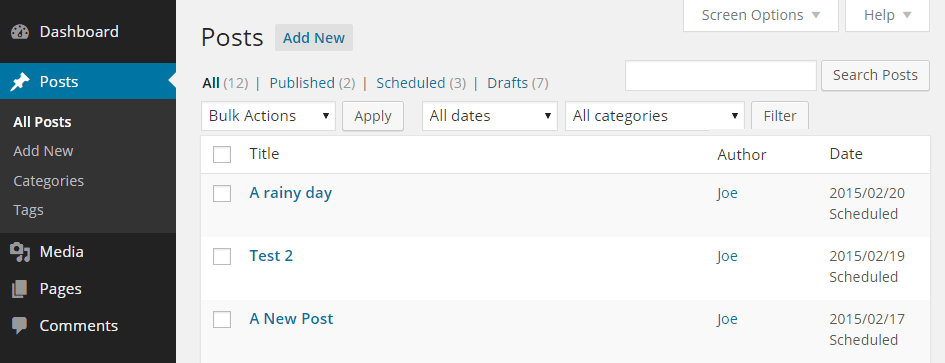
If you want to take a look and see which posts are scheduled for when, you can do so from the standard WordPress posts screen and look in the Date column.

From this screen you can edit the publication date if needed in order to override the scheduled settings.
Now you can sit back and wait for your posts to go live on auto-pilot on your specified publication dates and times.
Conclusion
If you’d like to make it as easy as possible to maintain a regular posting schedule on your blog so that your readers know when to check for your latest content, then the free Publish to Schedule plugin is an easy way to make that happen.
While there are more feature-rich editorial plugins for WordPress, such as Edit Flow which we looked at a while back, if you want a simple but effective way to ensure your posts go out on set days and at certain times, then this plugin is a great choice.
If you have any questions about this plugin or WordPress in general, please leave a comment below. And if you use this plugin, don’t forget to rate it over at the plugin directory.
