
If you are promoting your services or products on your website, or just want to give new visitors a reason to stick around when they arrive at your blog, publishing testimonials from happy clients, customers, and readers is a great way to increase conversions.
Testimonials not only let potential clients and customers know what benefits they can expect from what you are offering, but they can also increase your perceived trustworthiness and credibility.
While endorsements from high profile figures can boost the impact of your reviews, publishing feedback from everyday users can go a long way towards providing social proof and making it easier for your website visitors to make the decision to become clients or customers.
While it’s up to you to gather the feedback from your happy users, in this post we will take a look at a tool which makes it very easy to manage and publish testimonials on your WordPress website.
The Testimonials Slider Plugin
While you can simply add your testimonials to the posts and pages on your website, using a dedicated plugin to manage and publish them can help you make the most of this valuable customer feedback and present it in the best possible way.
Although there are plenty of free testimonial plugins available for WordPress, after testing many of them, it soon became clear that most of them have a few issues that make them unsuitable.
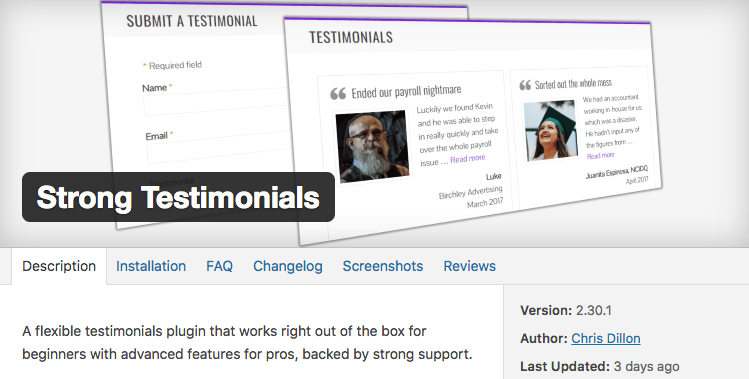
However, the free Strong Testimonials plugin is a great option and is incredibly easy to use. Much of the formatting is already done for you, as it matches things like colors and fonts to your theme.
By using the Strong Testimonials plugin you can add as many reviews to your website as you have, and then publish them either in a slideshow format or as a list in your posts and pages using a shortcode. While there are more feature-packed plugins of this type, this one just works.
How to Use the Strong Testimonials plugin on Your Website
As the Strong Testimonials plugin is free to use, it can be installed on your site directly from the WordPress plugin directory.
To do so, log into your site’s admin area (http://yoursite.com/wp-login.php) and then navigate to Plugins > Add New using the sidebar menu.
From the Add Plugins screen, enter ‘Strong Testimonials’ in the search field and then install the first item listed in the results. There are several testimonial plugins available, so be sure to pick the right one.
Once the plugin has been installed and activated, the settings can be accessed from the newly added Testimonials sidebar menu item.
Configuring the Plugin
Thankfully this is an easy to use plugin that you can start using right away. The settings page only has a few options, but they give you enough control over how the testimonials are displayed on your website.
There are two ways to display the testimonials: as a “display” (list) or as a slideshow. It is very easy to customize- if you choose “slideshow,” for example, you can set things like the order of testimonials and the transition speed.
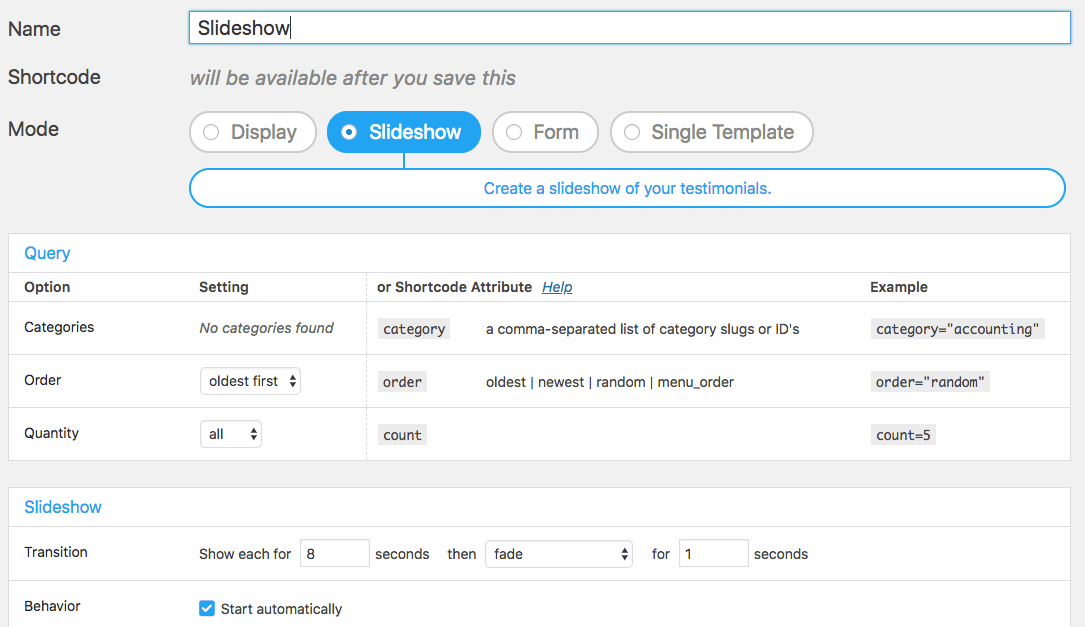
Once you have everything set the way you want it, click “save.” A shortcode will appear at the top of the form, under the name. Put that shortcode on whatever page or post you want your testimonial to show.
However, nothing will show up until you’ve added your first few testimonials. Once you do that, you can see your chosen settings in action and then tweak them if necessary.
Adding Testimonials to Your WordPress Website
After you’ve configured the settings, you can start adding your first testimonials to your WordPress website. To do so, click on Add New from the Testimonials menu.
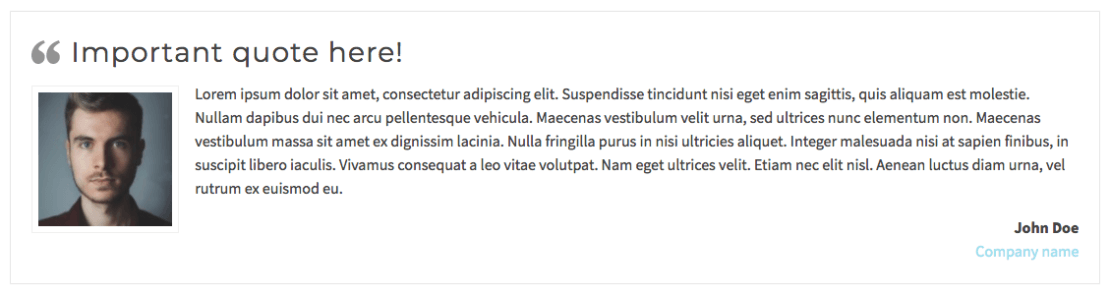
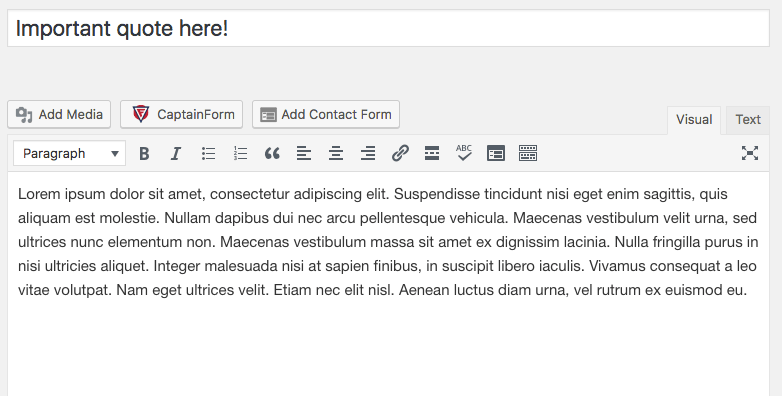
Due to the way this plugin works, you should enter something about the quote that you would like to highlight into the title field, and then the full quote in the body.
You can also add a photo or other image using the featured image field. This image will be displayed alongside the feedback. The name and company of the person giving the testimonial should be put into the form below the post, along with a link to the company’s website or social media.
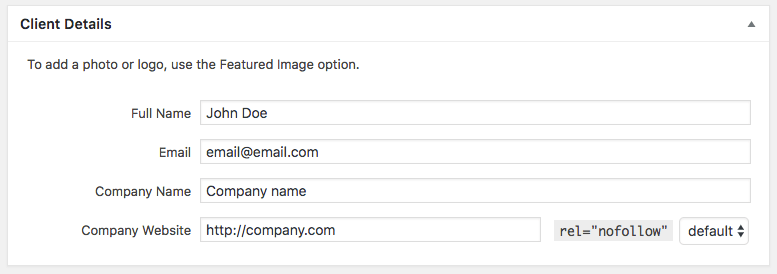
Adding a link is a good idea as it allows your visitors to verify and find out more about your clients and customers, helping to increase your social proof and credibility and the value of the testimonials.
Once you’ve entered the feedback you received you can save it by hitting the publish button.
Publishing Your Testimonials
Wherever you put the shortcode given to you while configuring the plugin is where the testimonials will show. You can also include different types of displays in different places.
One way to use this plugin would be to display the slideshow on your homepage, allowing your visitors to scroll through the testimonials without taking up too much space. Then create a dedicated testimonials page and use the grid layout shortcode to display all your feedback in one place.
Conclusion
Now that you know how to publish feedback in style, if you want an example of what content to include in your testimonials, be sure to check out the Pagely homepage for a few examples.
If you have any questions about this plugin or working with testimonials, please leave a comment below.