Slideshows are a great way to showcase your images, illustrate your content, and display links to the other posts and pages on your website.
While some themes come equipped with content sliders, and there are plenty of premium plugins available in this category, if you are looking for a quick and easy way to add slideshows to your WordPress website, the free Meta Slider plugin is a great choice.
Not only is this plugin free, but its extremely popular with over 1.6 million downloads and an impressive 4.8 out 5 star rating. Part of the appeal of Meta Slider is that it’s very easy to use and includes a number of useful settings and options, allowing you to add mobile-friendly responsive sliders to your posts and pages in no time at all.
To help you decide if this free plugin is the right slideshow option for you, read on for our guide to Meta Slider for WordPress.
How to Use the Meta Slider on Your Website
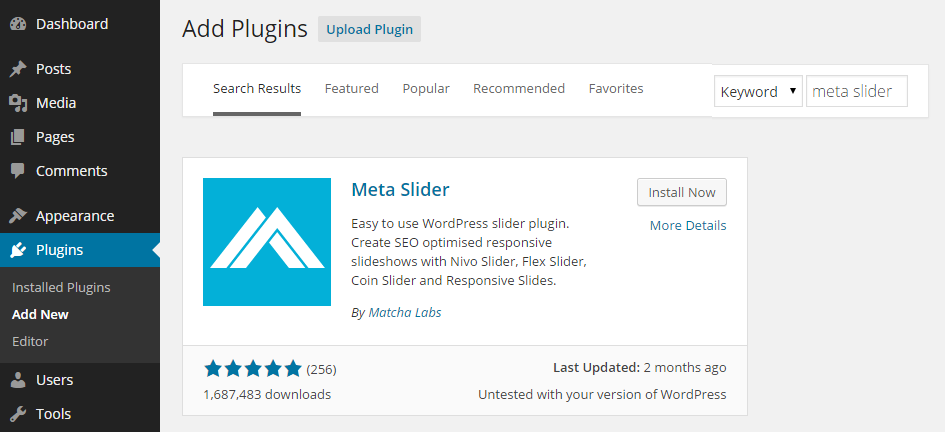
As the Meta Slider plugin is free to use, it can be installed on your site directly from the WordPress plugin directory
To do so, log into your site’s admin area (http://yoursite.com/wp-login.php) and then navigate to Plugins > Add New using the sidebar menu.
From the Add Plugins screen, enter ‘meta slider’ in the search field and then install the first item listed in the results.

Once the plugin has been installed and activated you can create your first slider from the newly added sidebar menu item.
Creating Your First Slideshow
The developers of this plugin have made it as easy as possible to get started. Once you click on the Meta Slider menu item, the button for creating a new slideshow is highlighted for your convenience.

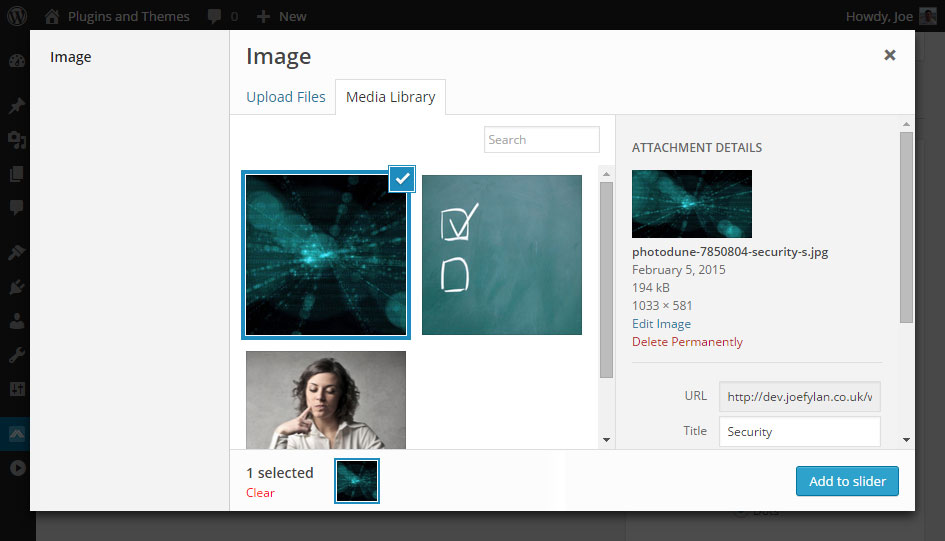
After you’ve initiated the slideshow creation process, the first step is to start creating the individual slides. To create the first slide, simply click on the Add Slider button and then select an image from your site’s media library, or upload the files you want to use by dragging and dropping them into the media library.

After you’ve selected an image for the slide, you can then add an optional caption that will be displayed on top of the image. You can also turn the slide into a link by entering a URL. This can be an external URL or a link to another page on your website. This makes the slideshow a good way to highlight the other posts on your blog.
In the settings panel on the right, you can configure the slideshow. The options allow you to set the size, choose a transition effect, and whether to enable the navigation elements or not. Depending on the slider type you choose, you can also select from a number of themes to alter the appearance of the slideshow.
As Meta Slider includes a few different types of slider formats, you can choose from the Flex Slider, R. Slides, Nivo Slider, or Coin Slider. Each option will change the appearance of your slider and the way it functions so it’s worth trying them out to see which one you prefer.

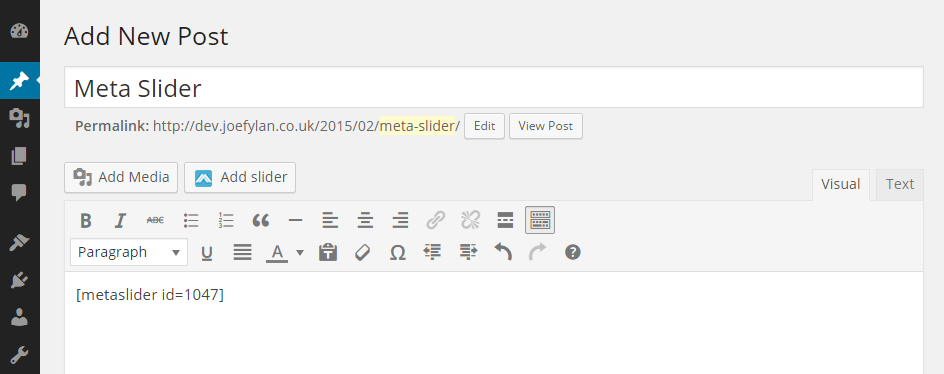
At any point you can preview your slider to see how it will look. Once you are happy with the slider you can save it and then copy the shortcode. Publishing the slideshow is just a case of then pasting that shortcode into a post or page on your website.

Alternatively you can just use the Add slider button that this plugin adds to the post editor. Then preview or publish your post as usual to view the new slideshow. If you need to make any changes to the settings or add new slides, you can do so by clicking on the Meta Slider menu item.
Conclusion
Meta Slider makes it very easy to add a responsive slideshow to your WordPress posts and pages. With four slider styles to choose from, each with their own transition effects and themes, you get plenty of flexibility when it comes to controlling how your slideshows look and feel.
If you have any questions about this plugin or slideshows in general, please leave a comment below.
