
The login page of a WordPress website is the entry point to personal information, valuable content, and many other things that matter to your business. That’s why it’s extremely important to keep this page safe from brute force break-ins — attacks that rapidly test out various combinations of usernames and passwords until one is successful.
When admins and users employ short, simple number combinations and words for usernames and passwords, such as “1234” or “password,” a website becomes much more susceptible to a security breach. But even stronger passwords have a chance of being overcome.
There are several ways to make your login page more secure. You can hide your login page, or use separate logins. But one of the most effective ways is to use Two-factor authentication.
Two-factor authentication secures your WordPress login page and protects your site against attacks. This post will show you how to secure your WordPress site using Google two-step verification, one of the more reliable multi-factor authentication tools available today.
What is Two-Factor Authentication?
Single-factor authentication is when a website requires just a user ID and password to log in. In this case, an attacker can gain entry to a site by simply guessing the right login credentials.
Two-factor authentication prevents your site from cyber criminals and brute force attacks by reconfirming a user’s identity upon login. Specifically, multi-factor authentication requires each user to obtain a verification code from their smartphone to complete the login process.
This tutorial will show you how to receive a verification code through the Google Authenticator smartphone app, but you can also receive codes via text message or voice call.
How To Enable Google Authenticator in WordPress
Before you install the Google Authenticator App on your mobile phone, you’ll need to activate a Google Authenticator plugin on your WordPress website. There are a few to choose from, but at Pagely we use Google Authenticator for WordPress.
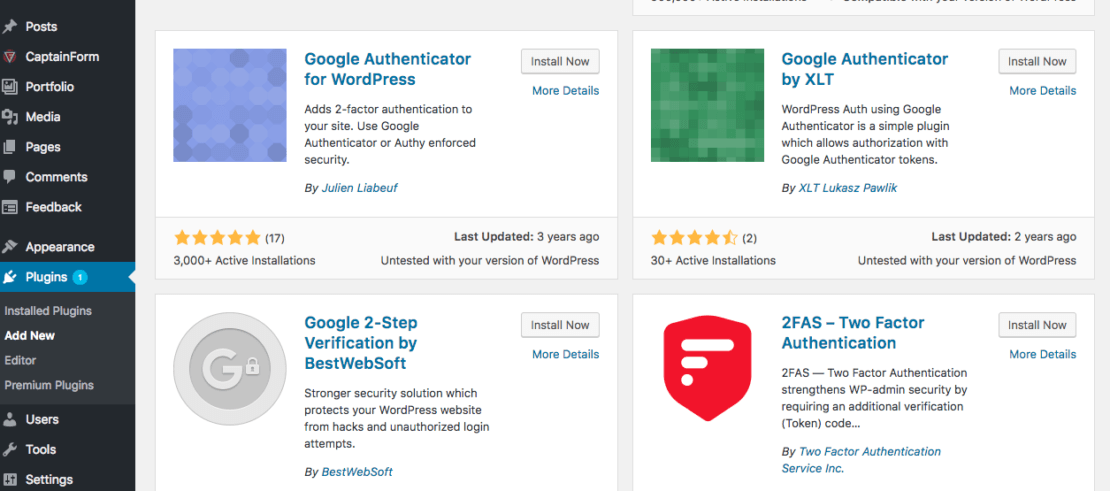
1. Install and activate the Google Authenticator plugin on your WordPress site. Click through Dashboard > Plugin > Add New and search for the ‘Google Authenticator’ plugin. (You may need to scroll a bit to find Google Authenticator for WordPress. It’s the one with the blue icon.)
Click “Install Now,” then “Activate.”
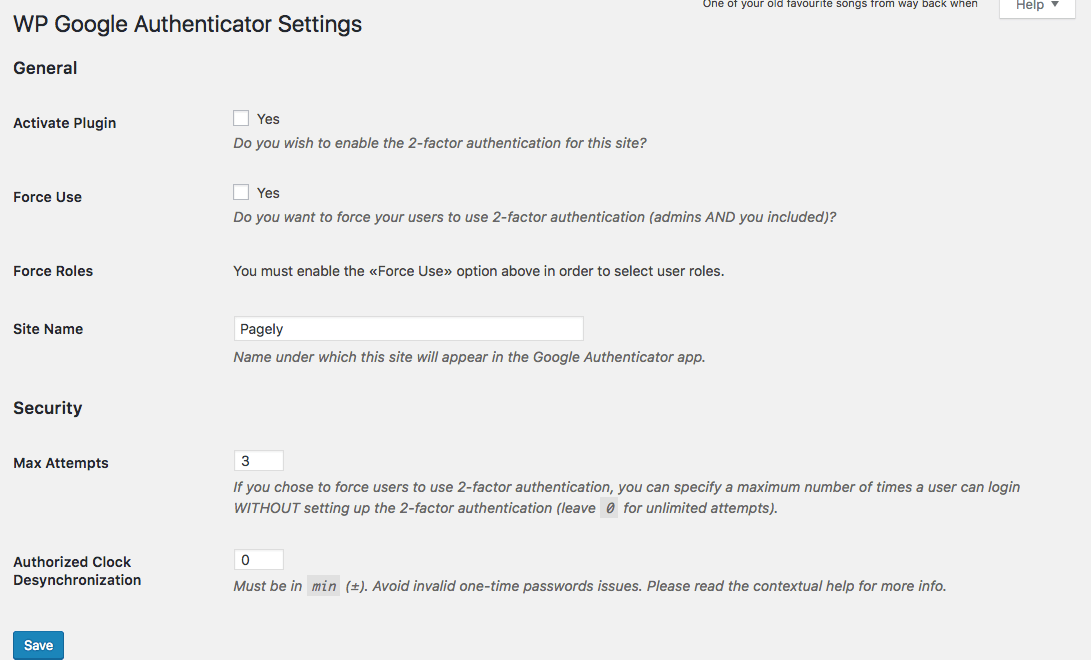
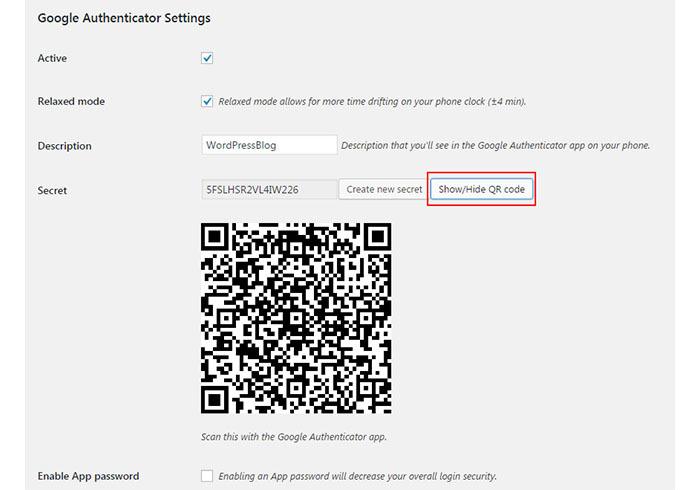
2. Once the Plugin is activated, you will be able to access it through Settings > Authenticator. From here, you can activate the plugin, decide whether or not you want to force users to use it (more on this later), and choose how many chances people have to log in without setting up 2-factor Authentication.
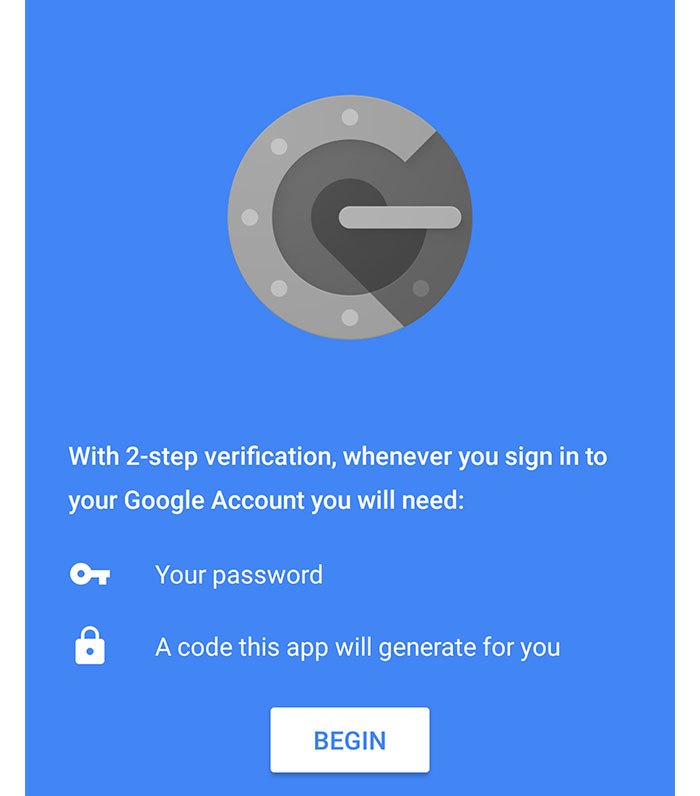
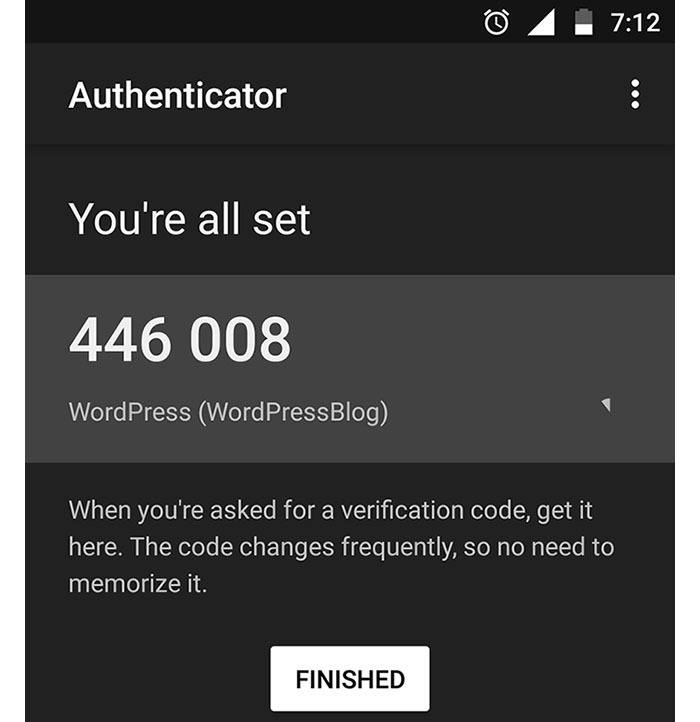
3. Next, you’ll need to install the Google Authenticator app on your mobile device. The app generates a temporary code that refreshes every minute, and once everything is installed successfully, you’ll need your login ID, your password, and an active verification code from the app in order to log in.
You may want to install the app password feature if you do a lot of remote publishing via the WordPress smartphone app; however, this lessens security.
Note: this tutorial shows what the installation process looks like on an Android device, but the process is very similar on an iPhone.
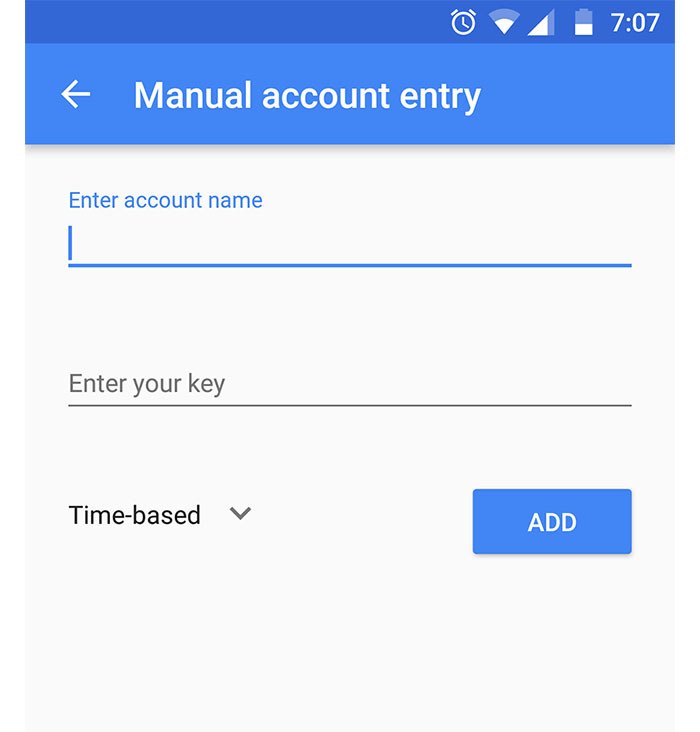
4. To add your site to the Google Authenticator App, open the app on your smartphone. Go to Set Up Account and proceed to Add an Account.

If you’d like to manually add an account, enter the key provided. This is the key that is generated by the plugin against “Secret” in the Google Authenticator settings page. It’s important to write down the secret on a piece of paper and keep it safe.
You can also complete this step by using your smartphone’s camera to take a photo of the QR code in WordPress.
Once you add the account, the app will recognize your website.
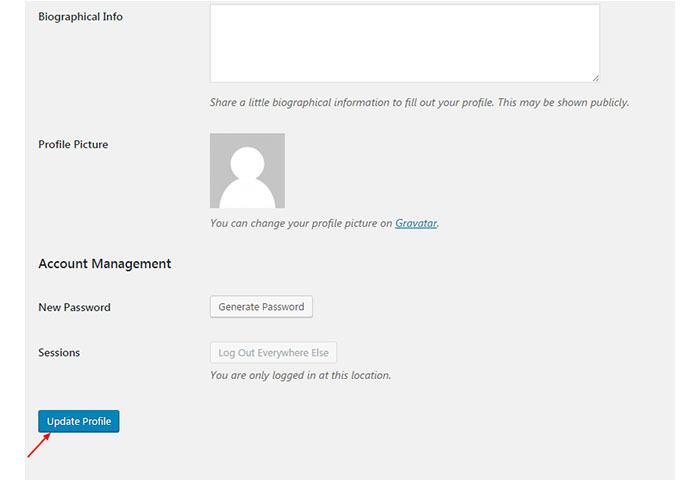
5. Finally, click the active Button, click update profile, and log out of WordPress.
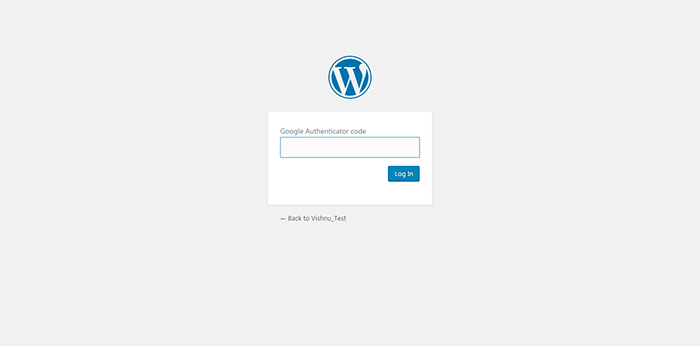
6. When you open the login page again, you’ll see an additional field requiring a Google Authenticator code.
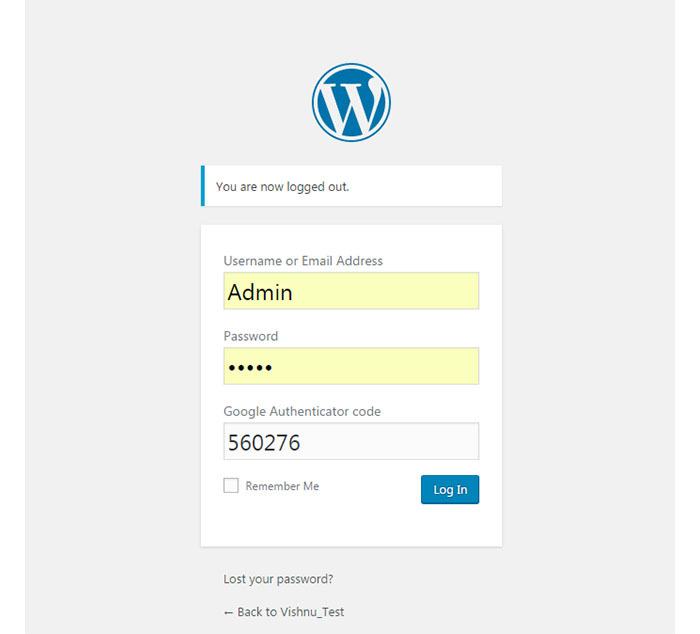
To log into your website again, enter your username and password as usual. You’ll also have to add the code that’s currently available on your mobile app.
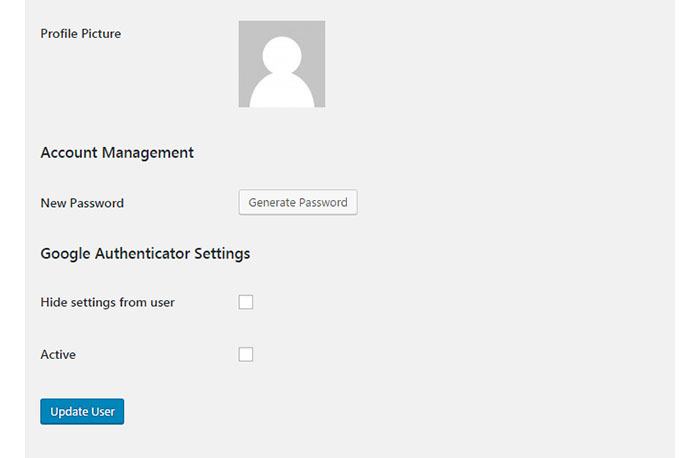
7. If you’d like your users to have the option of two-factor authentication, you can leave the settings as such on each profile page. After logging in, users can choose to check active under settings, install the app on their phone, and update their profiles. If you don’t want users to view or edit your website’s Google Authenticator settings, simply check hide settings from users on each user’s individual profile page.
9. When you activate the Google Authenticator plugin, the verification field appears on the login page to all users, whether or not it’s active. To avoid confusing your users, install Google Authenticator’s Per User Prompt. Users who haven’t set up multi-factor authentication will see the normal login screen without an extra field. Users who are employing two-factor authentication will see a Google Authenticator code field in addition to the usual login screen.
10. If you wish to enforce two-factor authentication for all users, but you want more options than what Google Authenticator for WordPress gives you, you can employ Google Authenticator – Encourage User Activation.
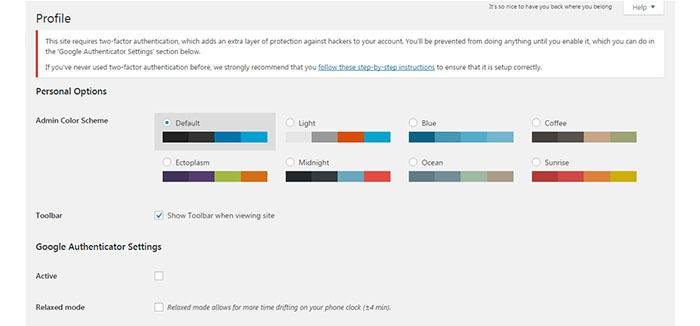
This plugin will allow you to choose between “Nag” and “Force.” “Nag” reminds users to enable two-factor authentication each time they log in. “Force” allows users to log in, but prevents them from taking any action inside WordPress until the feature is enabled.
Precautions
Here are some precautions you must take while setting up two-factor authentication:
- Make sure your web host is providing accurate time information.
- Write down the Google Authenticator secret and keep it safe for future reference. This is given to you when you first set up the app.
- Don’t activate the two-factor authentication on behalf of other users, or else they’ll be unable to login without your assistance.
- If you get a new mobile device, install the two-factor authentication code prior to discarding your old phone, if possible.
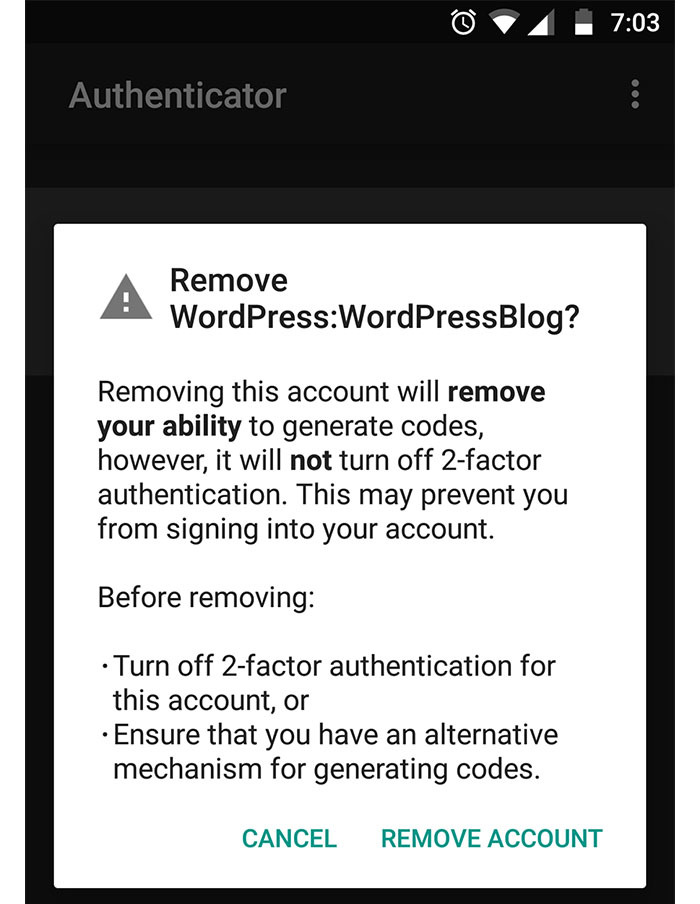
- Don’t delete the app on your mobile without turning off two-factor authentication on your website.
Troubleshooting
As an admin, it’s still possible to lock yourself out of the site (either by losing your phone or for another reason). In such cases, you can manually delete the plugin from the wp-content/plugins/google authenticator folder. This will return you to a single-step authentication. If a user loses his or her phone, an admin can edit the user’s profile so that the user can log in without a code.
Webmasters and WordPress hosting services are required to respond to security threats as they arise. However, installing multi-factor authentication on your site is an important proactive measure for keeping your site safe and secure.
Want to add an additional level of security? You can also force strong passwords.