
As web technology rapidly (and constantly) advances, it’s important to learn how to use modern technology to keep up with your rival developers, or risk losing out on much-needed work.
While there’s a little bit of a learning curve for every new tool, being an early adopter helps you stay at the top of your game. One good way to know whether technology is worth trying is to give new tools at least six months of industry use, and see which developers are integrating it into their long-term methods.
In this article, you’ll learn about nine tools for WordPress plugin development you may not currently be using. However, let’s firstly look at how we’ve chosen these plugins. Let’s get started!
How We Chose Our Plugin Development Tools
Plugin development is serious business, regardless of whether you’re building an open-source or otherwise. Anyone using your plugin will want your code to run smoothly, quickly, and cohesively with the rest of their WordPress setup.
There are a number of WordPress standards, and quite a few tools to help you meet them more easily. If you learn about the possibilities at your disposal, you can focus on solving problems with code rather than in your code.
Our criteria for any development tools are:
- Having a big enough community behind it that you can get help if something goes wrong.
- There are existing tutorials explaining how to use it.
- Developers have used it on production-ready work, not just experimental projects.
- Optionally (but preferably), at least one or two prominent WordPress developers have backed it in some way.
Now it’s time to have a look at what tools your should be using in your plugin development. By choosing the right solutions for your workflow, you’ll be able to produce plugins that suit modern code and WordPress standards quickly and efficiently.
9 Tools You Should Be Using In Your Plugin Development
We have broken down the nine tools into four sections (writing, running, automating, and testing code) that should be part of your workflow. We recommend giving each tool a spin and seeing what works best for you and your projects.
Regardless of what you opt for, all are worth learning about so you can curate your own developer toolbox. In addition, the tools below are completely free to use — much like our previous article on essential web development solutions.
Write Code: Open-Source Coding Editors
Technically, code can be written in any plain text editor. However, doing so is easier when using a dedicated code editor as they come packed with a myriad of features to help speed up your work.
When choosing a coding editor, you’ll want to look for features such as syntax highlighting, language-specific code snippets, and Git syncing. A few years ago, accessing these features meant paying a premium. Of course, you can still find stellar paid editors, but it’s now possible to find competitive editors for zero outlay.
1. Atom
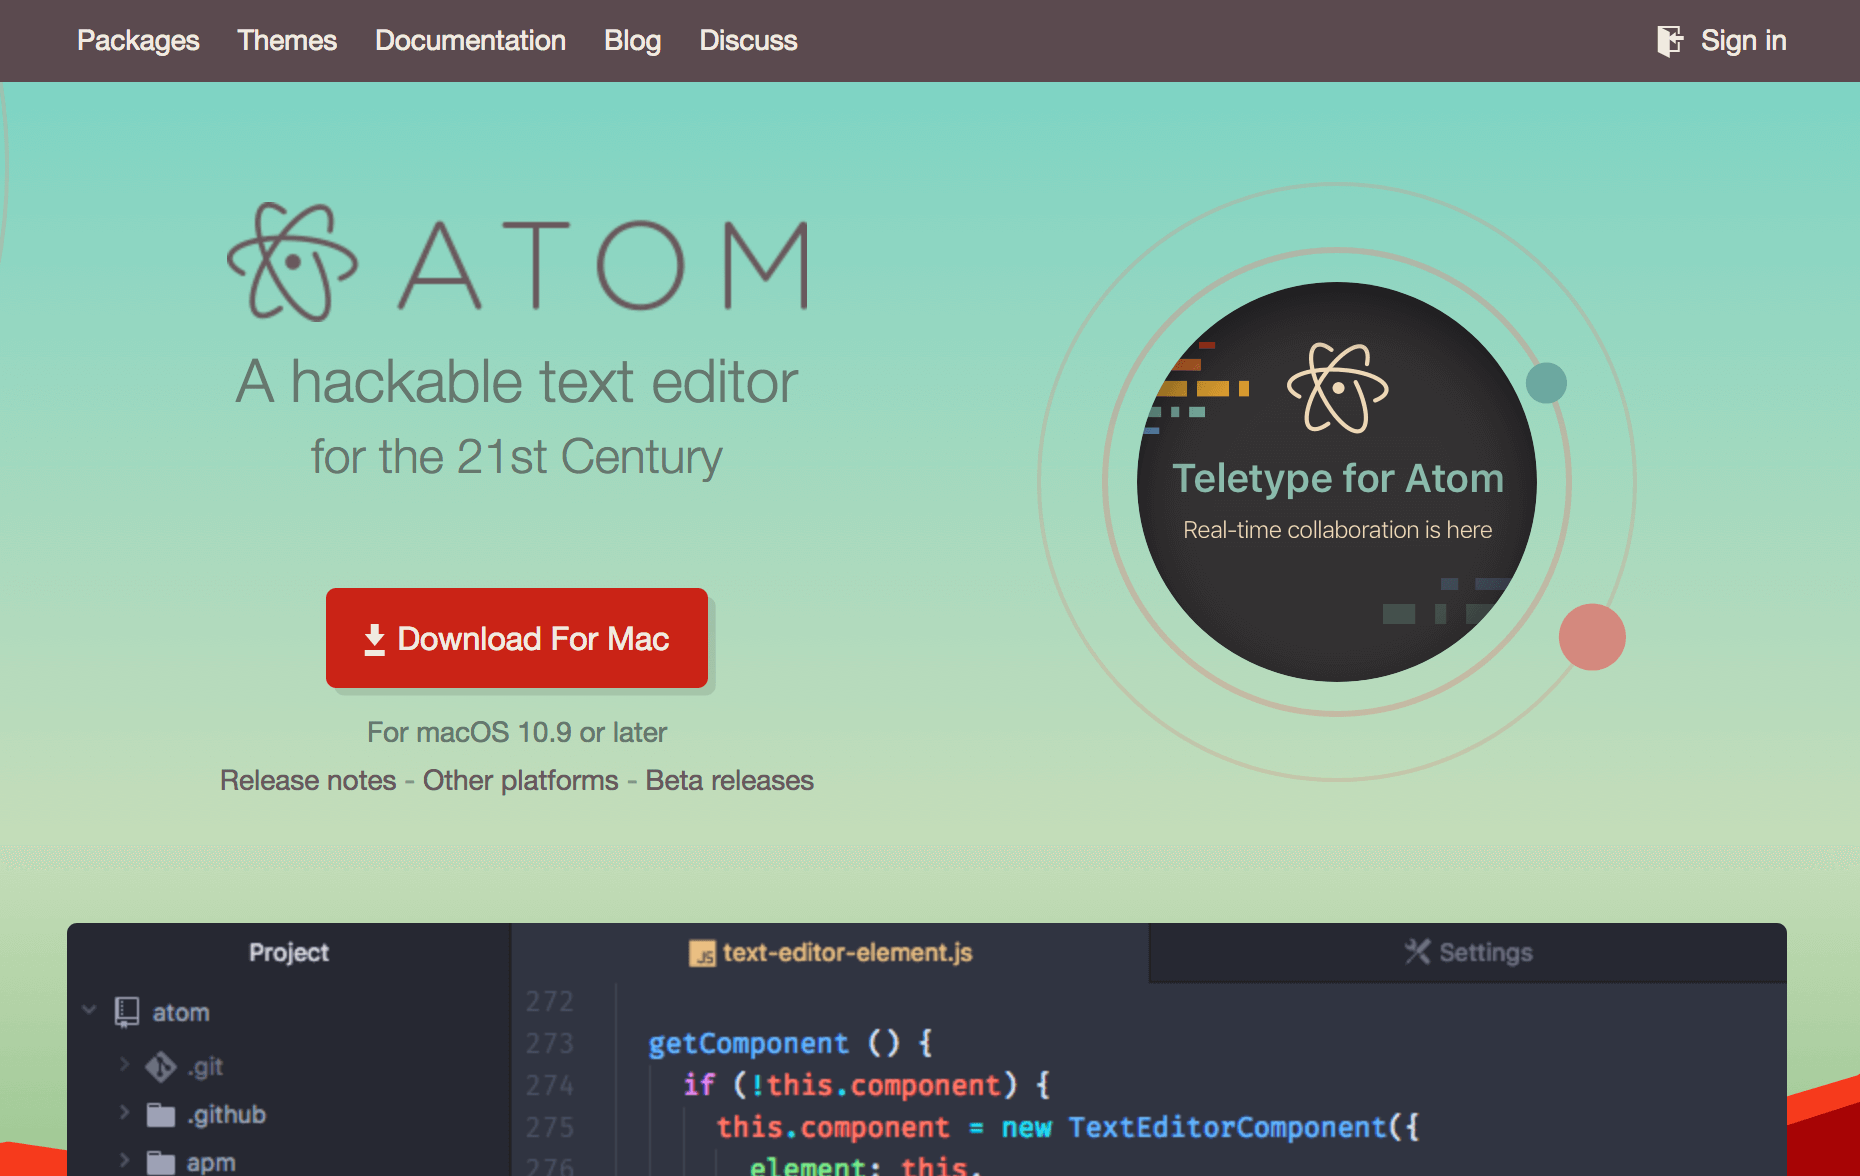
Atom is GitHub‘s open-source, hackable editor. It’s designed so users can completely customize it to work to their exact requirements. It’s extensible through community ‘packages’ (think plugins), which enables you to add support for non-standard features.
Even so, it’s still an impressive tool out of the box. For starters, there are a myriad of supported Operating Systems (OS) and package formats, and an intuitive file system browser for viewing project files. In addition, there’s a smart autocompletion tool to help you write code faster, and an advanced ‘find and replace’ feature so you can quickly update the same string across your entire project. The extensive and comprehensive documentation outlines the many aspects of using Atom.
As for installing packages, we recommend some of the WordPress-specific ones (WordPress API and Autocomplete WordPress Hooks), along with more code-specific packages such as Autocomplete PHP and Autocomplete HTML.
2. Brackets
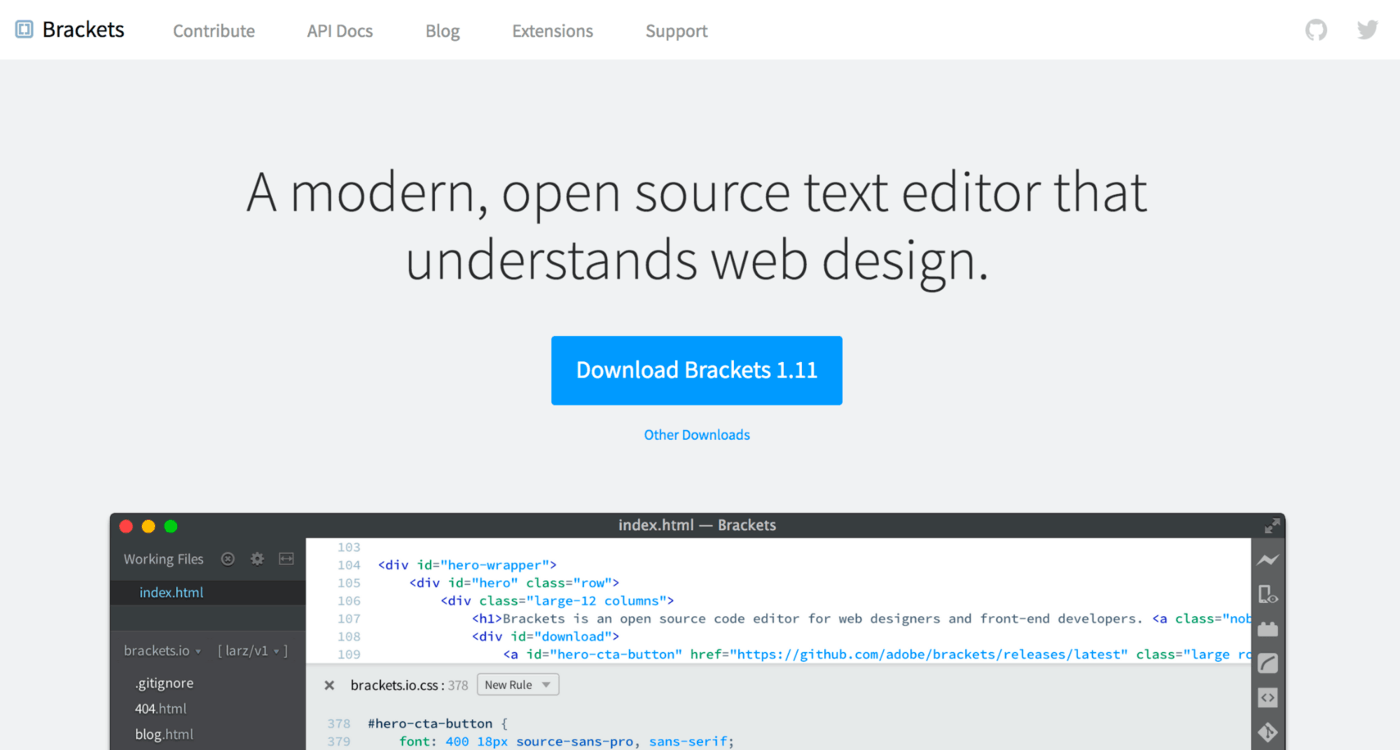
Brackets is another stand-out editor, produced by Adobe. The feature set here is focused on live editing, which enables you to see live changes in a browser while working. The tool offers inline editors (enabling you to jump between related code snippets), and preprocessor support, to help render SCSS and LESS files.
In contrast to Atom’s packages, Brackets offers ‘extensions’. In our opinion, WordPress Hint is a must-have add-on for any WordPress developer. Finally, Brackets has a dedicated wiki to help get you up and running, along with helping you when you’re stuck.
Run Code: Local Development Programs
While it is possible to develop on a live server, it is incredibly inefficient to do so. It is better to set up your local computer to support PHP and MySQL so you can write and test code quickly before trying it out on a live website. Your options are to configure your computer manually, or use a program to automatically manage the server elements. Unless you’re incredibly comfortable with Linux server management, the second of these options is usually the best choice.
With that in mind, let’s take a look at a couple of solutions you may be interested in.
3. Homebrew (macOS Only)
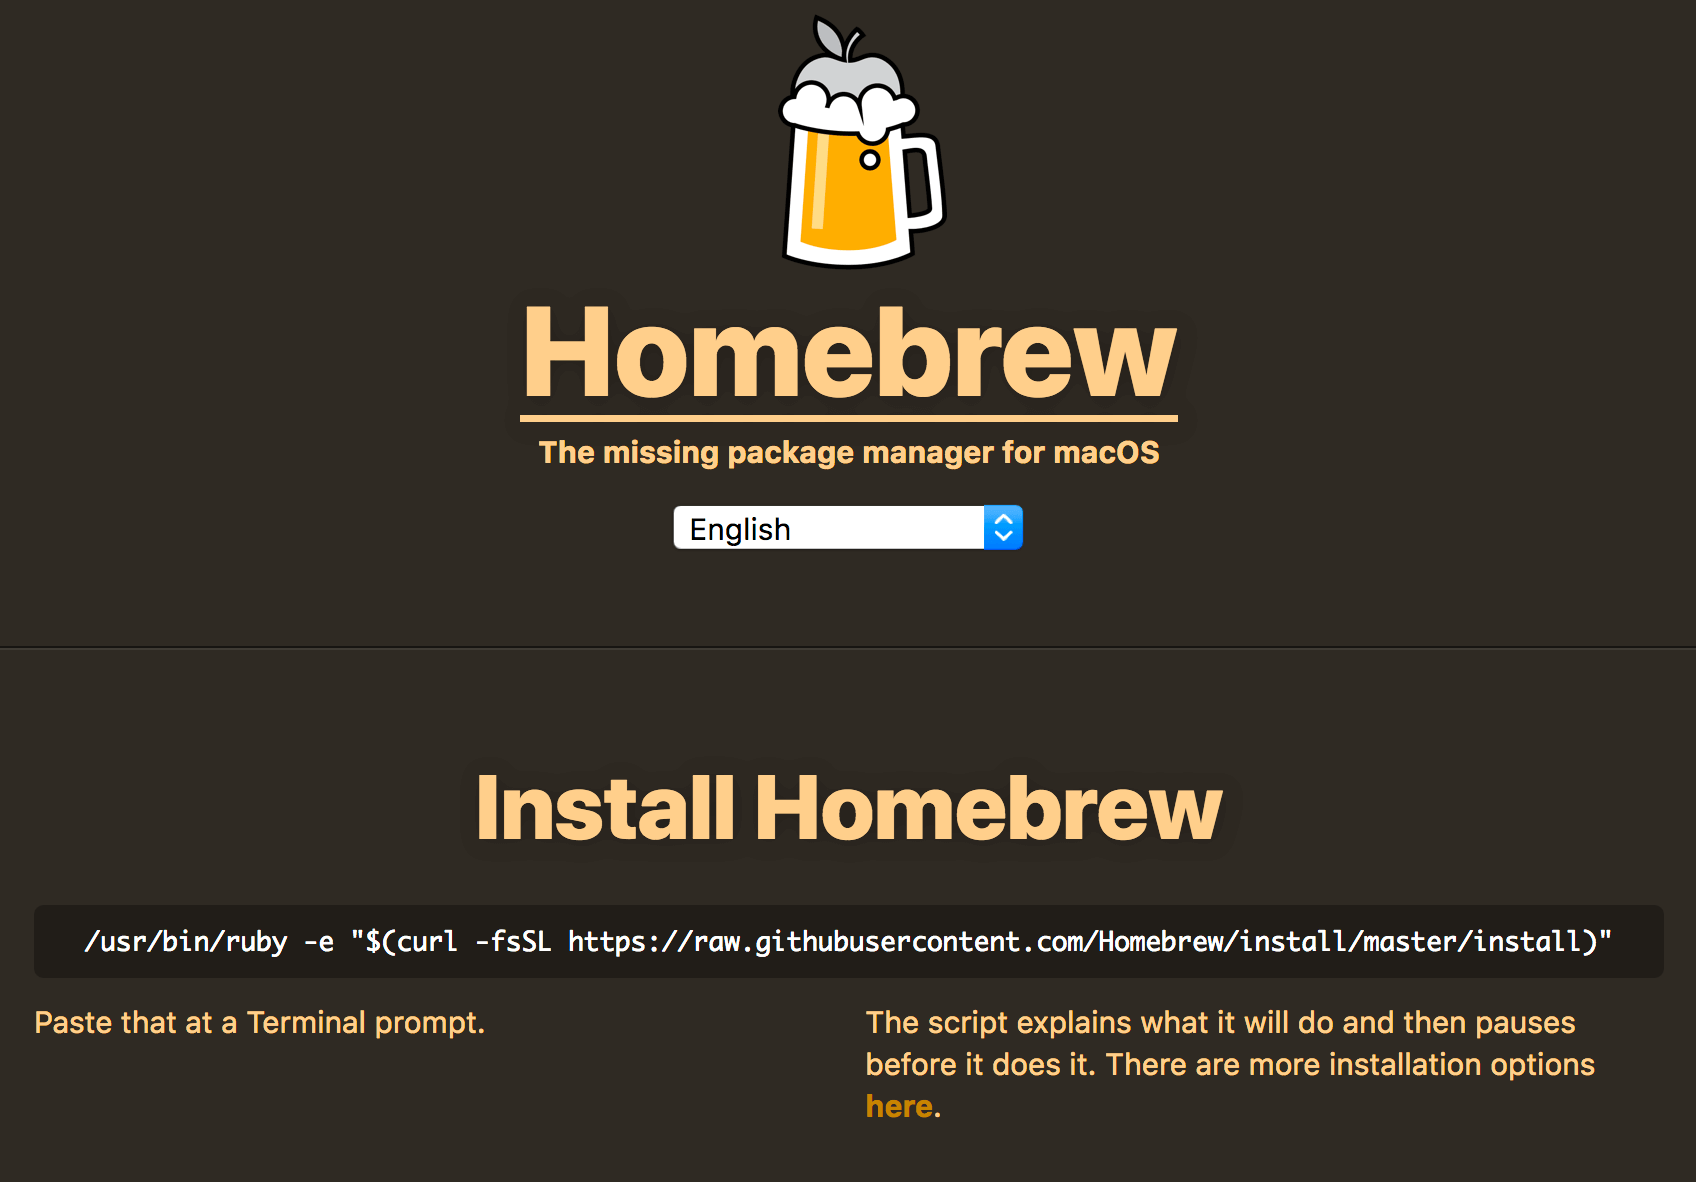
In a nutshell, package managers help you set up your own local server development without relying on your computer’s defaults. These are run from the terminal, and enable you to quickly download and configure different server packages (such as PHP and MySQL) to work on your computer.
Homebrew is the package manager of choice for Mac users. The home page concisely outlines what the package manager does, but in short, it installs over 4,000 files that you’ll need when developing on your computer. The script itself is very user-friendly, and will walk you through the process as it installs.
For Windows users, Scoop is that platforms’ answer to Homebrew, and the command line can be used to quickly install the necessary components.
4. XAMPP

XAMPP is a perennial server distribution program, enabling you to run an independent server on which to develop locally. There are a few variations (including WAMP, MAMP, and LAMP designed for various platforms), but XAMPP offers the most bang for your buck.
You can get a local WordPress environment up and running pretty quickly, and a primary benefit is that XAMPP offers a close experience to a live server, while giving you the flexibility to tweak your installation to your exact requirements.
5. Vagrant
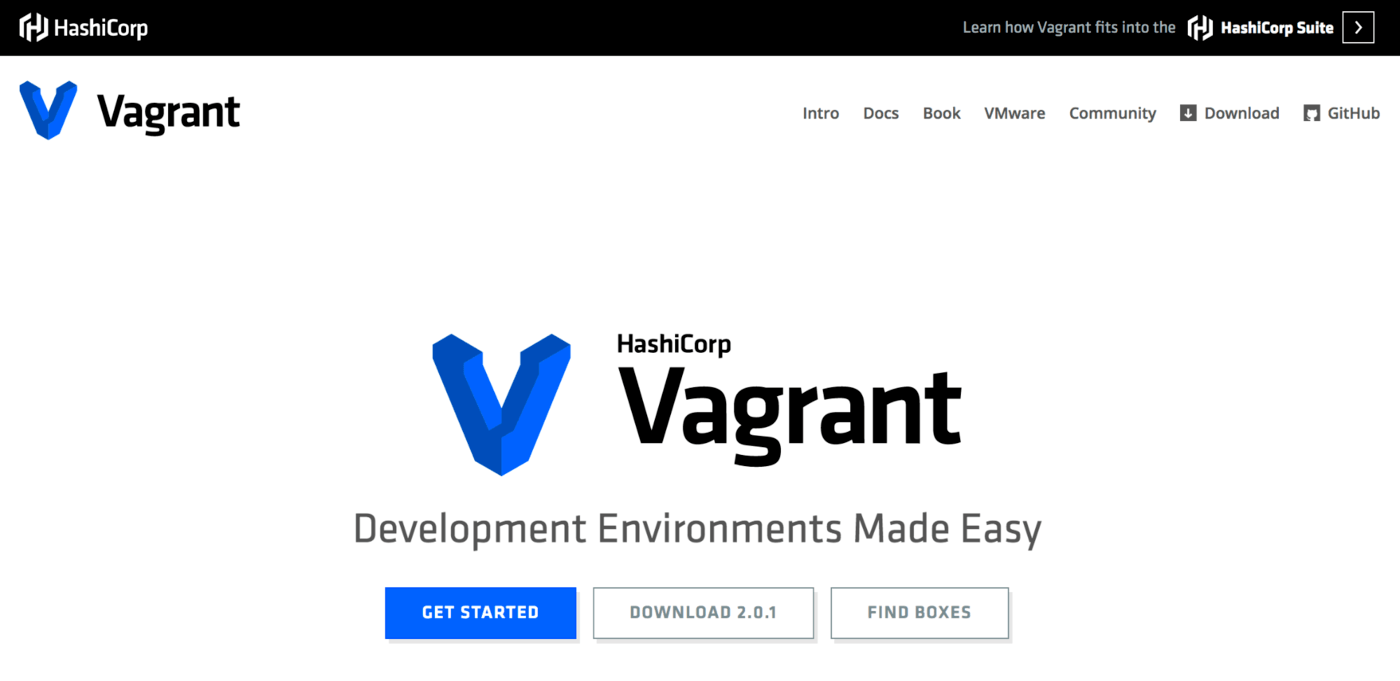
For those looking to take their WordPress development to the next level, Vagrant offers higher control over your server environments than other options. It’s a little more complex to set up, but shouldn’t be out of reach for most developers.
The primary benefit of Vagrant is to offer you the ability to fine-tune your settings to ensure wide compatibility on a variety of different server setups. Depending on your project, this will be invaluable for getting a solid and stable plugin out of the door.
6. DesktopServer
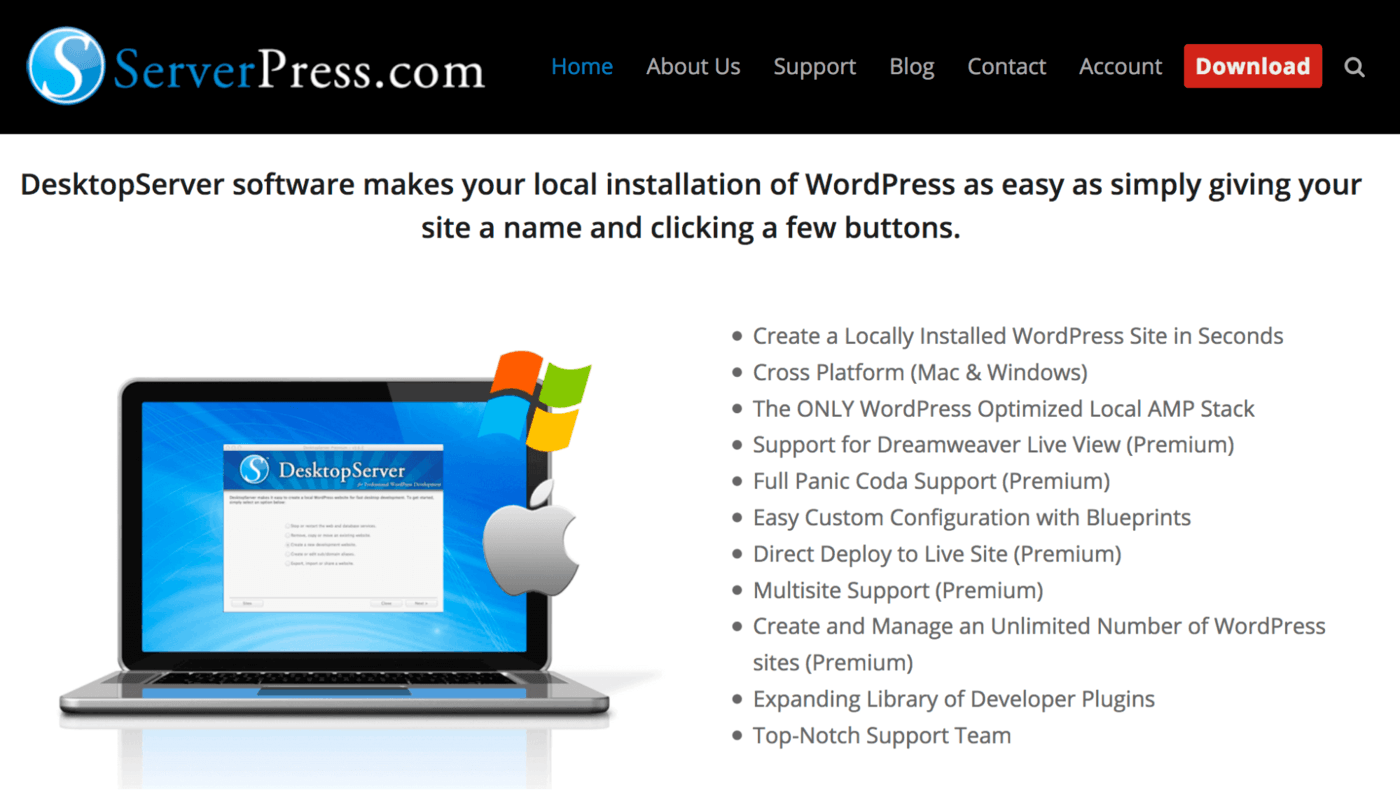
The last tool in this section is DesktopServer. This is a new breed of local development tool, which is essentially a full WordPress installation in one box, that can be deployed within seconds. It’s cross-platform, and the base version is completely free.
Compared to XAMPP, there are a number of more advanced features in DesktopServer, including a way to test sending and receiving email. However, it’s still incredibly simple to use. We recommend reading through the detailed documentation to get up to speed with the tool.
Automate Code: Terminal Packages
If you really want to crank up your development to the next level, you should consider terminal packages. The terminal (or ‘command line’) may seem intimidating at first because it lacks a familiar Graphical User Interface (GUI). However, it can save you hours of time while also improving your code structure through automation.
For example, the can help ‘scaffold’ a project (i.e. generate essential plugin files with starter code), and allow for rapid creation of new sites complete with a bespoke default setup. You can also carry out general WordPress management, and test whether your code aligns with WordPress’ own standards. Let’s take a look at some solutions.
7. WP-CLI
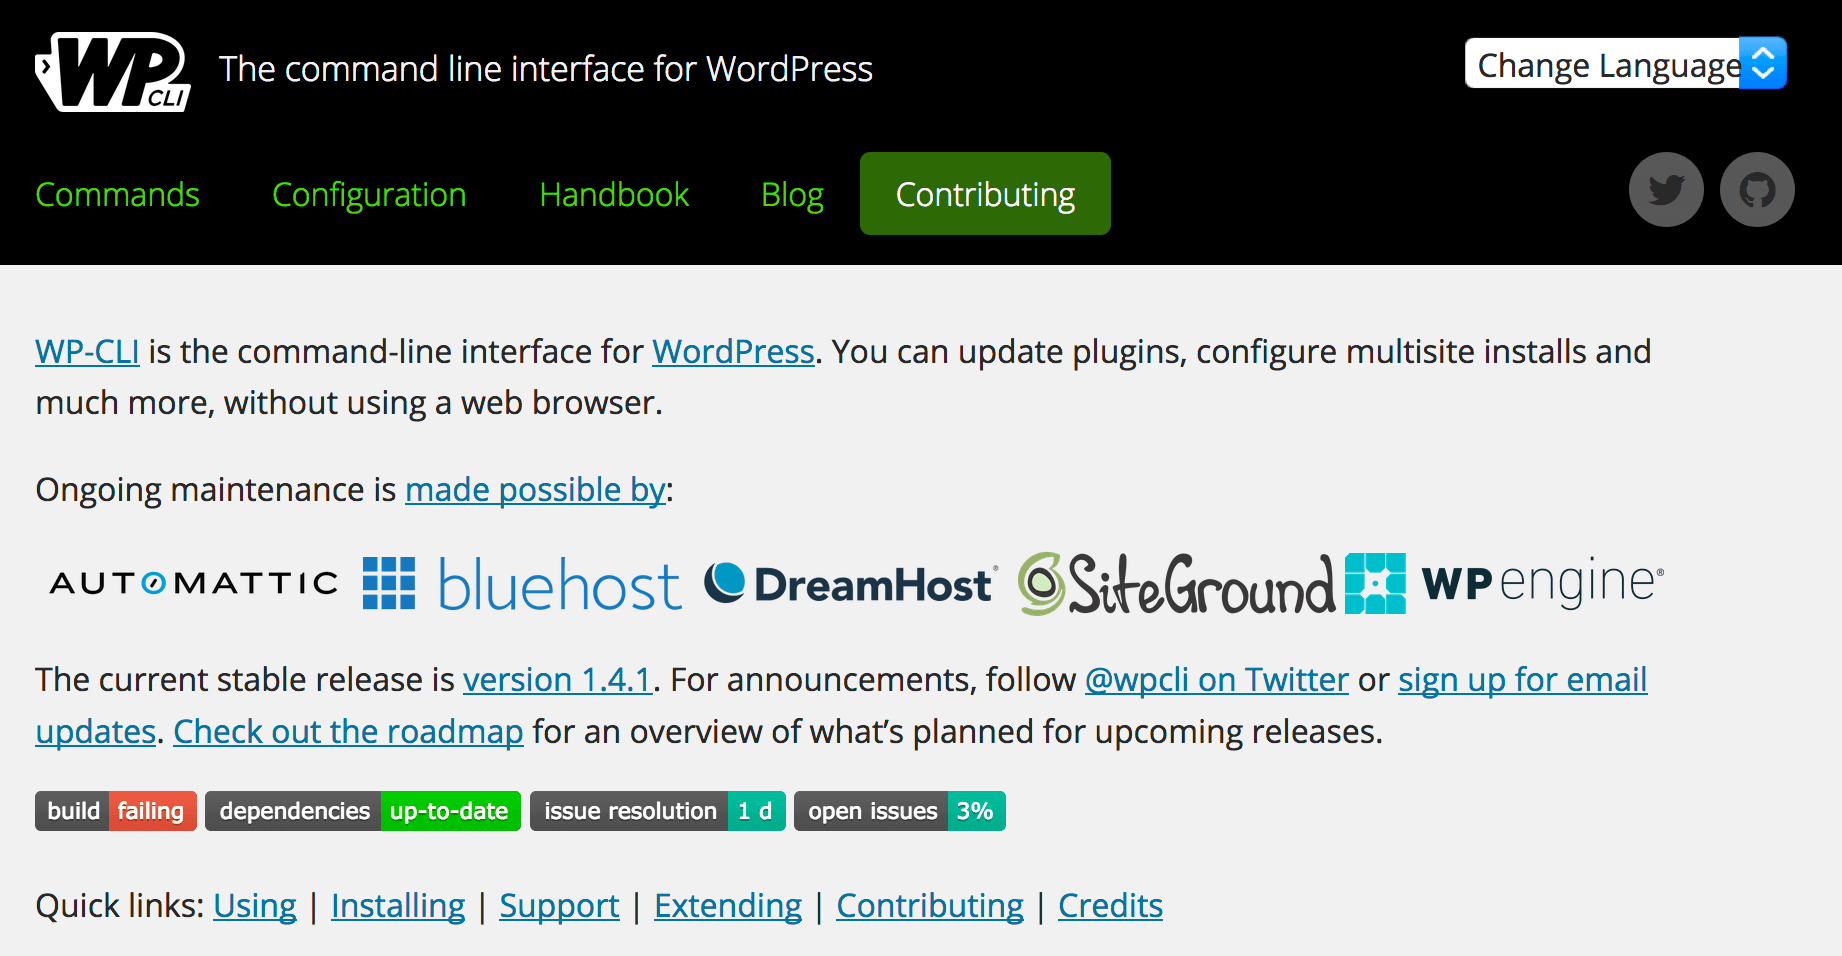
If you are frequently creating new WordPress sites to test out your plugins, WP-CLI is a must have to speed up your development workflow. Like package managers, WP-CLI is a command line tool enabling you to run scripts in the terminal. The difference is, WP-CLI is specific to WordPress-related tasks.
There are quite a number of commands enabling you to install WordPress from scratch without a browser, import and export databases, search and replace database values, and even manage plugins and themes. There are even commands that work with many popular WordPress plugins. What’s more, installation takes just a few minutes.
Once you’re up and running with WP-CLI, you can get even more done with it by using WP-CLI Community Packages:
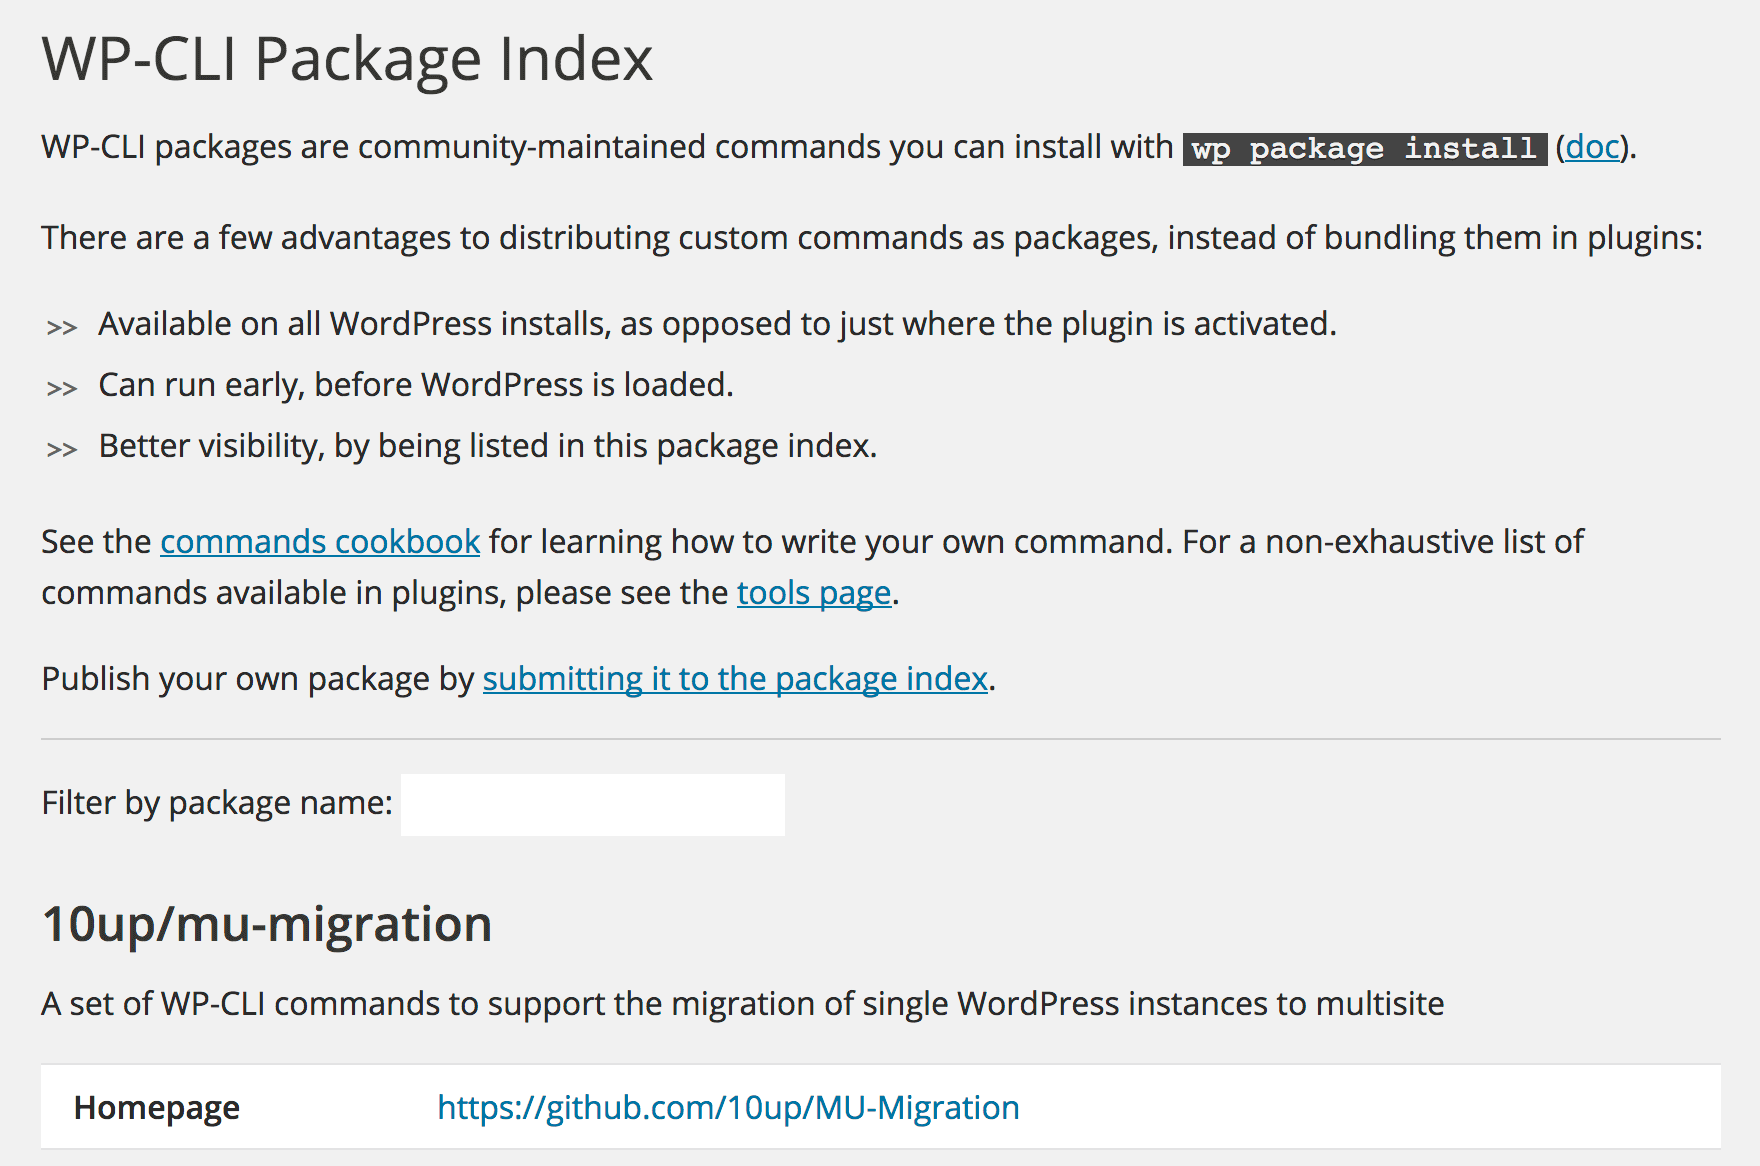
These are essentially additional commands for specific tasks. Our favorite related to ‘code linting’ as it checks your code, automatically corrects simple formatting errors to match WordPress’ standards, and lets you know what else is left for you to fix manually.
You can check out all available community packages at the WP-CLI Package Index, and each has its own dedicated installation instructions, so be sure to follow them carefully.
Test Code: Code Testing Scripts
Coding plugins that work as expected with no bugs sounds like a pipe dream, although it’s not as far-fetched as it sounds. While it’s impossible to create a completely perfect software product, it is possible to launch a fairly rock solid one.
Writing test-driven code means every feature you include is run through a series of tests and data trials to see how it reacts. If you add a new piece of code and something breaks, you can immediately be notified and rectify the problem during the initial development phase. Of course, there are a few code testing options you can integrate into your WordPress plugins. Let’s look at two.
8. PHPUnit
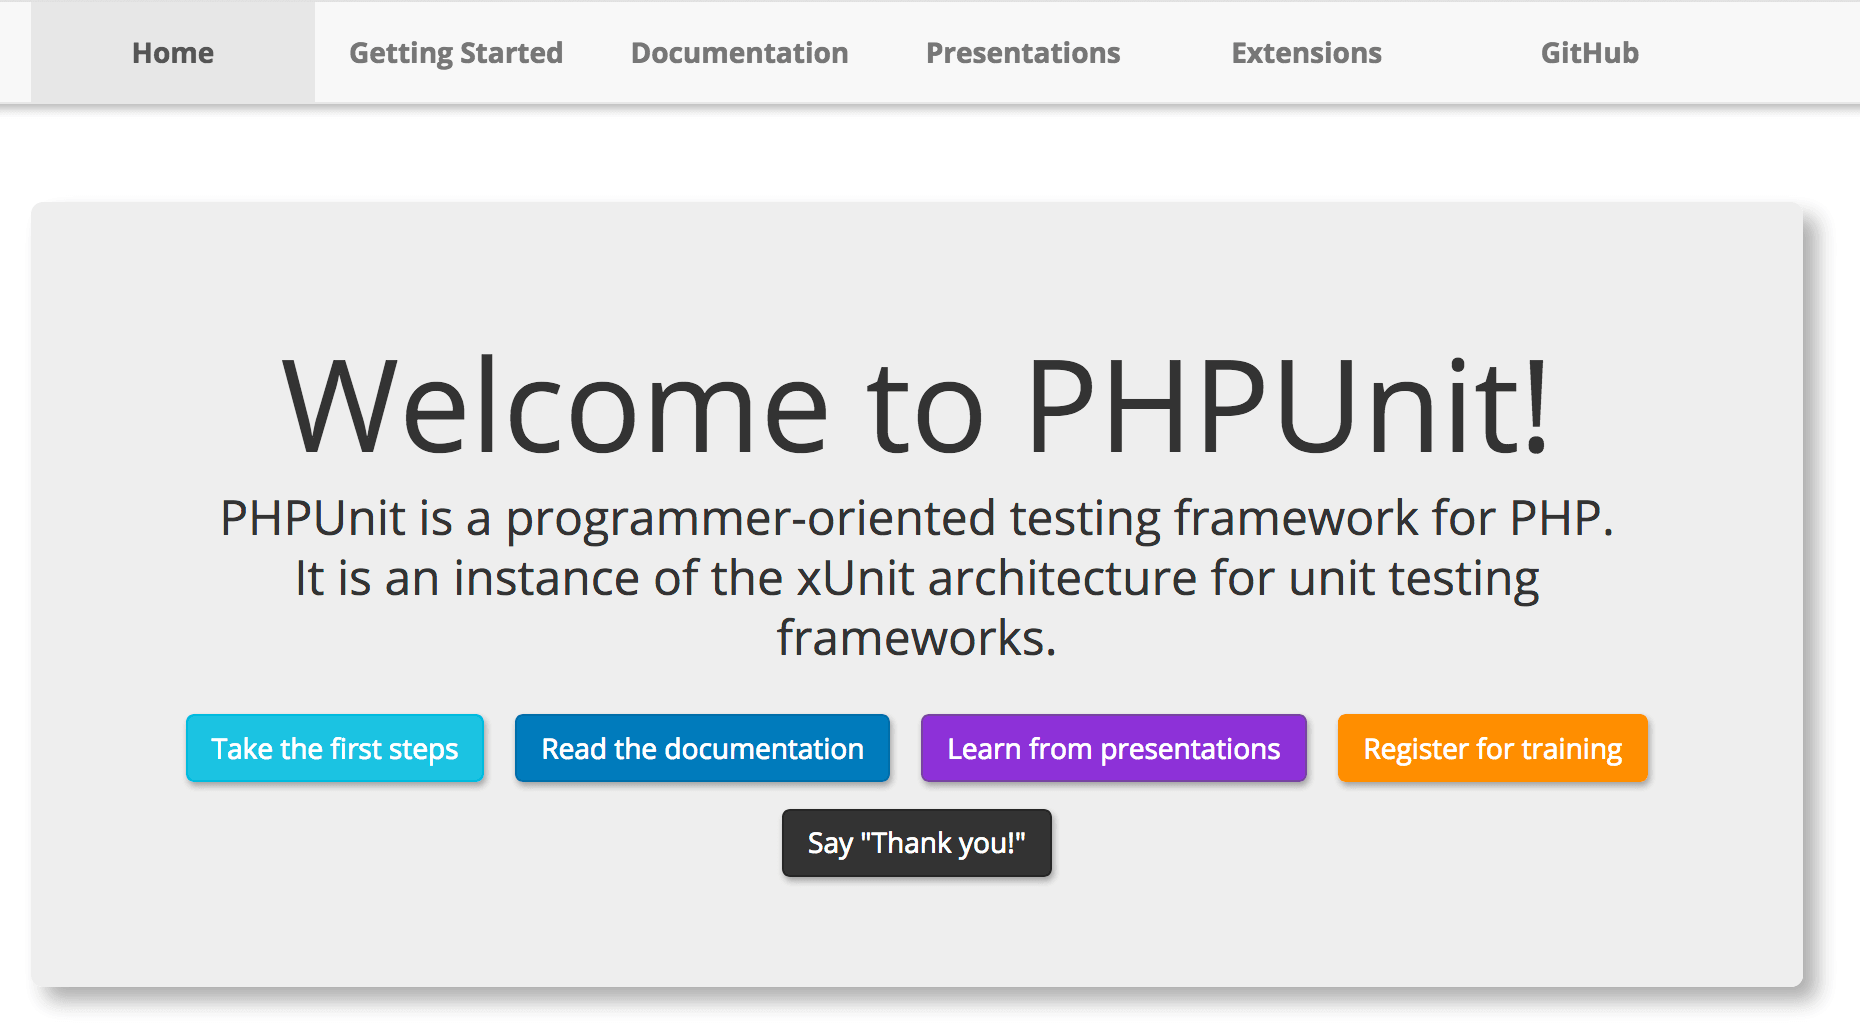
PHPUnit is a testing framework tool for PHP-based code, such as WordPress. To get a handle on how it works in relation to your code and wrap your head around the concept, you may want to write a few simple tests before jumping into the WordPress-specific work.
Noted WordPress developer Pippin Williamson wrote an entire guide on how to integrate PHPUnit into your own plugins. You can follow his step-by-step instructions and be well on your way to knowing your plugins will perform well under pressure. From there, you’ll likely want to peruse the wealth of documentation to learn all you’ll need to know about the tool.
9. Travis CI
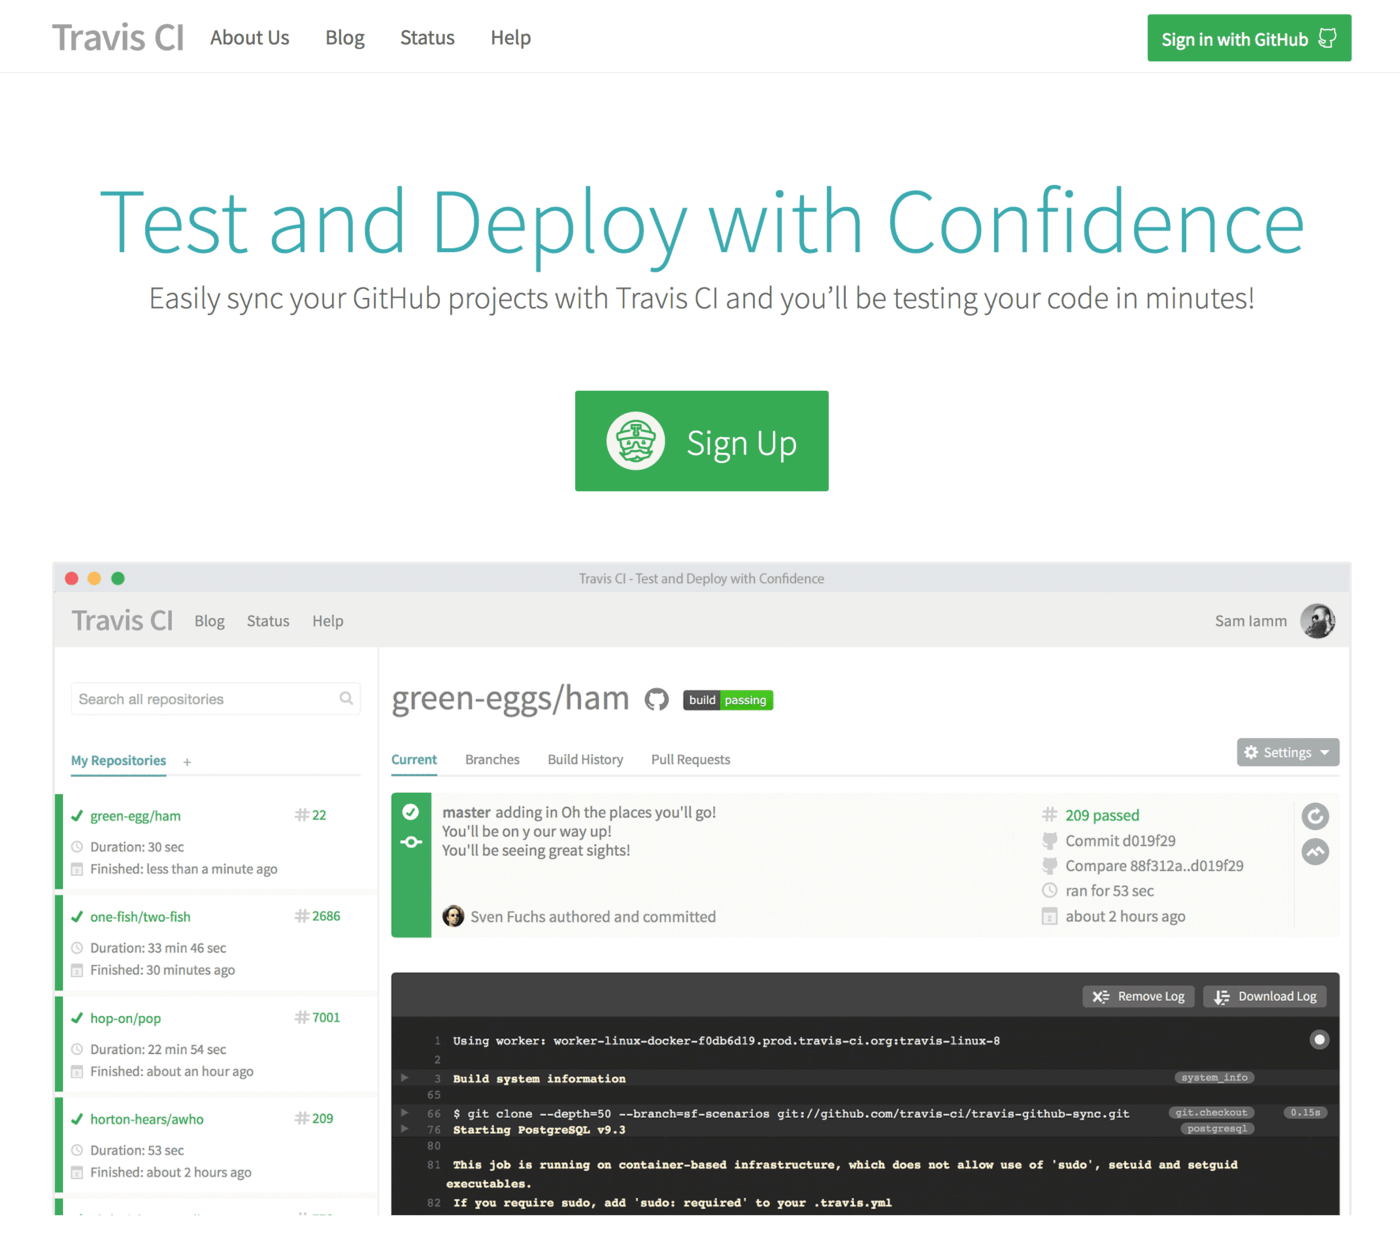
Travis CI is a complementary tool for PHPUnit that automatically runs your tests as you commit changes to GitHub. It’s free for all open-source projects and will help you ensure your code isn’t going to break under various server environments.
The tool works on the basis of Continuous Integration (CI), essentially small code merges implemented frequently, rather than irregular sweeping commits. The testing process will clone your GitHub repository in a virtual server, carry out some builds and tests, and if the code passes, will then deploy it to your server. The online documentation will be your friend while getting to grips with the tool, and it’s well worth a read regardless of your level of expertise.
Conclusion
Keeping your skills up to date with modern development tools allows you to stay competitive, while improving your own work in the meantime. You can significantly improve your plugin development by adopting these tools into your workflow.
Between modern open-source editors, local server environments, terminal packages, and code testing, there are quite a number of tools to help you improve the quality of your WordPress plugin code. Some of our favorites include Atom, DesktopServer, WP-CLI, and PHPUnit.