
I like to think of workflow documentation as a sort of playbook for WordPress professionals. Think about it like this:
Sports coaches and players rely on playbooks to provide them with tried-and-true strategies to win games. And, beyond that, those playbooks provide them with the physical steps and maneuvers needed to properly execute those strategies.
With so much to remember in the WordPress website development process, it almost seems kind of reckless not to have your own system of documentation to preserve it. That’s, of course, not to say you won’t remember how to code or that one day you’ll completely forget the process you’ve repeated hundreds of times. But there may come a time when you’re in a rush to get a job done and you miss one seemingly small and yet vital step in the process.
Much of what you do on a daily basis can easily be preserved within a system of documentation. It’s simply a matter of taking the time to create a workflow documentation for your WordPress business.
The Awesome Benefits of Developing WordPress Workflow Documentation
Personally, I’m a firm believer in creating phase-driven web development projects. I think it makes a lot of sense to tackle the creation of a website in a logical and organized manner, which is what phases do. In order to make the most of them, however, you need documentation to ensure that you–and your team–preserve it. Without consistency in execution, you lose all the benefits.
And speaking of benefits…
1. Predictability
WordPress workflow documentation is the solid foundation of any agency’s or developer’s process. It provides you with structure and predictability, as well as the ability to produce consistent results time and time again. This makes hitting goals and increasing profit margins much easier.
2. Compliance
When you’re conducting business–online or in the real world–compliance is a huge deal. For example, e-commerce sites need to fall in line with PCI standards if they want to accept payments online. You also have Google telling everyone they need to have an SSL certificate. And, of course, WordPress has their own set of coding standards they expect web developers to abide by. Your documentation will ensure that you never forget these compliance essentials.
3. Evergreen
Workflow documentation isn’t like a “2010 Guide to Web Design Trends”; it will never age so long as you build it in an evergreen style (which makes it very valuable in terms of business tools). In other words, don’t date yourself. Document tried-and-true methods and keep it updated as styles and guidelines change.
4. Ease of Use
The great thing about workflow documentation is that it doesn’t need to be written like a formal technical guide. There are some pieces you may want to take more time in generating (like your brand’s style guide), but, for the most part, you simply need a word processing tool that helps you capture notes, checklists, and other specifications for your process.
5. Collaboration
When you hire freelancers for your growing WordPress business, you have to expect there to be a learning curve. However, with proper training as well as documentation that captures your exact process, coding requirements, plugin and theme preferences, and so on, you will ensure a quick ramp up for your team. It will also help maintain consistency in how every project is handled, whether it’s solely in your hands or in the hands of your freelancers.
Workflow Documentation Your WordPress Business Must Have
Each WordPress site has its own unique strategy and requirements. That doesn’t mean, though, that there isn’t a way to streamline your process with the same set of workflow documentation–even if they’re just boilerplate templates. When your goal is to work as efficiently as possible and consistently produce high-quality websites, anything you do to cut out unnecessary work is a plus.
Just keep in mind that you don’t need to go overboard here. There’s a lot to stay on top of whether you build and manage one site or an entire network of sites. Simply record enough to keep yourself organized, consistent, and focused on hitting all requirements. My suggestion? Start by creating simple, high-level checklists for each of the following. As you repeat the process again, build onto them and then create more detailed documents.
Project Kickoff Documentation
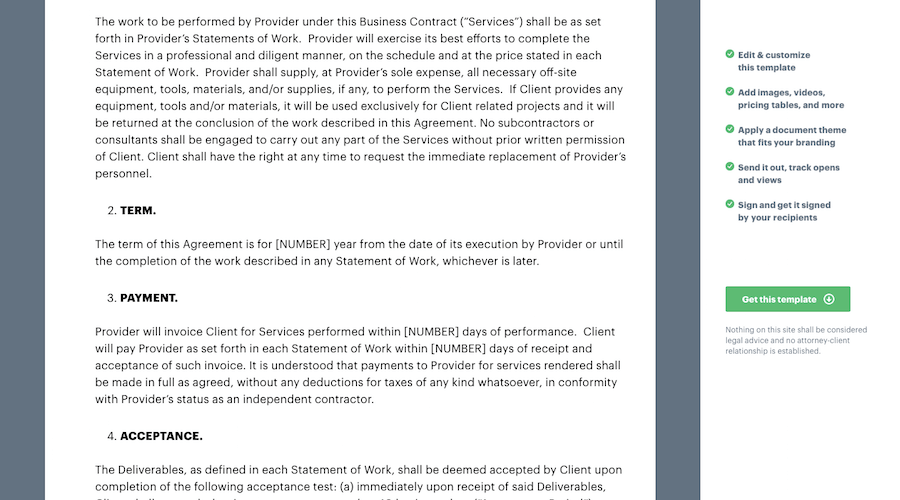
Ideally, your project kickoff documentation will be comprised of all the official agreements made between you and a client, or your team, including:
- The contract, for clients.
- The SOP which breaks down your project into its many phases and goals.
- Estimates provided by your team and later shared with–and approved by–the client.
- The projected timeline of the project.
- Schedule of milestones and associated payments, along with pre-filled invoices.
Once these are finalized and signed, store them in a safe, cloud-based location. You and your team will need to reference them regularly throughout the project.
Suggested Tool
PandaDoc is a great option if you’re in need of kickoff documentation templates. They’ve covered pretty much all the bases here, from proposals to invoices.
Requirements Gathering Documentation
Requirements “gathering” is about defining the base elements of the project based on your research. Once you’ve determined who you’re building the website on behalf of and what their goals are, then it’s time to create this documentation, which will include:
Project description: Will also include any client requirements.
Brand personality definition: Should also establish the brand voice here (something that’s essential to UX writing).
User persona profiles: Should cover who they are, what their pain is, and how the site/business will address each one.
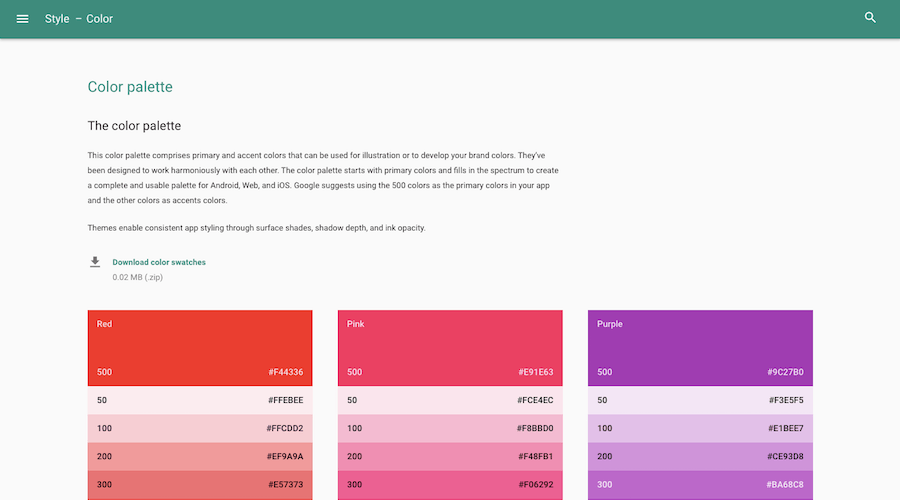
Brand style guide: This will include the logo, color palette, typography, iconography, as well as imagery and photography.
Sitemap: Describe each page to be included in the site and define the hierarchy within which each exists.
UI design guide: This specifically addresses how the interface elements will look (i.e. buttons, fields, toggle switches, social icons, etc.)
UX design guide: This will focus on how the user flows through the website; in other words, what happens when User A clicks on this button? Wireframes are key here.
Suggested Tool
One of the best places to find requirements gathering templates is Dribbble. They have style guides, UI templates, UX flow templates and wireframes, and sitemap planners, too.
I’d also suggest you look to big brand names to see how they handled their own requirements gathering. Take Google Material Design, for example. Every single angle has been considered and well-documented here. You don’t have to go to this extreme, just take note of how they relied heavily on images instead of heavy amounts of text to describe their style.
Technical Requirements Documentation
The backend of your WordPress website is where a lot can go wrong, so this is one of the most important pieces of documentation to secure. You’ll go about creating it in two ways. The first is by utilizing a template you’ve developed ahead of time that defines the standard requirements of any WordPress site.
This will include:
- WordPress coding standards (as a reminder to yourself)
- Web server requirements (e.g. storage, bandwidth, security, caching)
- Database performance requirements
- Scripting language preference
- Programming language and any associated libraries, frameworks, or snippets you want to use
The second piece of the technical requirements puzzle will come from tools you decide to use for the website. You can still use a template to help you fill in the blanks, but this one may need to be customized each time based on what your website actually needs:
- Version control software or IDE
- Git repository
- Testing or staging environment (on the server or off-site)
- Security software, firewalls, plugins, and so on
- Performance plugins for caching, minification, database optimization, etc.
Suggested Tool
A single document that contains the technical requirements above should suffice for this one, so a template isn’t needed.
However, if you’re curious to know where you can fulfill some of the requirements above, I’d suggest taking a look at the Pagely blog posts. There are some useful enterprise WordPress plugins mentioned in this one that covers both security and performance. There’s also information here about how to create a staging environment with Pagely.
Front-end Functionality Documentation
If you rush into coding something you hadn’t prepared for and hadn’t budgeted enough time for, you might potentially miss something and compromise performance and security in the process. And, of course, if you opt to use a theme or plugins to create this functionality, it takes time to vet them–not just for quality, but also for compatibility with your web host.
When you’ve worked so hard to establish the UI and UX for your website, the last thing you want to do is leave the execution of it to chance. That’s why I always suggest that web developers create a list of their preferred plugins and themes. You don’t have to use them every time you build a new WordPress site; they’re just here for convenience so you’re not constantly having to visit the WordPress repository to dig around for them.
If you’re running an agency, you know what these essential plugins look like:
- Security
- Performance
- Backups
- SEO
- Contact forms
- Social integration
As you work on enough niche websites, you’ll find that those websites have very specific needs that can only be handled by the best of the best themes and plugins. So, be sure to also document ones that fall under specific categories like marketing, e-commerce, news, events management, logins/membership, and streaming audio or video content.
Suggested Tool
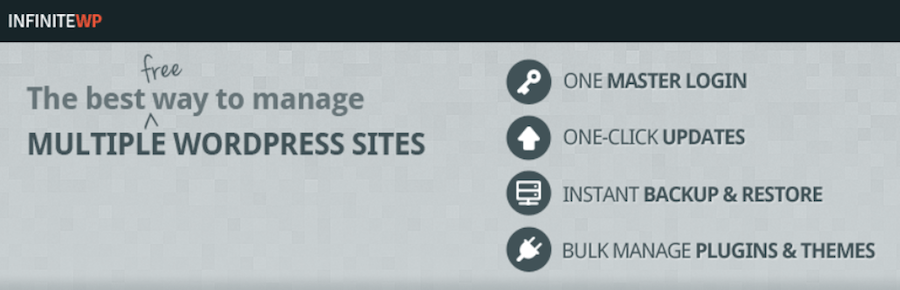
There’s a pretty cool plugin called InfiniteWP Client. While it will help you manage a number of tasks, it’s the bulk management of themes and plugins that I think is especially helpful here.
Copywriting Documentation
In order to tackle this one effectively, you’ll want an actual copywriter to craft the guidelines for you as they’ll know what’s best. If they’re new to this or you just want to give them some guidance, provide them with links to your top pages and posts. They can use that to discern best practices for copywriting for the website. Then, ask them to craft an easy-to-follow checklist that needs to be completed with each new page created for the website.
Here are some of the checklist items they should include:
- Did you adhere to the brand voice?
- Did you avoid using words that were flagged by the client or your team (these may be competitor names, incorrect product terminology, etc.)?
- Did you write the content around a single focus keyword?
- Does that keyword appear in the meta title, meta description, and slug?
- Does that keyword appear throughout the page, including within the introduction and conclusion?
- Are the header tags optimized with the keyword?
- Did you utilize h2 and h3 header tags to increase readability?
- Do hyperlinks open in a new tab?
- Have you attached a featured image to the page or post?
There may be other items you want to add to the list, but these will almost always need to be there.
Suggested Tool
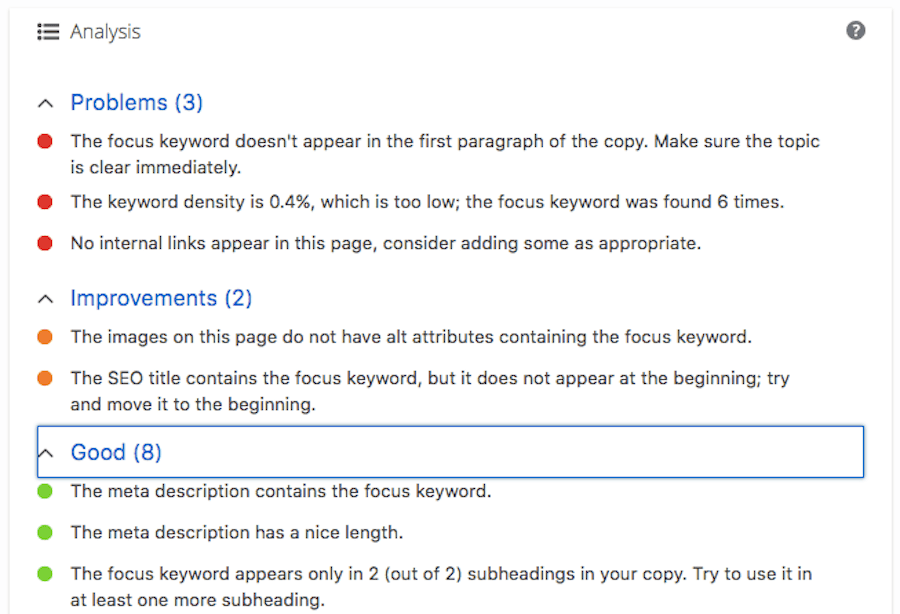
There really aren’t too many templates floating around to help with this piece of documentation, so feel free to steal my starter checklist above for your own purposes. Within WordPress, however, I’d suggest you get an SEO plugin like Yoast to provide you with an SEO checklist.
Project Close Documentation
For this one, you can create your own documentation and checklist, and then use it over and over again for each website. Unless the website you worked on had additional requirements or special circumstances, there should be no need to change this documentation again, which is great. That means one less thing you have to customize with each project.
Here is what this final documentation needs to account for:
Testing: Define the testing environment for the website as well as each check the web developer must make before the site passes. This will include testing for stress, security vulnerabilities, responsiveness, accessibility, and SEO.
QA: Designate which team members are responsible for the QA phase and how many rounds are required before the site is considered internally approved.
Client Review: Determine when a website is ready to be reviewed with a client. How will it be shared with them, who will lead the walk-through, and who is the party responsible for signing off on it before it goes live?
Launch: Going live won’t be all that difficult. However, you do need to define the various steps the developer needs to take to ensure that all necessary switches are made (e.g. the correct email assigned to contact forms, robots.txt enabled, and so on).
Close: Once the site is live, you’ll need to hand the site over to your client or team. Make sure you’ve white labeled the backend and then hand them the keys to the castle (i.e. the logins) if it’s a client. Just make sure they’ve approved the site and paid you first!
Suggested Tool
Use the points above to craft your own template. This should be a one-and-done kind of thing.
Wrapping Up
Like I said, WordPress workflow documentation is a lot like a sports playbook. It’ll guide you from start-to-finish, providing you with the exact steps you need to take in order to cover all your bases and ensure that your clients get the very best outcome each time.
Just don’t forget to review your documentation after each new project. Did it help? Did it hinder your progress? Is there something that needs to be revised to work more efficiently next time? Keep your WordPress playbook up-to-date and watch as your process becomes more streamlined and profitable.