
Convenient and easily customized, WooCommerce has become one of the mainstay contenders for eCommerce platforms. While you get what you put in with the design, you can still set up WooCommerce surprisingly easily, and in almost no time at all.
We’ve already explained our reasons for supporting WooCommerce in our previous article Why Serious eCommerce Brands Prefer WooCommerce Over Shopify. If you’re convinced WooCommerce is right for you, this help guide will take you through the setup process step-by-step.
Do you already have an eCommerce site set up on another platform and want to switch to WooCommerce? We’ll cover that at the end – but first, here are the quick steps to setting up WooCommerce from the ground up.
1. Host With a Trusted Provider
As a WordPress hosting company ourselves, we’ve written at length on the topic of how and why to set up your site on WordPress. We won’t waste space repeating ourselves here, but you can read our free ebook The Art of the WordPress Startup for our reasons and advice. In 88 pages, this downloadable PDF collects 2o how-to sections on everything you need to know about starting a site on WordPress.
WooCommerce is a WordPress plugin that can essentially turn any WordPress website into a profitable eCommerce site. The main advantage of WooCommerce is that you can use the full extent of WordPress’s customization options, including plugins and themes, and turn the whole site into an eCommerce business with a working cart.
So, obviously, step 1 is to find a reliable and secure service to host your site.
2. Download, Install, and Activate the Plugin
True, this second step is actually three smaller steps, but they’re all accomplished rather quickly and easily. Here’s what to do to set up WooCommerce:
- On your WordPress management site, go to “Plugins” on the vertical side menu and click “Add New.”
- Type “WooCommerce” into the search field in the upper-right corner.
- WooCommerce will be the first entry. Click “Install Now.”
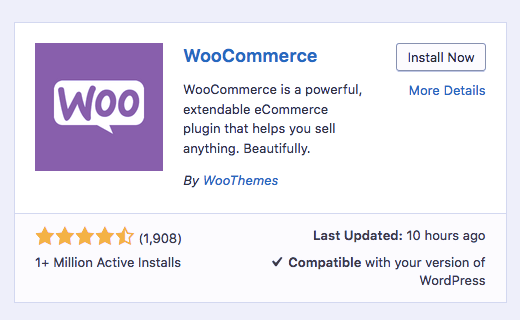
- WooCommerce will download and install itself.
- When it’s complete, click “Activate.”
Now, you will be taken to the WooCommerce Quick Setup Wizard.
3. Complete the Quick Setup Wizard
While the wizard is optional, it is helpful – and relatively painless. The wizard consists of 5 pages:
Page Setup
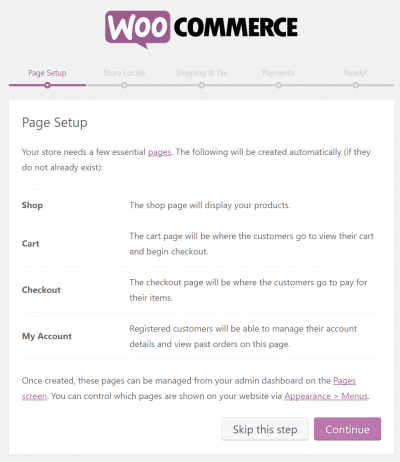
Here you verify the creation of the pages necessary for an eCommerce site (checkout, cart, etc.), and have the opportunity to add new pages. You can always add pages later in the “Pages” section.
Store Locale

Here you customize the preferences that vary from country to country, such as currency and units of measurement.
Shipping & Tax
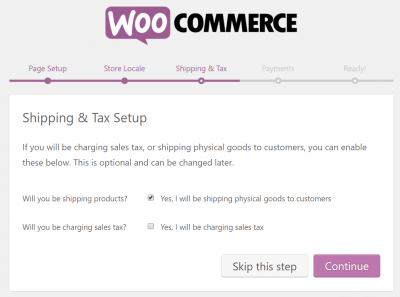
A quick page for enabling the shipping for physical goods and sales tax if necessary.
Payments

Here you enable the payment options, which should have already been decided earlier during the initial planning phases of the eCommerce site. One of the great things about WooCommerce is it offers several different payment gateways, including Stripe.
Stripe is a WooCommerce extension plugin that allows credit card payments directly in your store. It’s free to use, but charges a transaction fee. You’ll also need a valid SSL certificate.
Ready! (Diagnostic Data)

Last, WooCommerce asks your permission to collect diagnostic data they use to improve their product. It’s up to you.
4. Manage Your Store
That’s it! You’ve now successfully set up WooCommerce. What happens now depends on you, so you can dedicate however much or little time you want customizing your new eCommerce site. If you’re looking for additional guidance, we suggest the following next steps:
Add and Manage Products
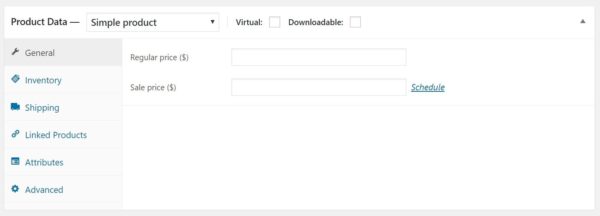
One of the two new features of your WordPress admin site is the “Products” option in the vertical side menu. Here you can add new products and manage old ones. Everything you need to build product pages is here: titles, descriptions, images, shipping, stock status, back-ordering — you can even link products together for upselling, cross-selling, and grouping.
Manage Orders and Shipping
The second new addition to your WordPress menu is the “WooCommerce” option. Here, you can manage orders and shipping directly. In the “Order” subsection is a list of your orders and their shipping status, where you can organize them as needed.
Add Coupons
While completely optional, coupons can sometimes be a key component of your marketing strategy. WooCommerce allows you to add and manage your coupons in the “Coupons” subsection of the “WooCommerce” entry.
Here you can create the coupon code, its effects (discount, free shipping, both…), expiration date, and restrictions like usage limit or being used with other coupons.
For more on this topic, check out How To Create Coupon Codes With WooCommerce.
Analytics
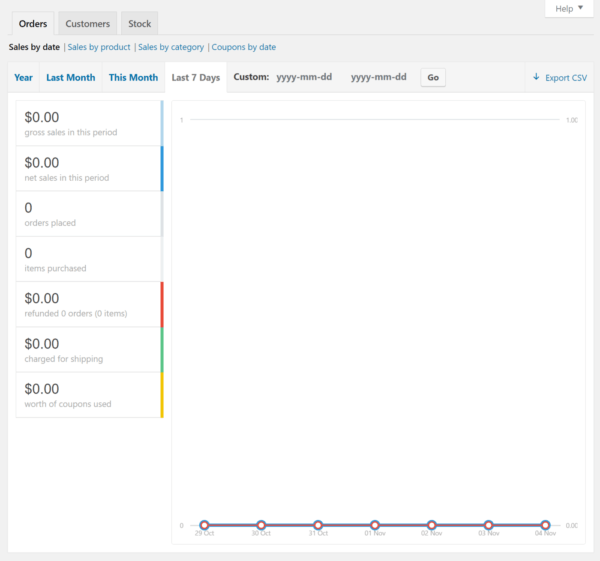
With built-in tracking, WooCommerce provides an excellent source for performance analytics. Under the “Reports” subsection of the “WooCommerce” entry, you can find color-coded graphs and data over various periods of time. The “Customers” tab shows data on customer acquisition, and you can even check your current inventory in the “Stocks” tab.
Switching Over a Pre-existing Store to WooCommerce
If you already have a store set up exactly how you want it, you can still switch over to WooCommerce without building everything all over again. There are a few migration services that will handle the tricky technical concerns for you, though only for a price.
Of these services, we recommend Cart2Cart. They work with a wide variety of platforms, including WooCommerce, and offer more features at a comparatively lower cost.
To see what they can do, visit their site and input which platforms you want to migrate to and from, plus some other information like the number of products and orders. Right away, you’ll see what data exactly they can migrate and get an estimate.
Takeaway
To set up WooCommerce doesn’t take long at all. Once you’re made the decision to use it, within a few minutes you can be customizing your site on your brand new platform.
Have any help questions we missed? Ask us in the comments section now.