
Choosing the right platform for a large-scale company can make or break the success of your website. The wrong choice can cost you time, resources, and sales when it doesn’t perform as expected.
WordPress is an enterprise-ready platform, as evidenced by its WordPress.com multisite installation supporting more than 21.3 billion visits every month. This includes major sites such as TED, CNN, and the National Football League! You can benefit from WordPress while maintaining ownership and control by using the self-hosted version at WordPress.org. This enables you to choose from powerful theme frameworks such as StudioPress’ Genesis, and a number of Genesis child themes.
In this article, we’ll introduce you to the power of WordPress with the Genesis framework. Then we’ll walk you through four steps to build an effective website for your business. Let’s get started!
Introducing WordPress and the Genesis Framework
WordPress is currently the most popular CMS, driving nearly 29% of all websites on the internet. The robust platform can scale to nearly any size, as Automattic’s commercial service handles 21.3 billion monthly visits without breaking a sweat. WordPress also, of course, comes with worldwide community for support and learning, as well as offering incredible flexibility with thousands of free plugins.
Since WordPress is such a huge mover and shaker, many plugin and theme makers have created businesses around premium products. One major and long-standing developer is StudioPress, with its leading theme framework, Genesis:
In a nutshell, theme frameworks offer a base set of features and functionality that developers can build on to offer their own ‘child’ themes. Because of this, using a framework can save serious time and money when developing a new website.
Genesis is arguably the most popular theme framework, and caters to many child themes for practically any niche. It offers many options for designing your site (accessible through the Customizer), mobile responsiveness, customizable headers and page templates, and much more. Of course, each child theme will have its own unique features and capabilities.
In short, Genesis is the right choice for big businesses that need to get an efficient, powerful website up and running quickly. There is room for growth and custom development, while covering all the basics you’ll need to hit the ground running.
How to Build an Effective Business Website Using the Genesis Framework (In 4 Steps)
We’ve boiled the process down into four steps. What’s more, while you could do this yourself, it’s likely much more efficient to hand this off to your development team. Also, while we won’t go into choosing a domain name throughout these steps, if you don’t already have one, you’ll need to take a look at your options beforehand.
Step 1: Choose the Right WordPress Hosting
As you’ll be using a self-hosted version of WordPress, the first step is to pick out the right hosting. We find that managed hosting is the best bang for your buck when it comes to large business websites, as your host will look after some of the ‘under the hood’ aspects of your website to help keep it running smoothly.
There are a few features you’ll need to look for when choosing a quality host, such as WordPress-optimized features (including automated updates and backups), scalability through services such as Amazon Web Services, built-in redundancy for high performance, and much more besides.
What’s more, there are a variety of hosting companies to choose from, so it’s a good idea to do your research. Of course, we’d be remiss not to mention Pagely as a stellar option. We provide all of the necessary features to run a successful business website, and our client list speaks for itself!
Step 2: Download and Install the Genesis Framework
Next up is installing the Genesis Framework. Fortunately, this will follow the same process as purchasing and installing any other premium theme (although there is one quirk we’ll get to later). In summary, you’ll want to carry out the following steps:
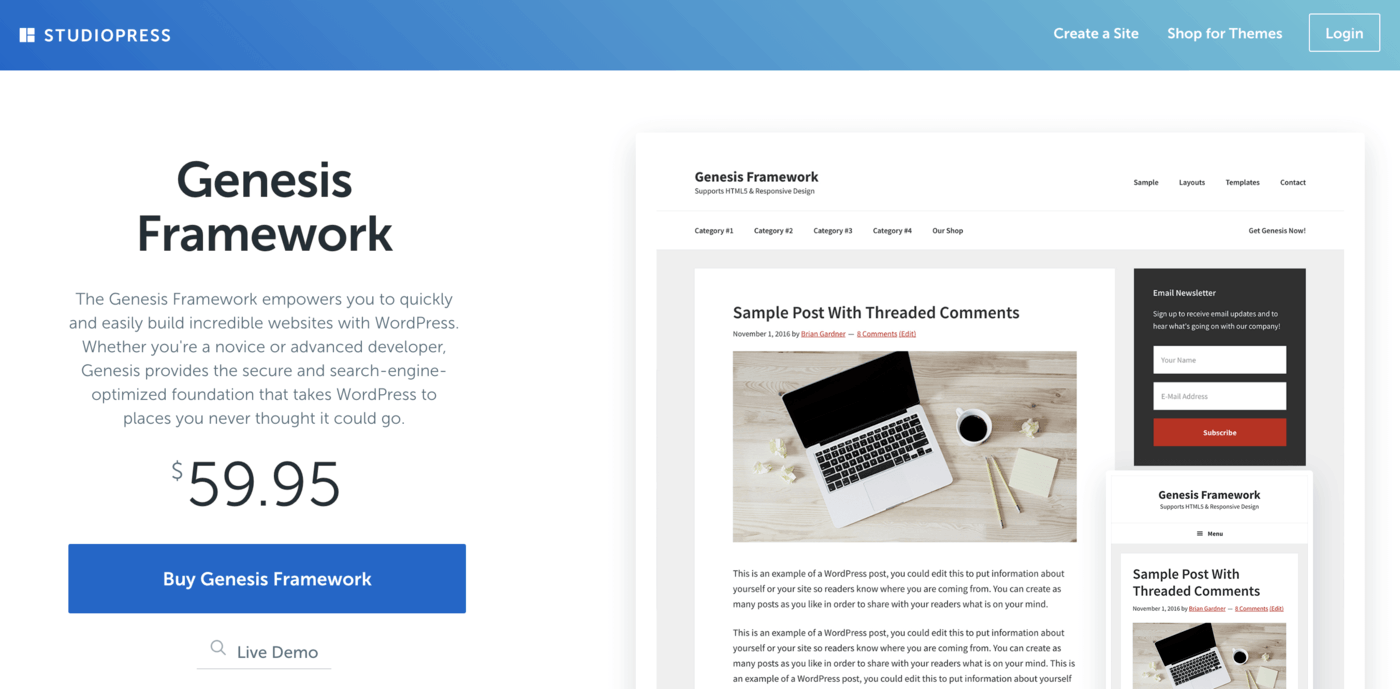
- Navigate to the dedicated Genesis page on the StudioPress website.
- Click the Buy Genesis Framework button, and run through the checkout procedure.
- Download the Genesis Framework from your account panel.
You’ll then get a ZIP file that can be uploaded as normal to your WordPress website. However, you won’t want to activate anything until you’ve installed a suitable child theme.
Step 3: Select and Install the Right Genesis Theme

As we discussed, Genesis requires you to use a dedicated child theme, but it has a slight difference compared to other WordPress child themes. In this instance, Genesis child themes provide you with a complete design and layout, rather than an empty shell to work from. They’re also hardly ever updated, so you’re free to customize them directly. Any updates are handled by the framework itself — another benefit.
While StudioPress provide a selection of child themes covering all manner of niches, there are plenty of other developers of Genesis child themes. Your main concerns should be choosing a theme that fits your needs and goals, and also offers the features and functionality you need on your website. Overall, the choice is subjective and completely your decision.
As for installing the child theme, you’ll need to carry out exactly the same steps as you did for the Genesis Framework, although this time you’ll want to activate the child theme only. Once you’re finished, it’s time to work on the design!
Step 4: Pass Your Website Over to Your Development and Marketing Teams
At this point, you’ll have a website with a working version of Genesis and your chosen child theme. Next is handing it off to your development and marketing teams, and you’ll want to ensure they have all of the information they need to begin work.
First, provide them with the documentation for both the framework itself, and the specific theme you’ve chosen. The team will need to put together basic content and graphic assets to finalize the branding and messaging of your site. This may involve both teams working together for any final customizations to the design.
You’ll also need a long-term content marketing strategy in place. To do this, you will need:
- A well-defined target audience specifically for your website.
- Keyword research revolving around the pain points of your audience, as they relate to your products and services.
- Ongoing, regular published content targeted to these keywords.
The design of the website and its content will play a huge role in how you are able to convert the traffic you earn over time. The marketing, sales, and development teams will need to work closely together to identify which design elements can improve the user experience and ultimately convert them to customers.
Conclusion
It’s important to choose the correct platform when setting up a website for your business. With the correct foundations, you can then hand over a solid website to your development and marketing teams to begin its design and promotion.
In this article, we’ve introduced you to WordPress using the Genesis Framework, then look at how to create a business website in four steps. Let’s recap:
- Choose the right WordPress hosting.
- Download and install the Genesis Framework.
- Select and install a suitable Genesis child theme.
- Begin your website’s development and marketing.
What questions do you have about getting started with the Genesis framework? Let us know in the comments section below!